Expand to Full Screen for Best Viewing
This guide will walk through the process of setting up class sections that will be monitoring student attendance.
Go to portal.adlsassist.com
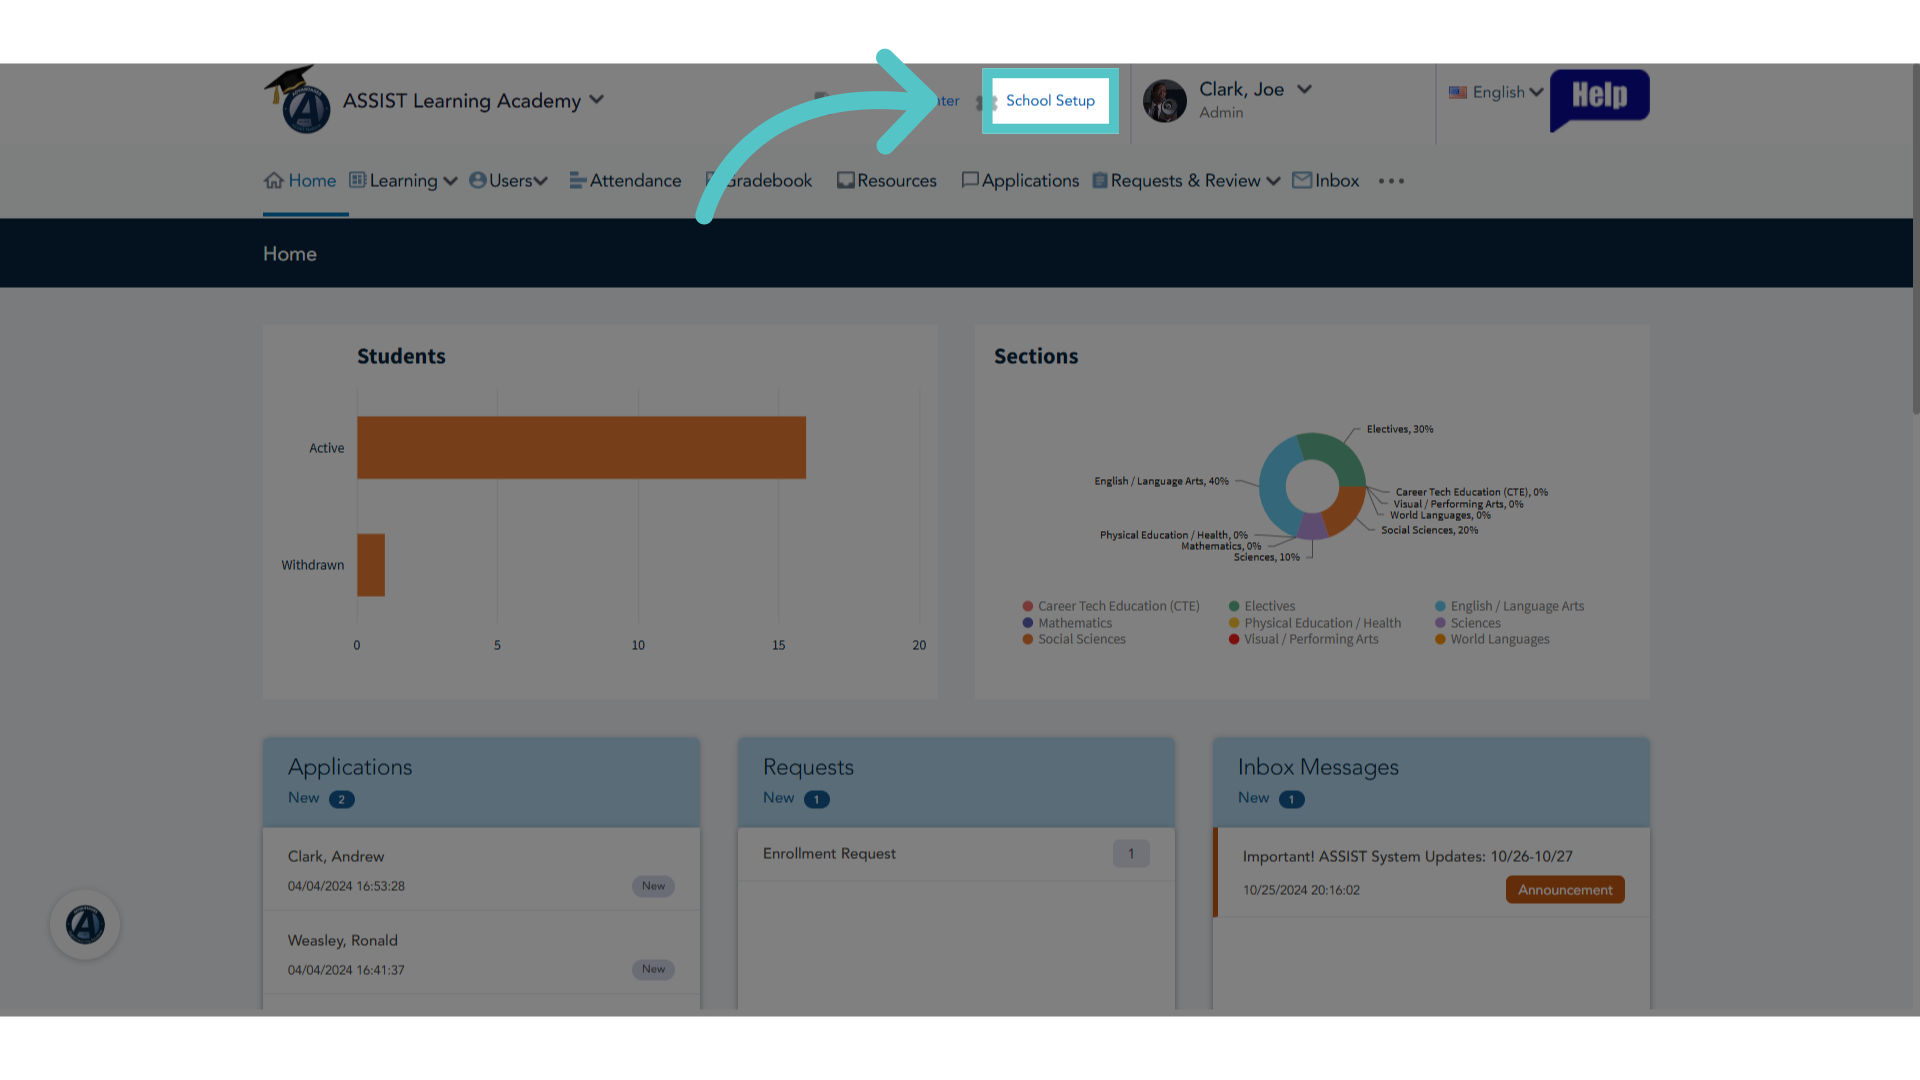
1. Click "School Setup"
Login to ASSIST as an administrator and Access the School Setup Menu.
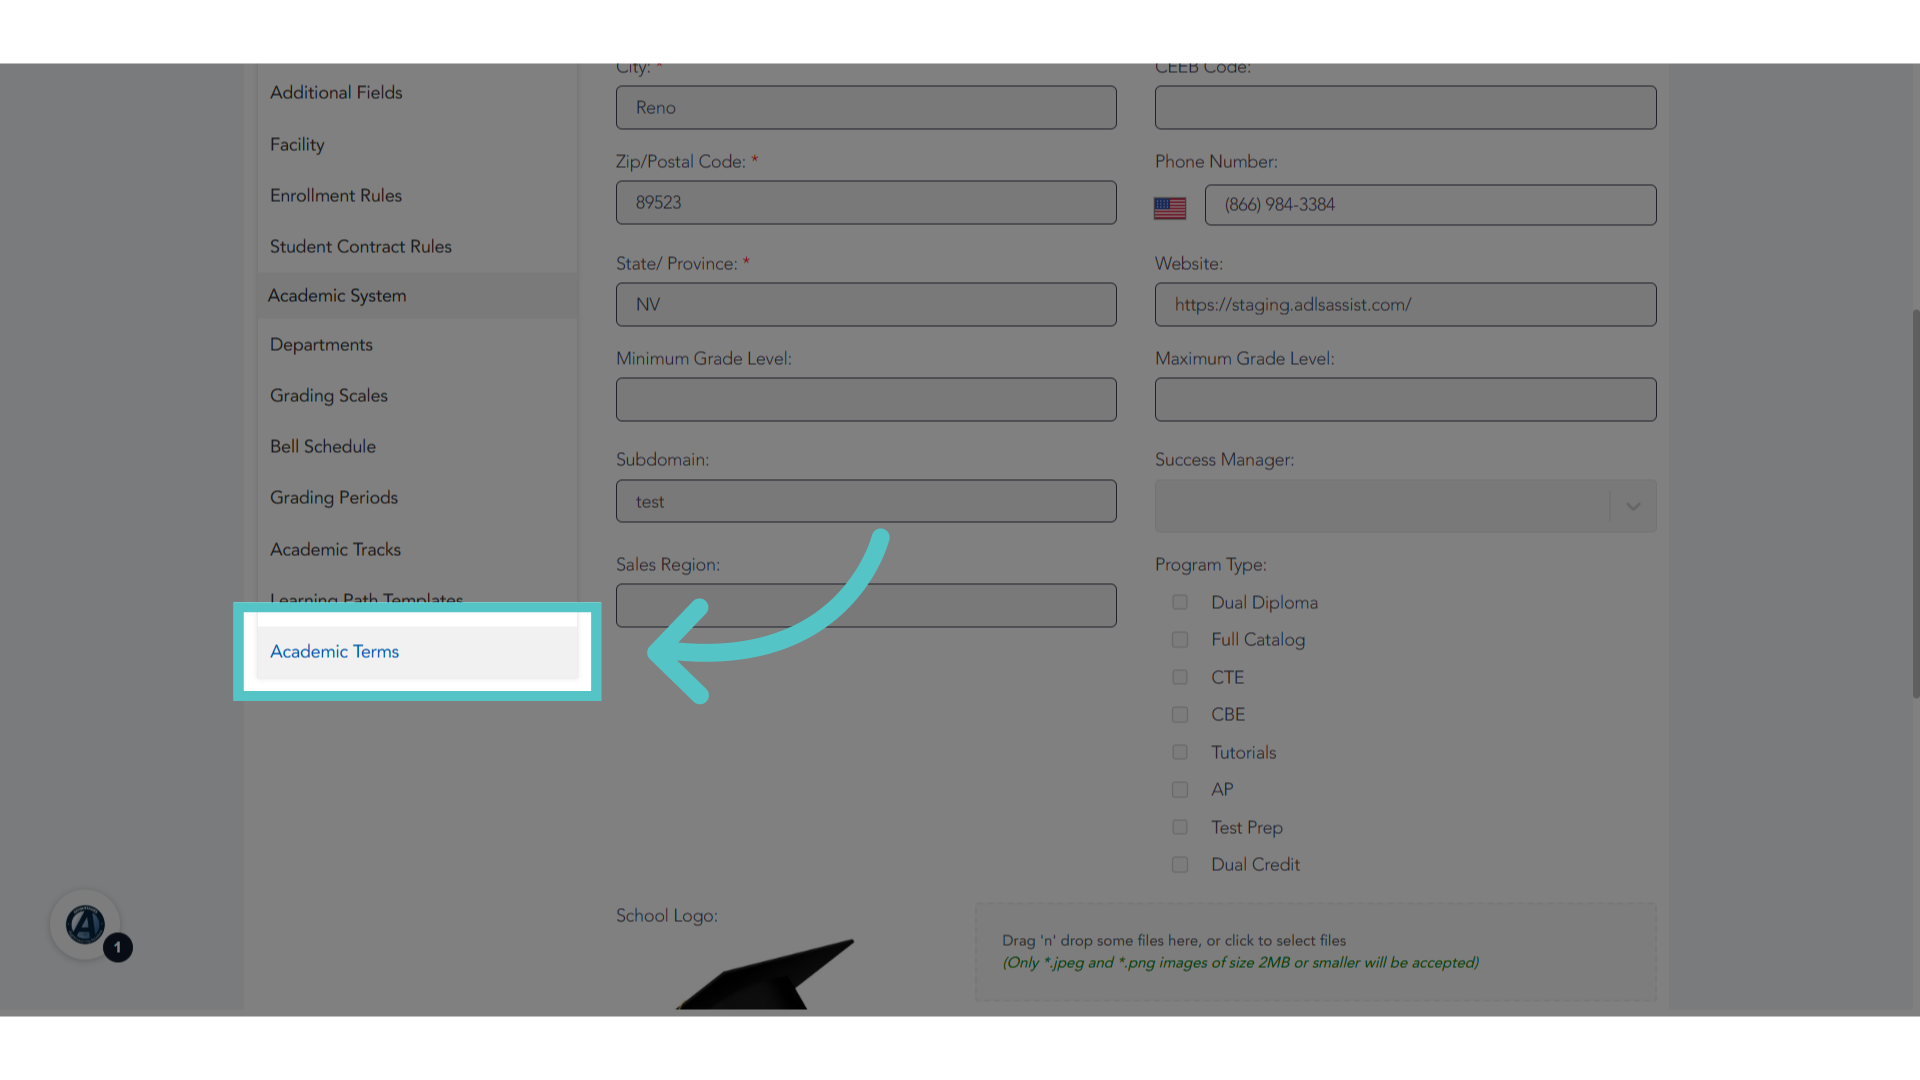
2. Click "Academic Terms"
From the left side menu, select Academic Terms.
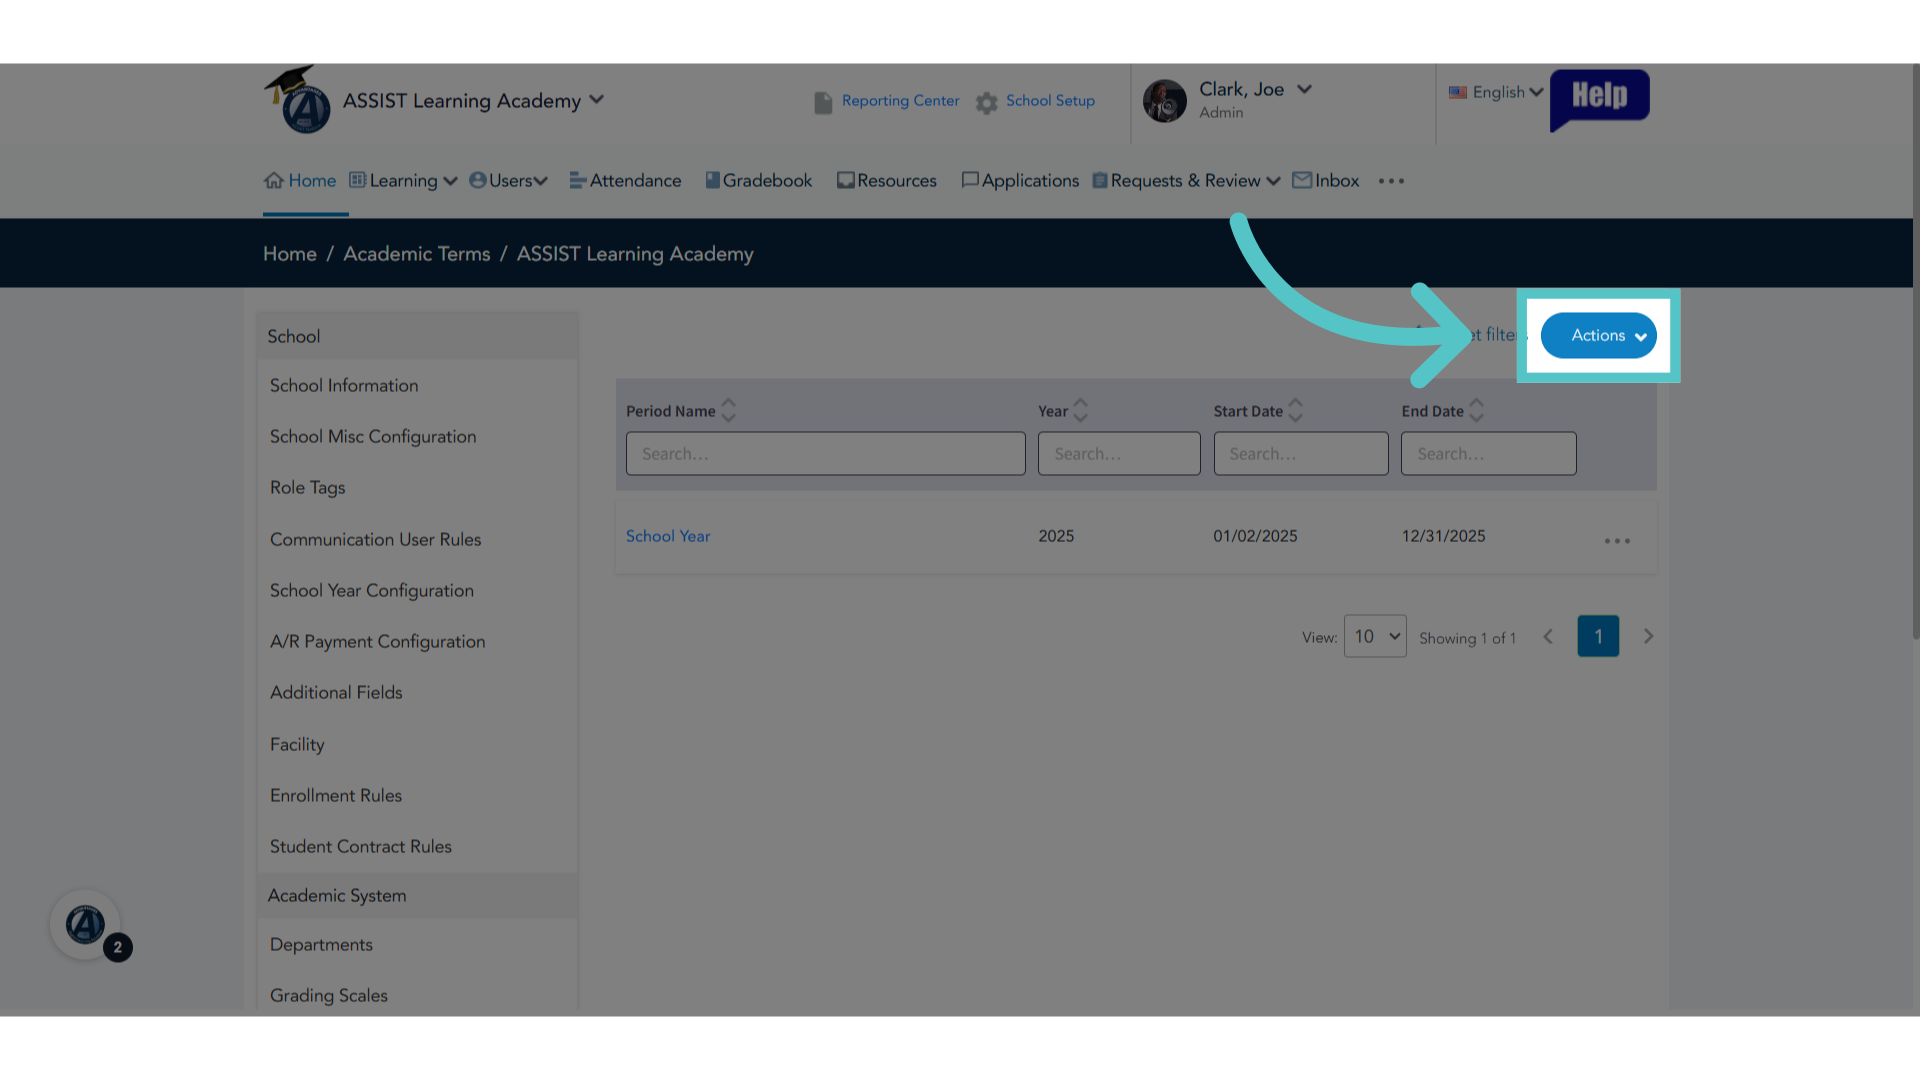
3. Click "Actions"
Click the Actions button.
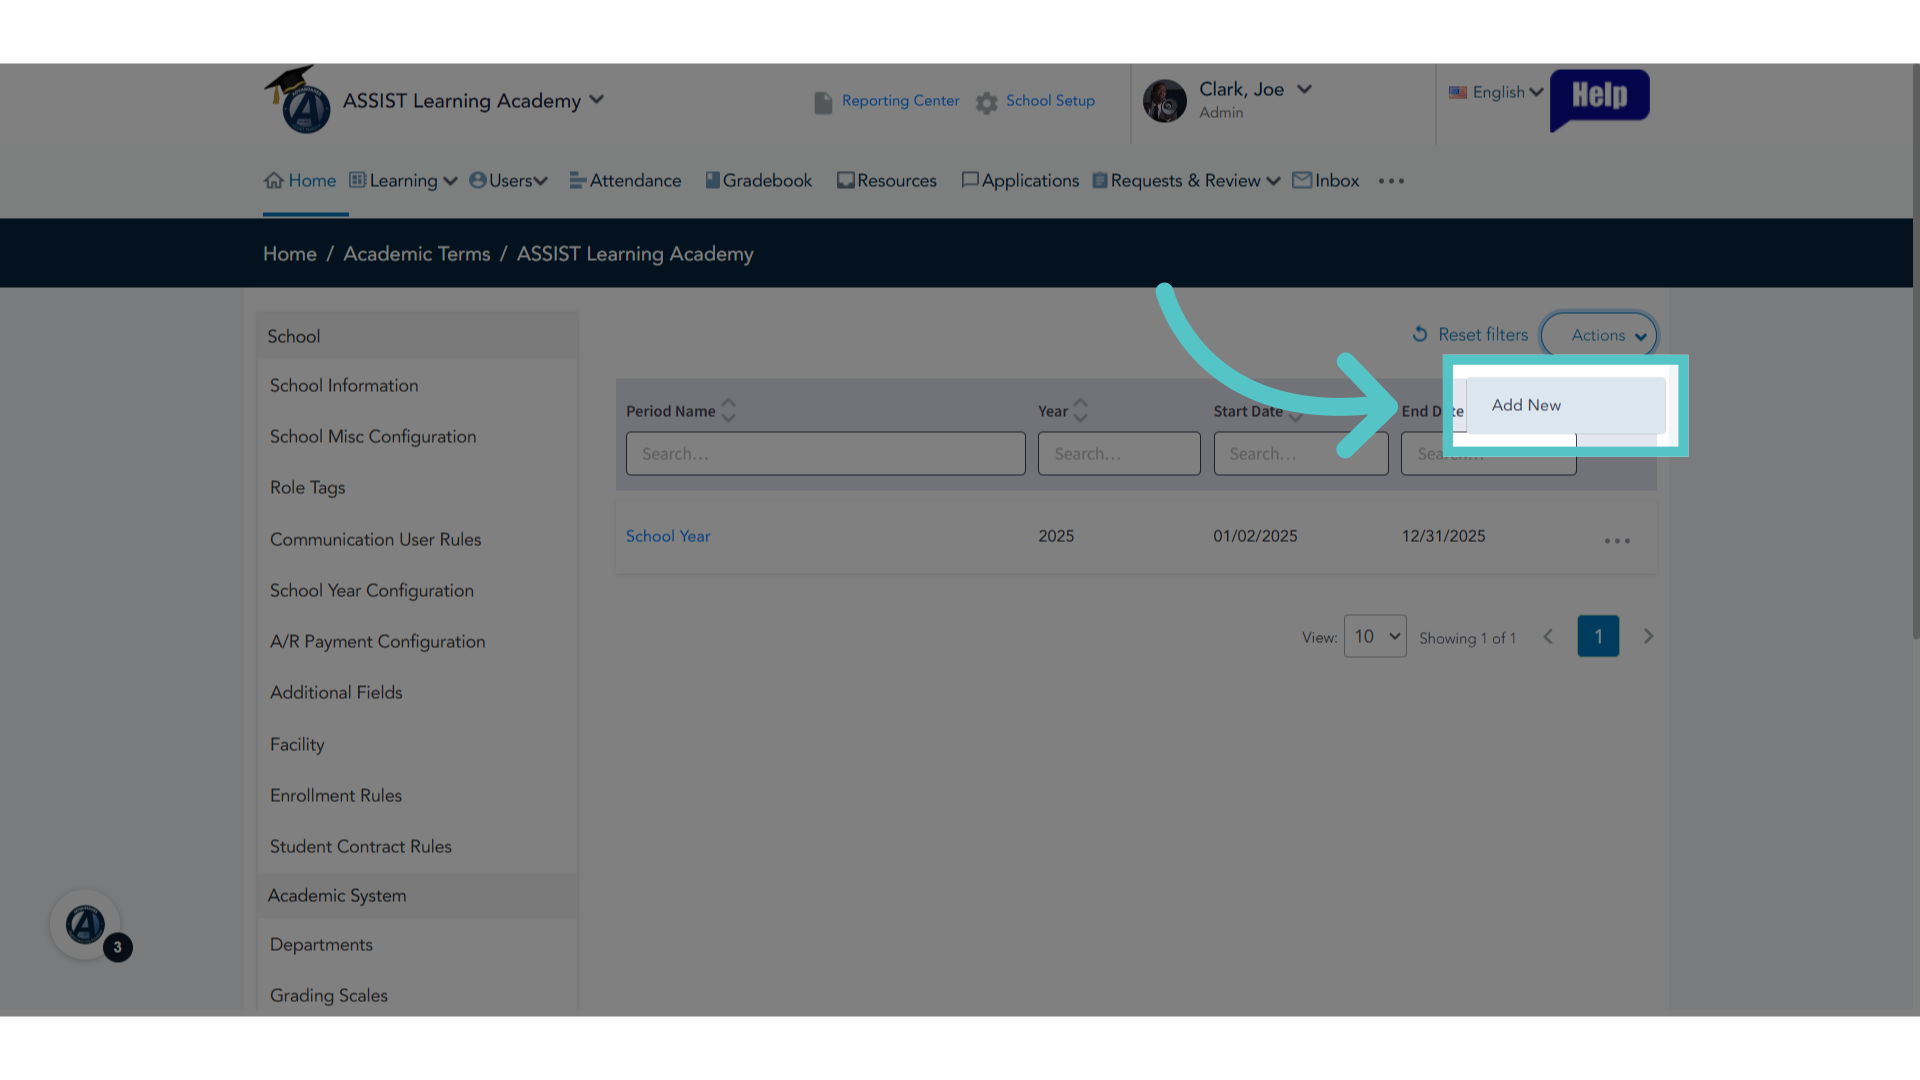
4. Click "Add New"
Click on Add New to create a new entry. This will set a timeframe for attendance to be taken. For example, an academic term can be a full school year, one semester, or a quarter. Whenever classes begin and end will be the academic term.
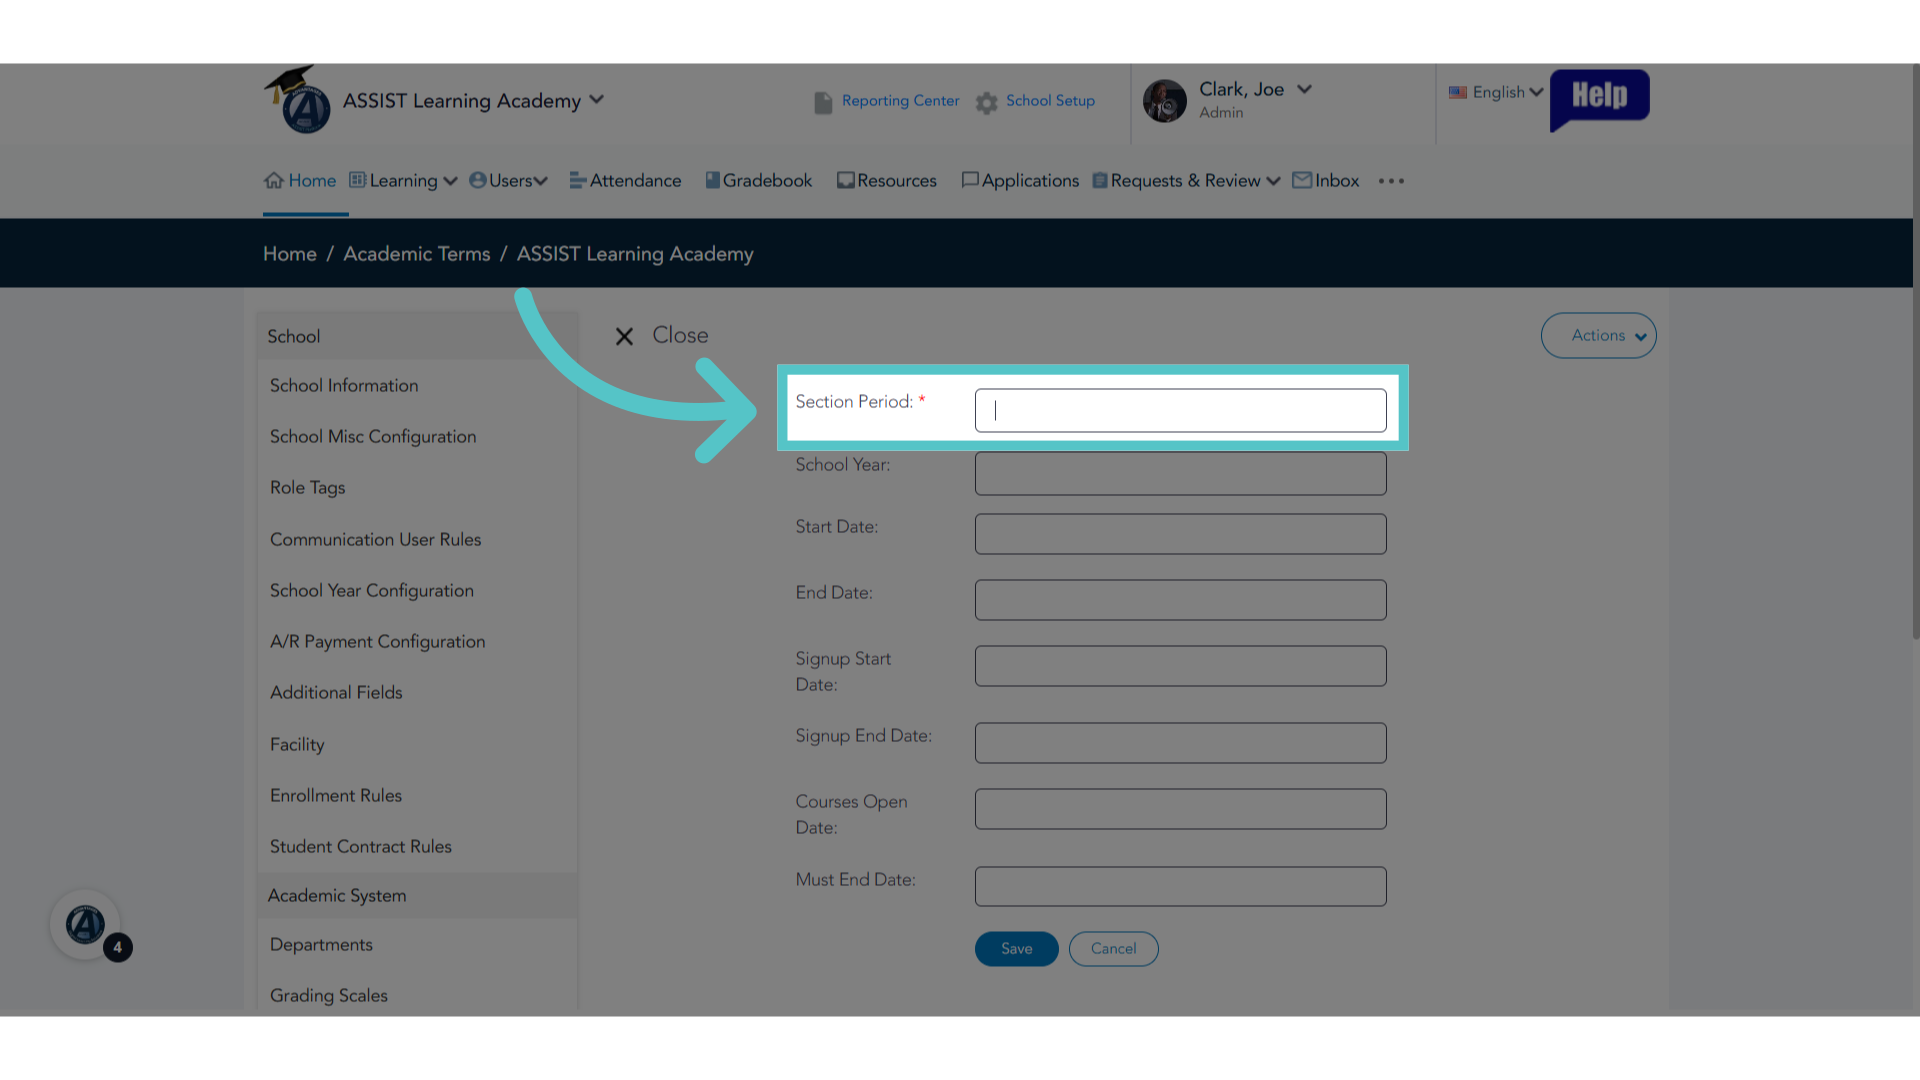
5. Name the Term
The Section Period is how the school names the term. For example, Spring Semester, First Quarter, or just School Year.
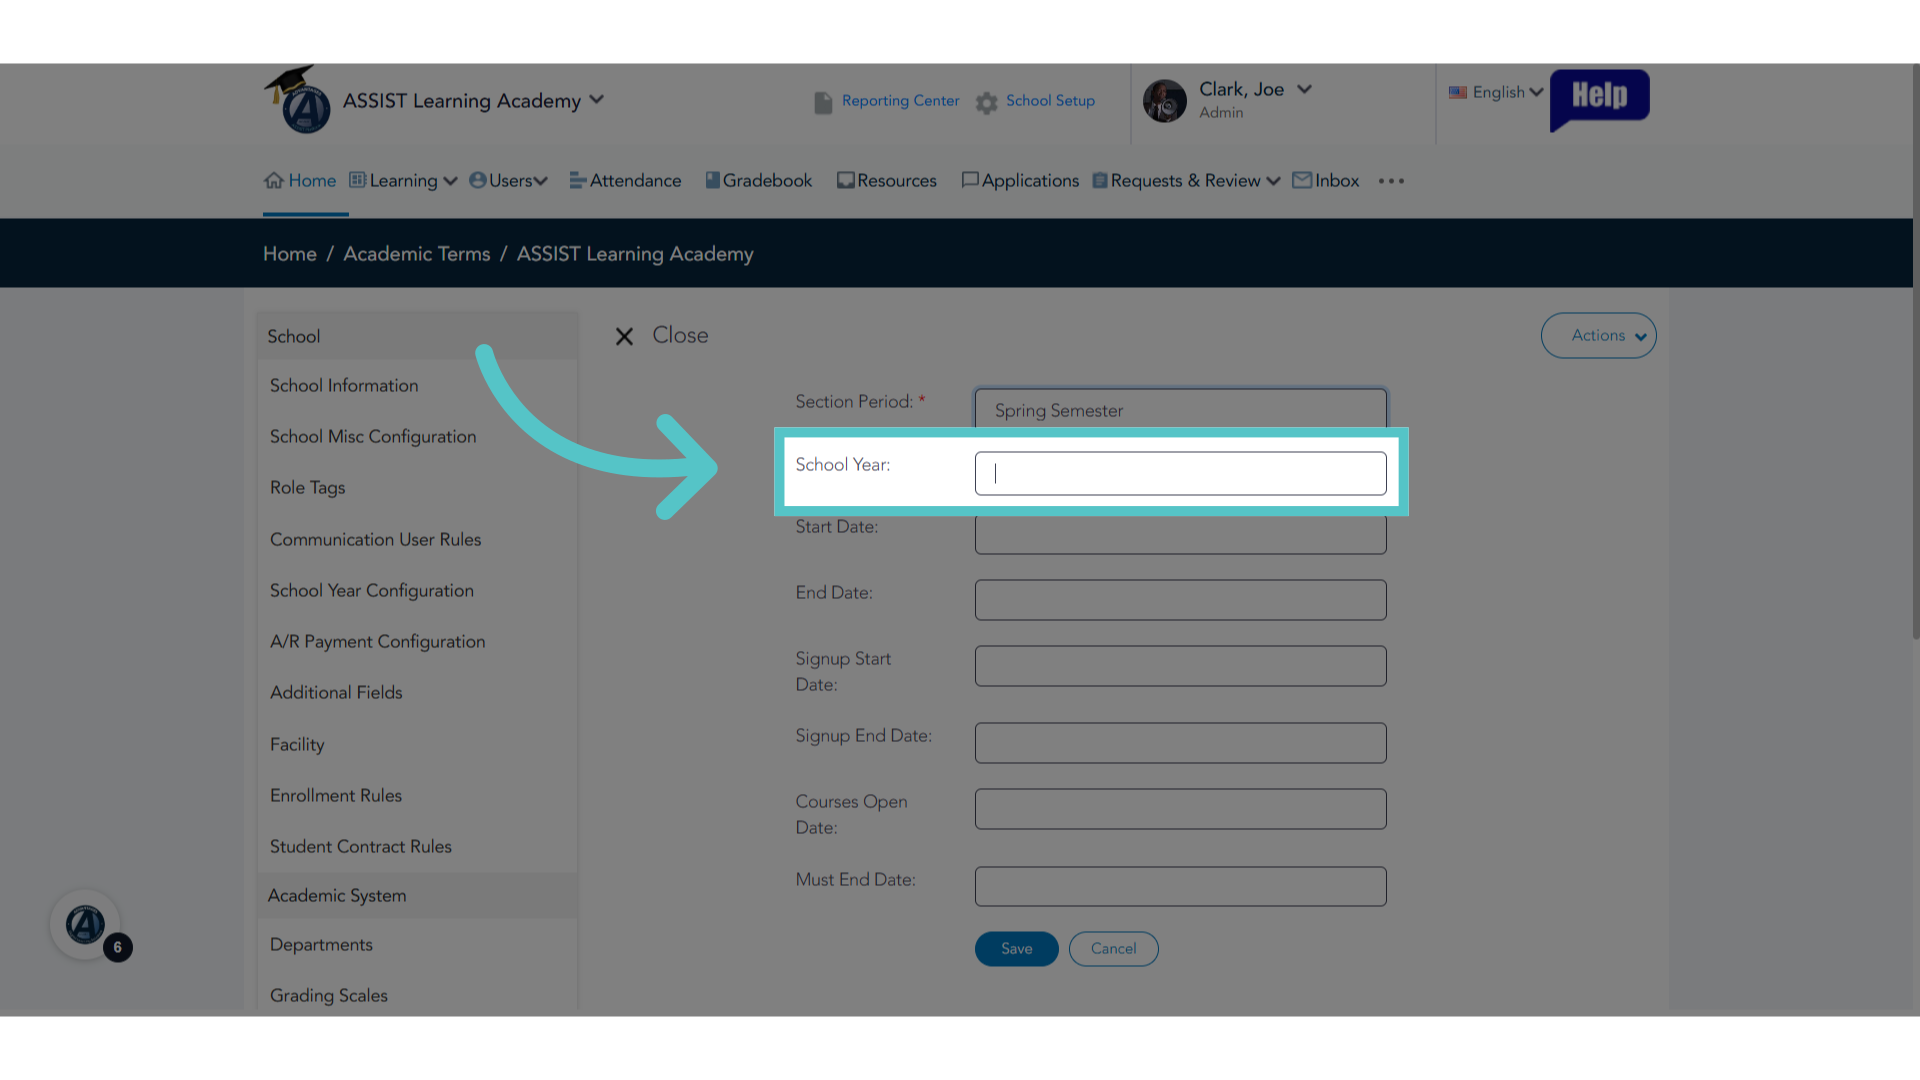
6. Year
Enter the year, or years of the term.
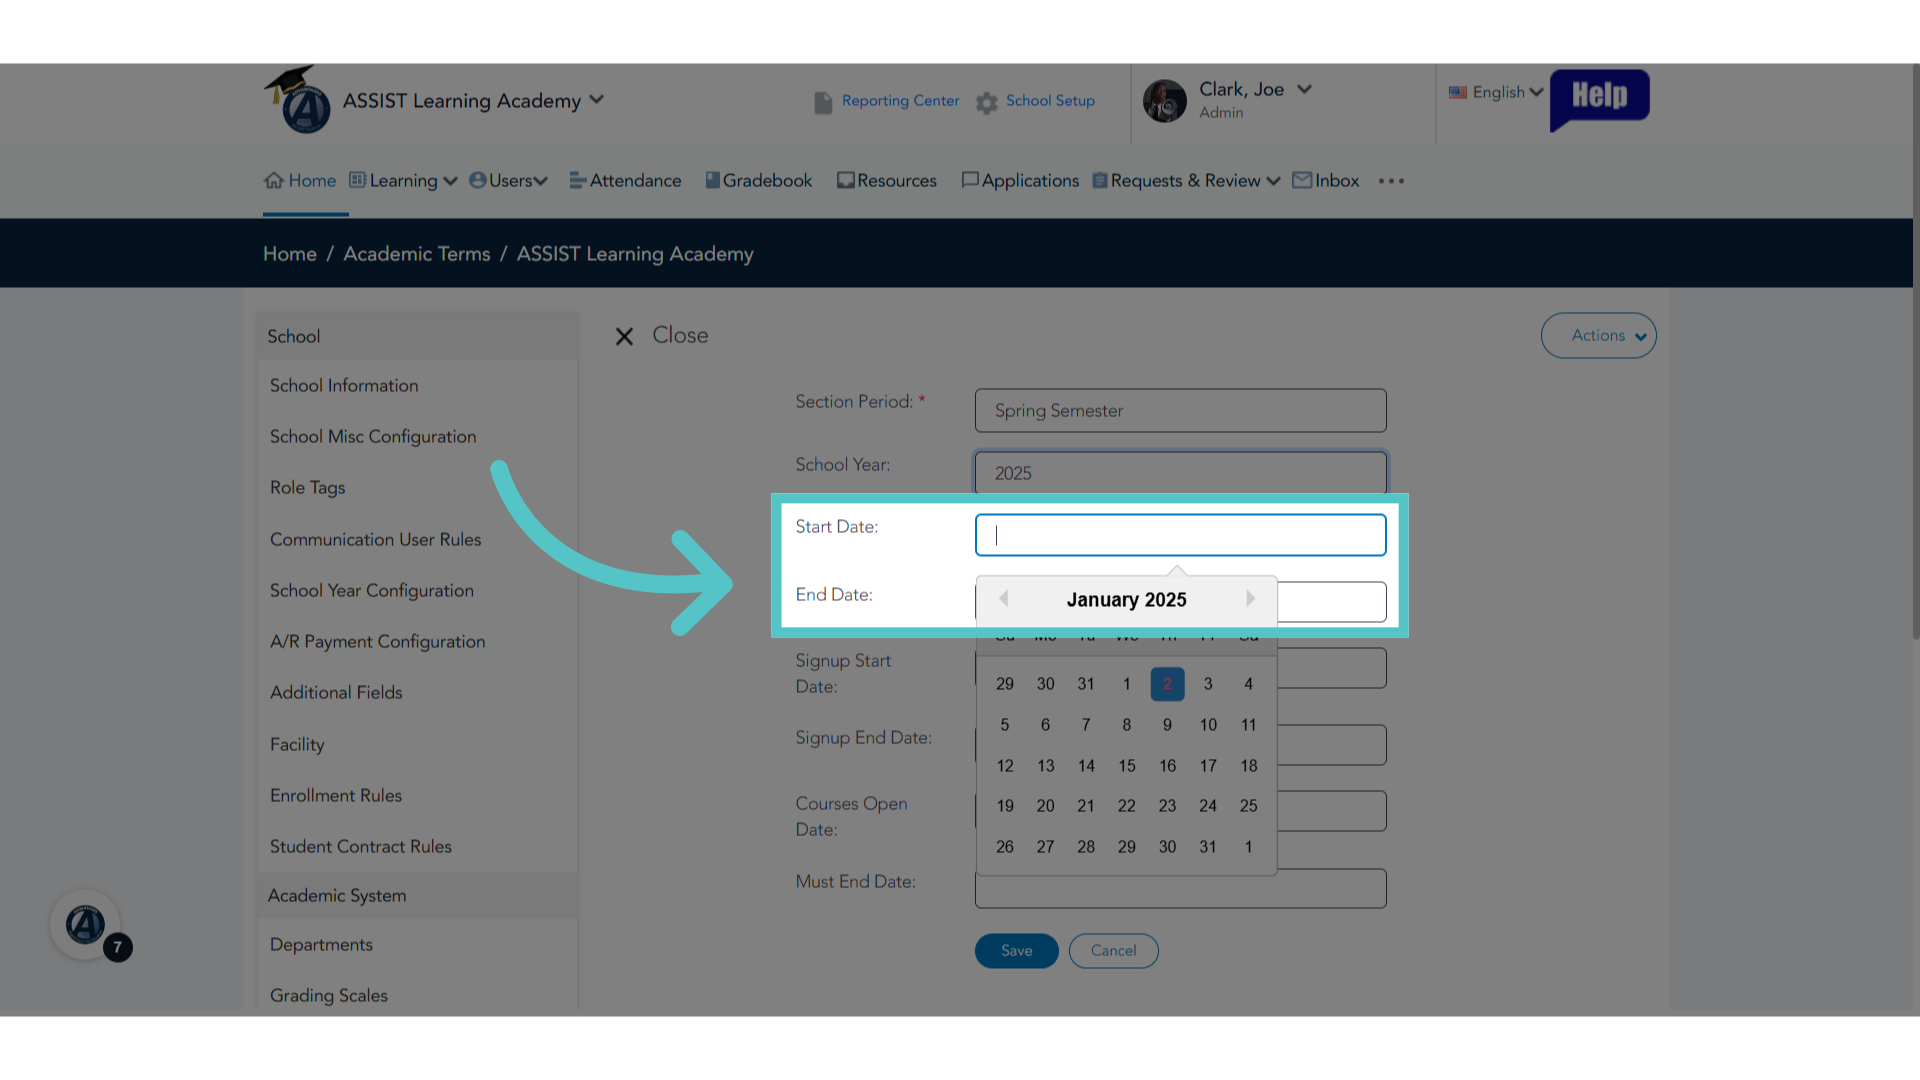
7. Select Start and End Dates
Add a Start Date and an End Date for the academic term.
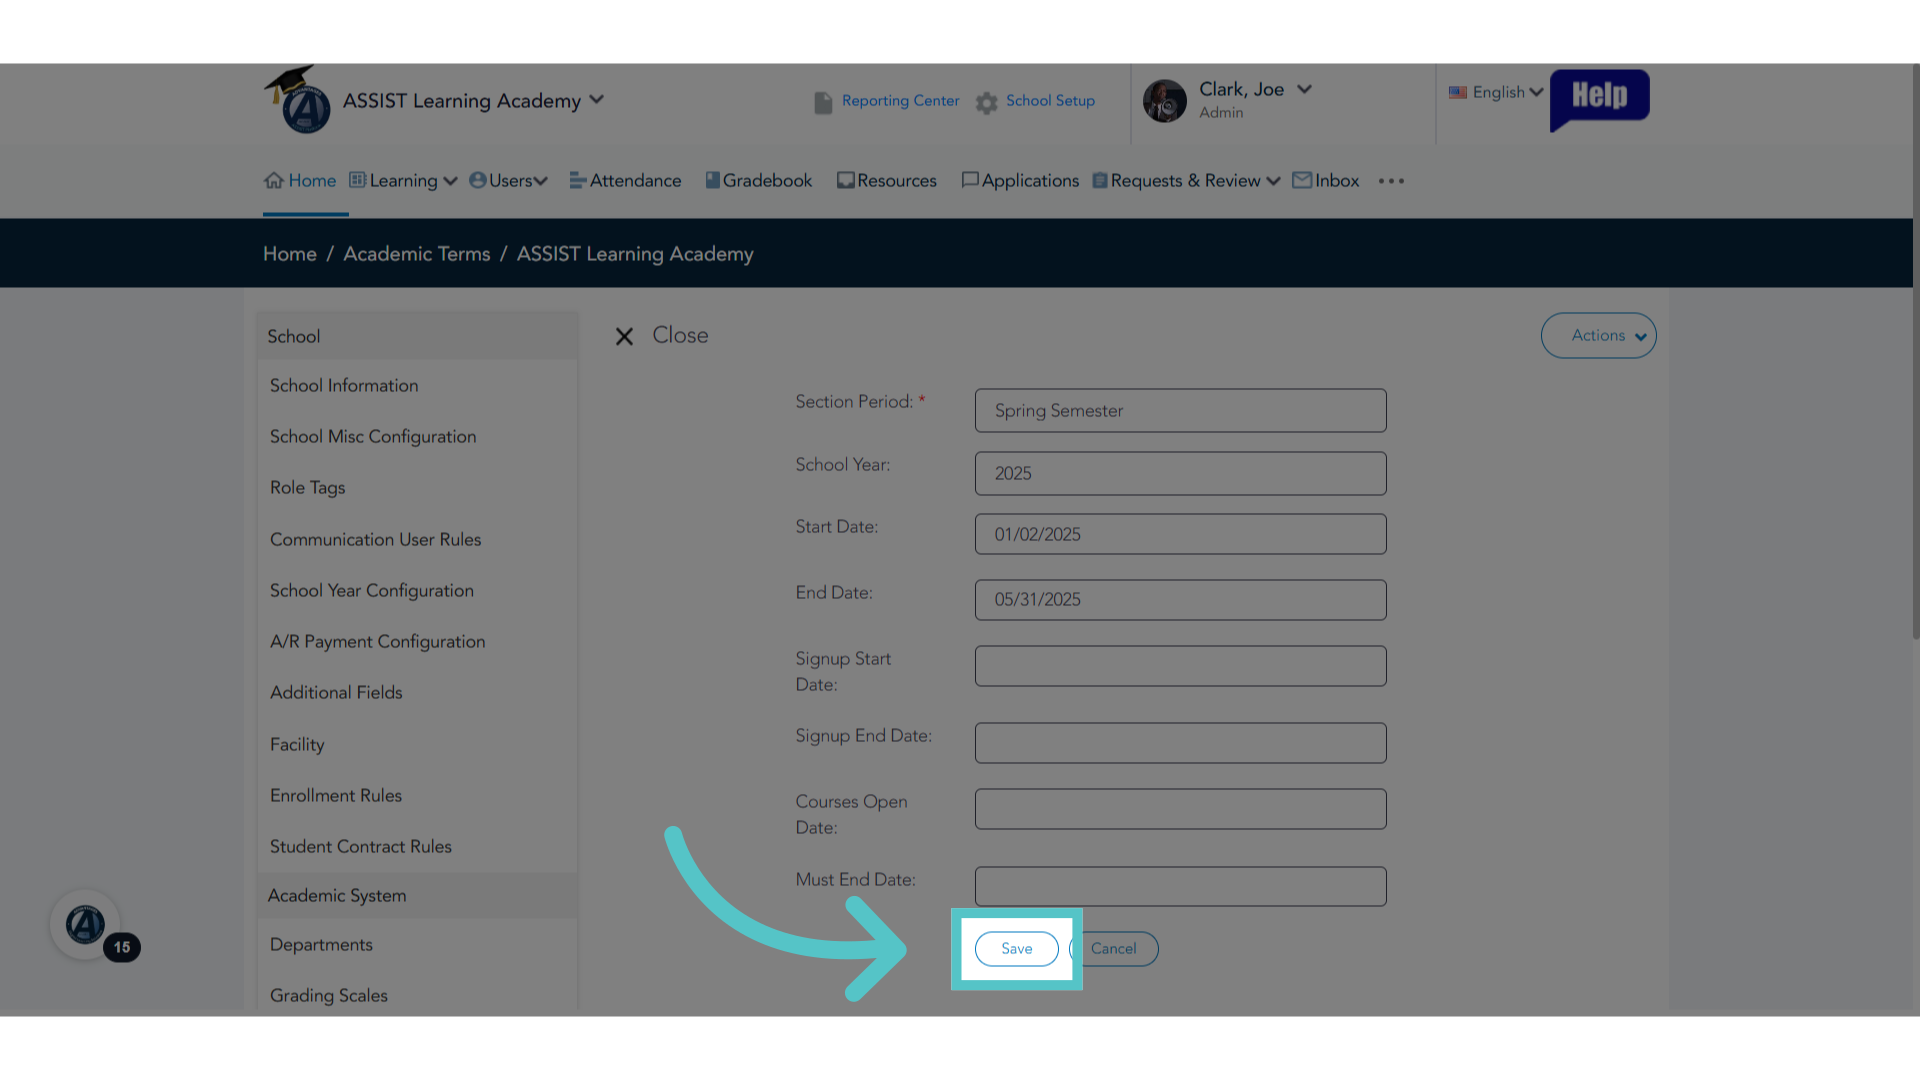
8. Click "Save"
This is all the required information. Save your changes.
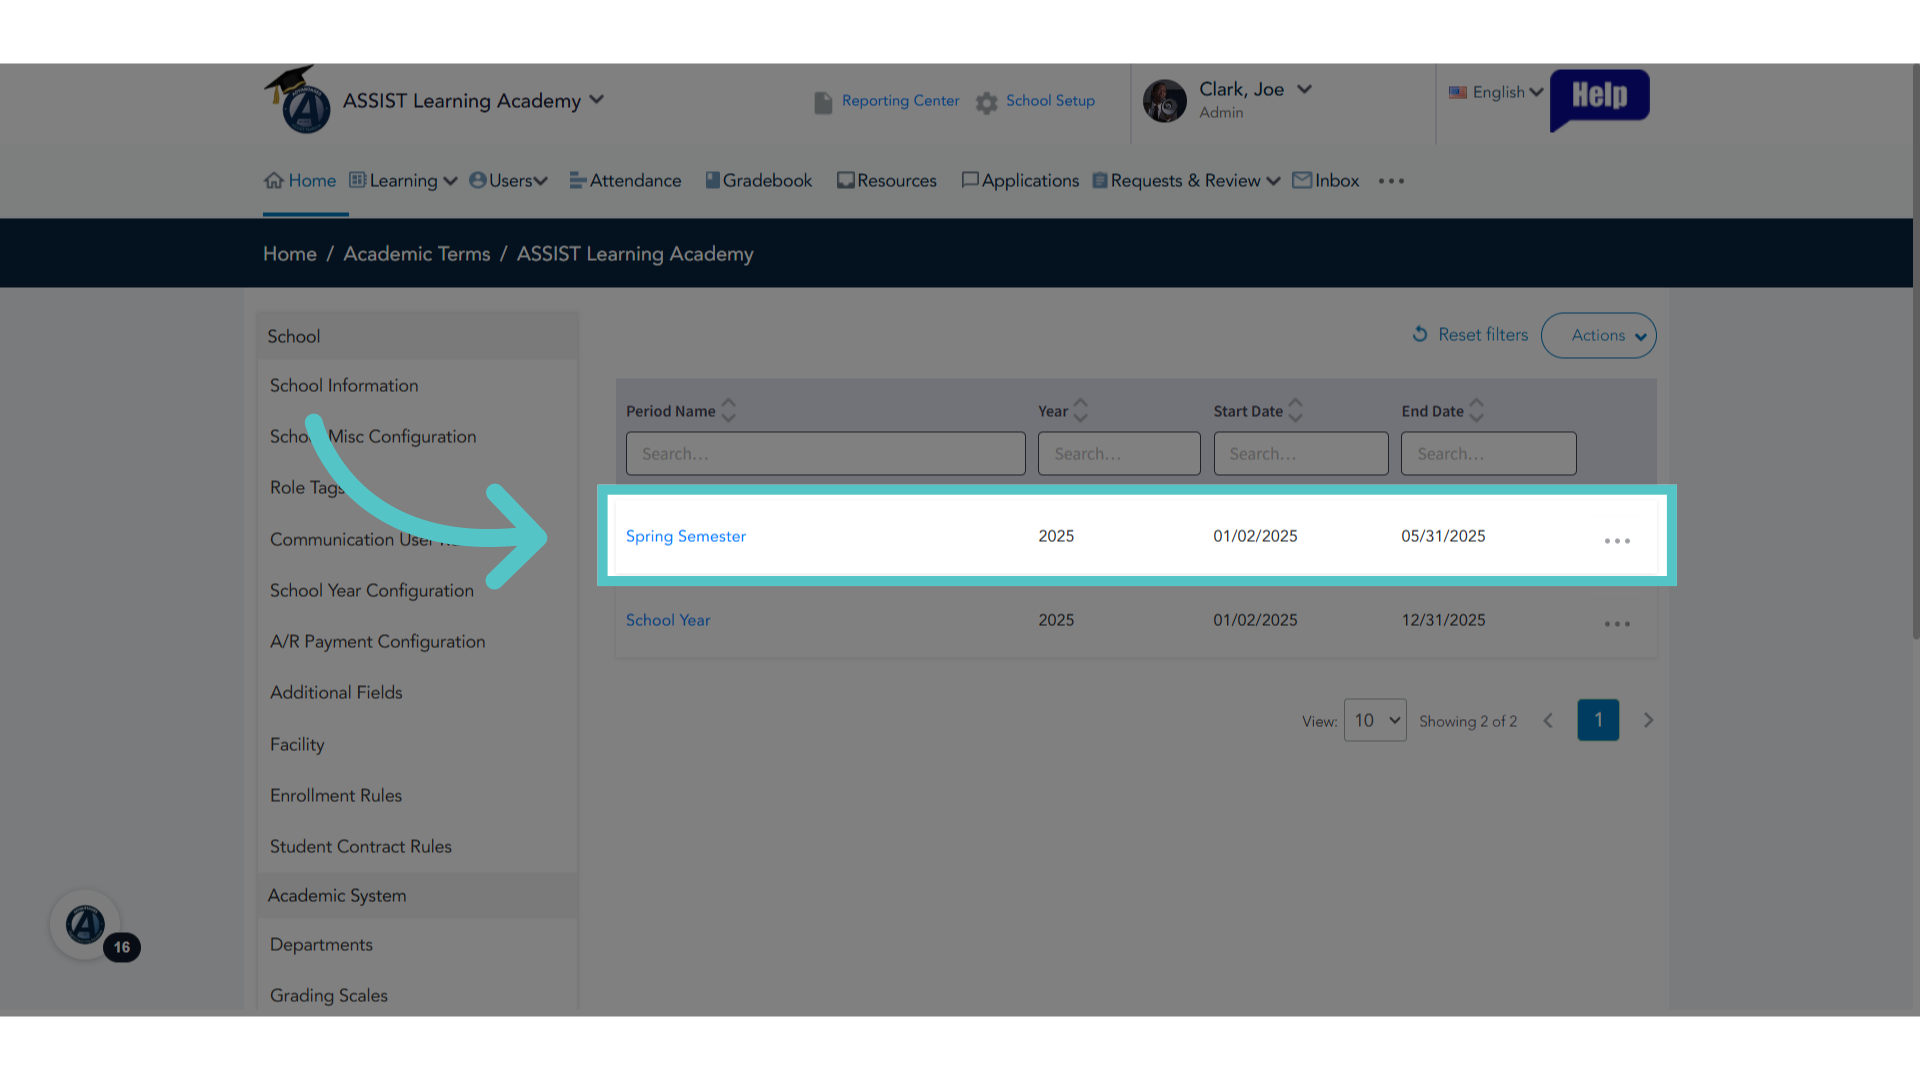
9. Academic Term List
The term is now listed with a start and end date. Any students enrolled in sections with thisacademic term will have attendance taken between these dates.
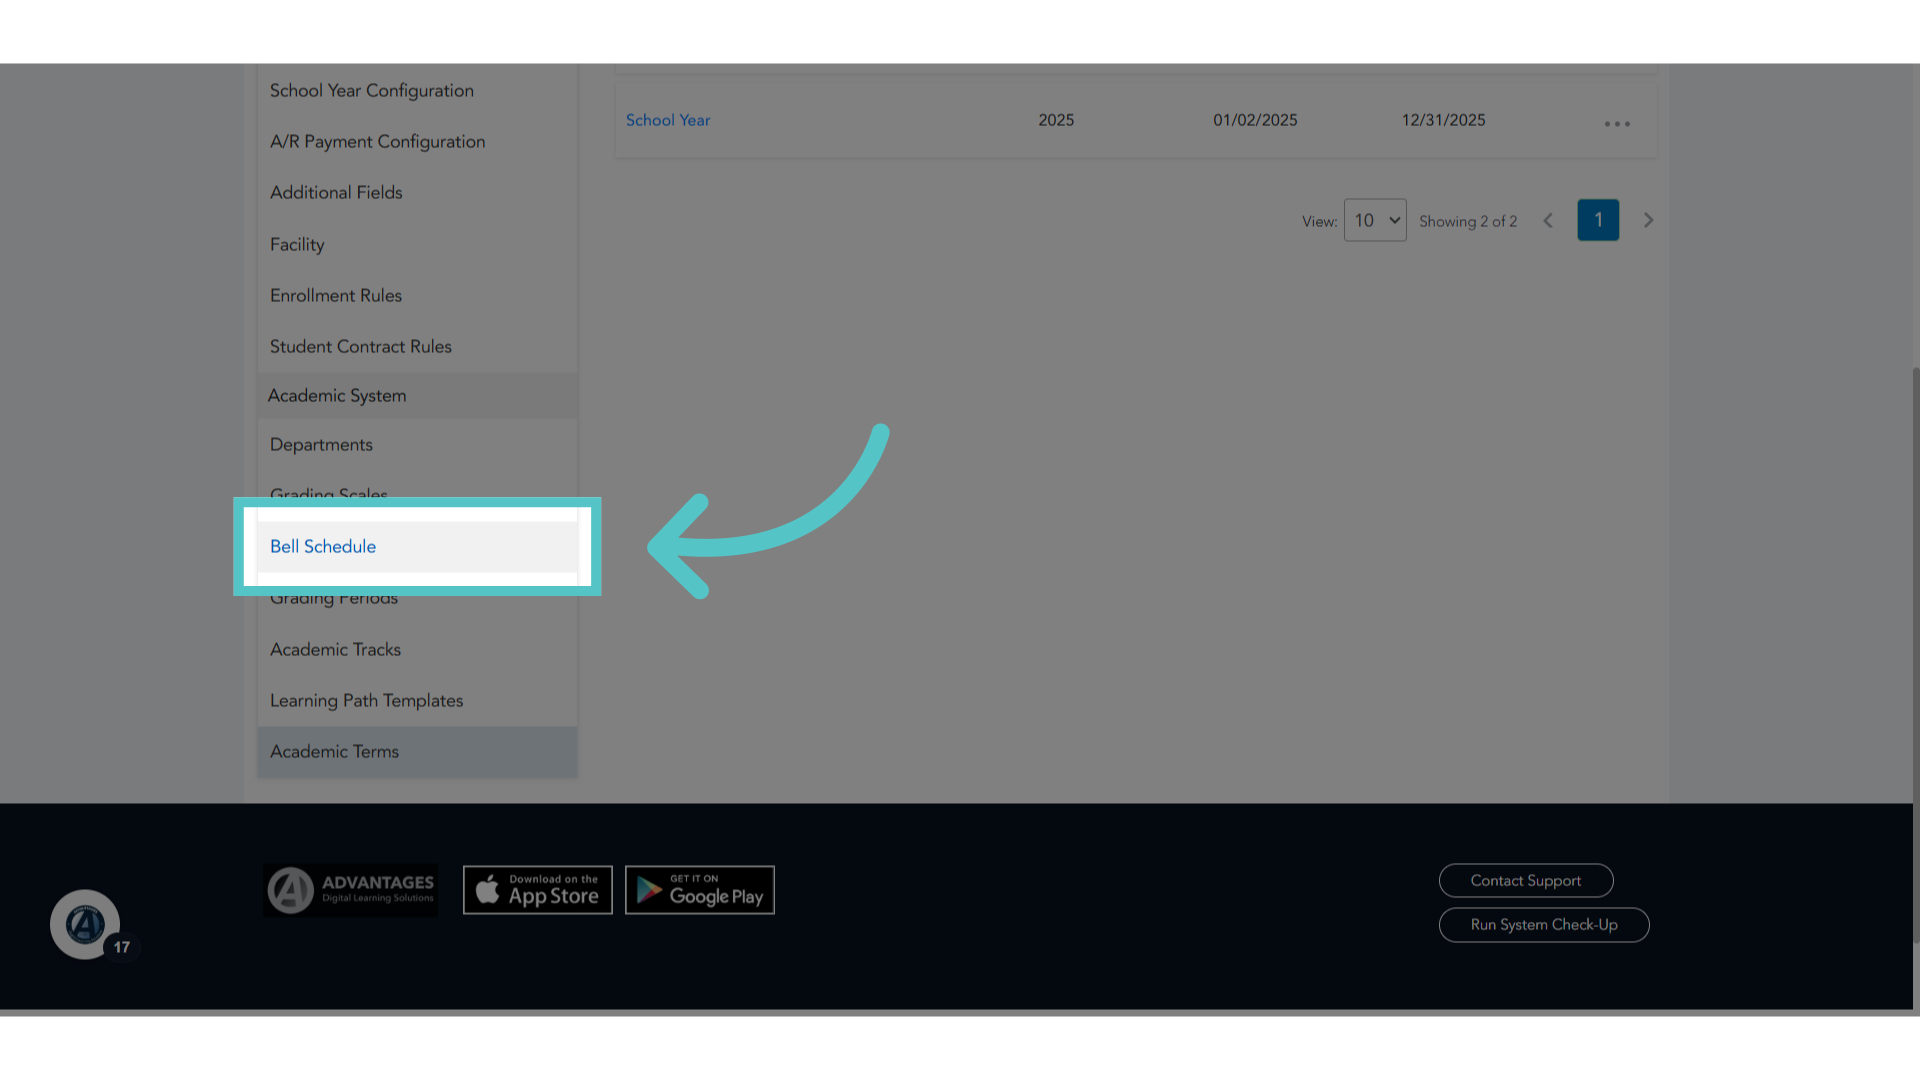
10. Click "Bell Schedule"
Next, access the Bell Schedule from the left side menu.
11. Click "Actions"
Click the Actions button.

12. Click "Add New"
Click on Add New for a new entry. This will add times of day that a section can meet for attendance.

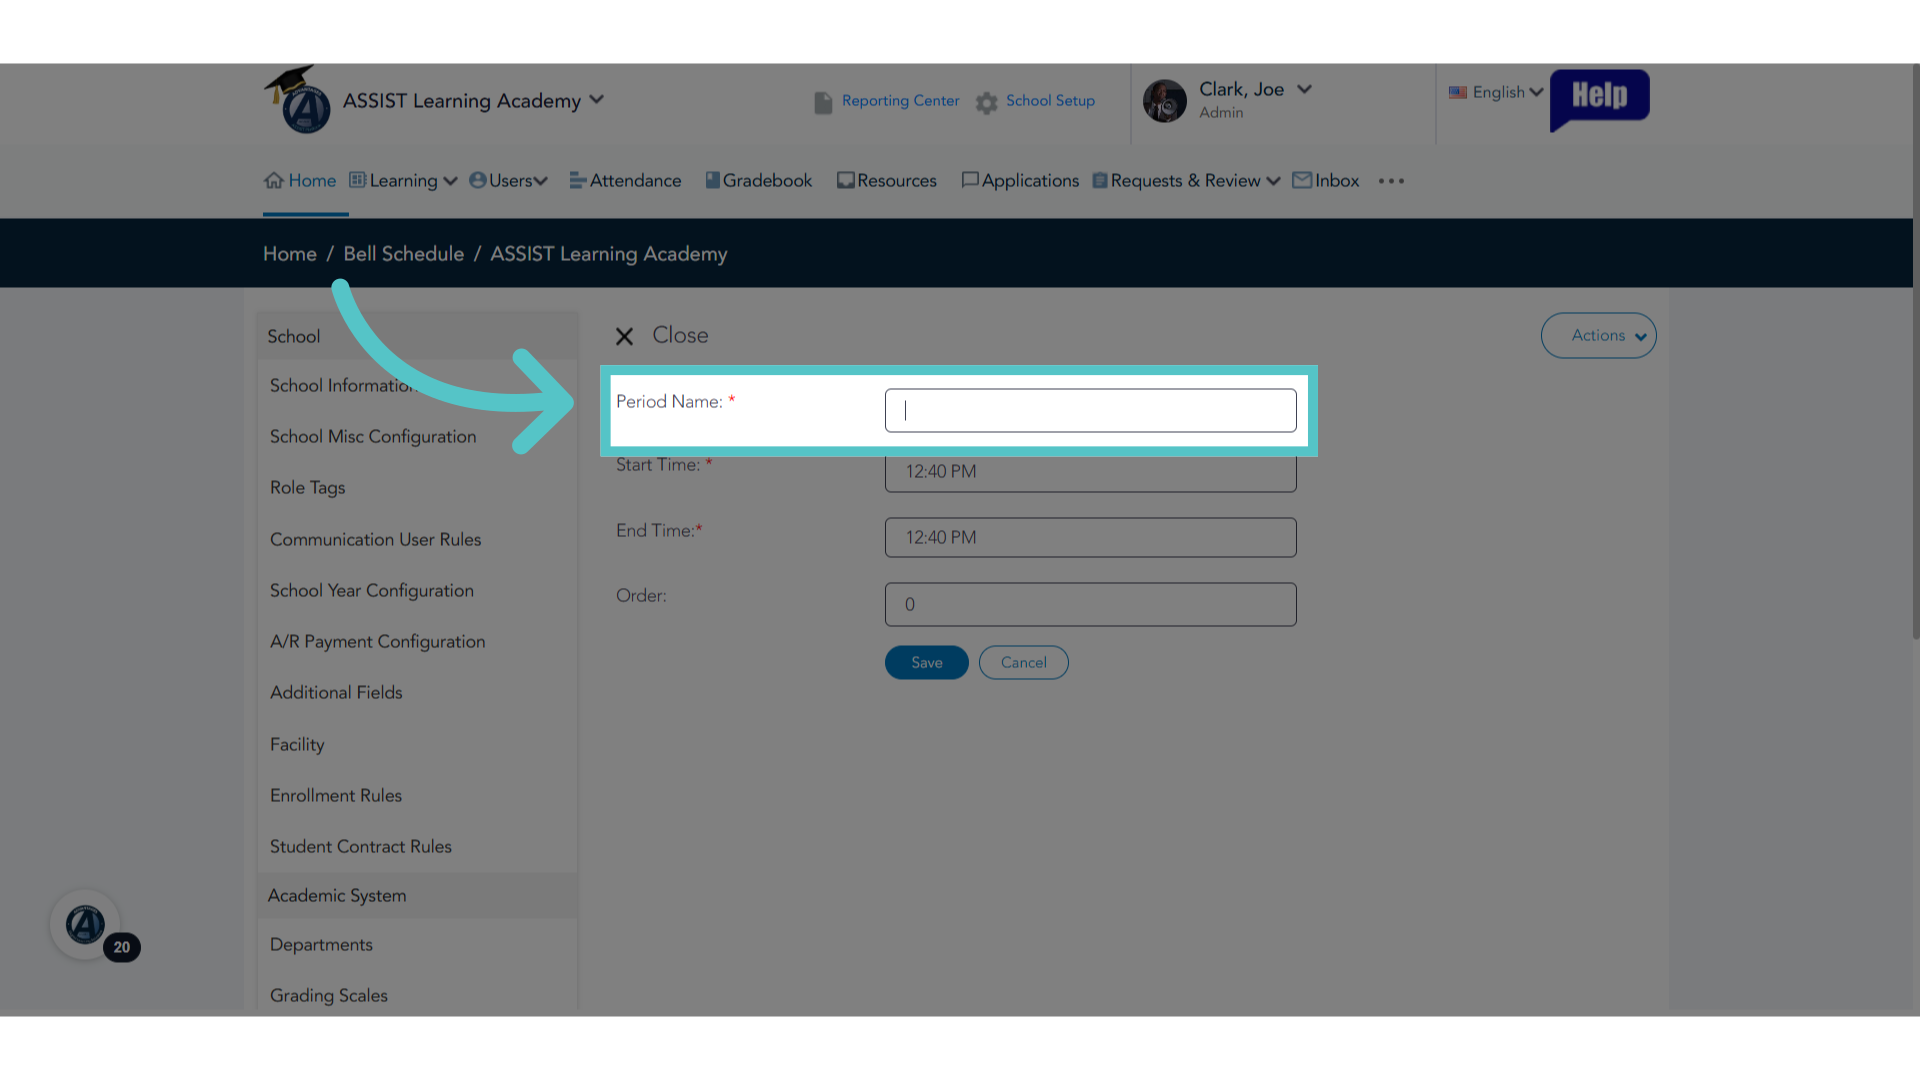
13. Name the Timeframe
The "Period Name" is the label a school gives to its classtime. For example, some schools work in "blocks," or "periods," or "sessions."
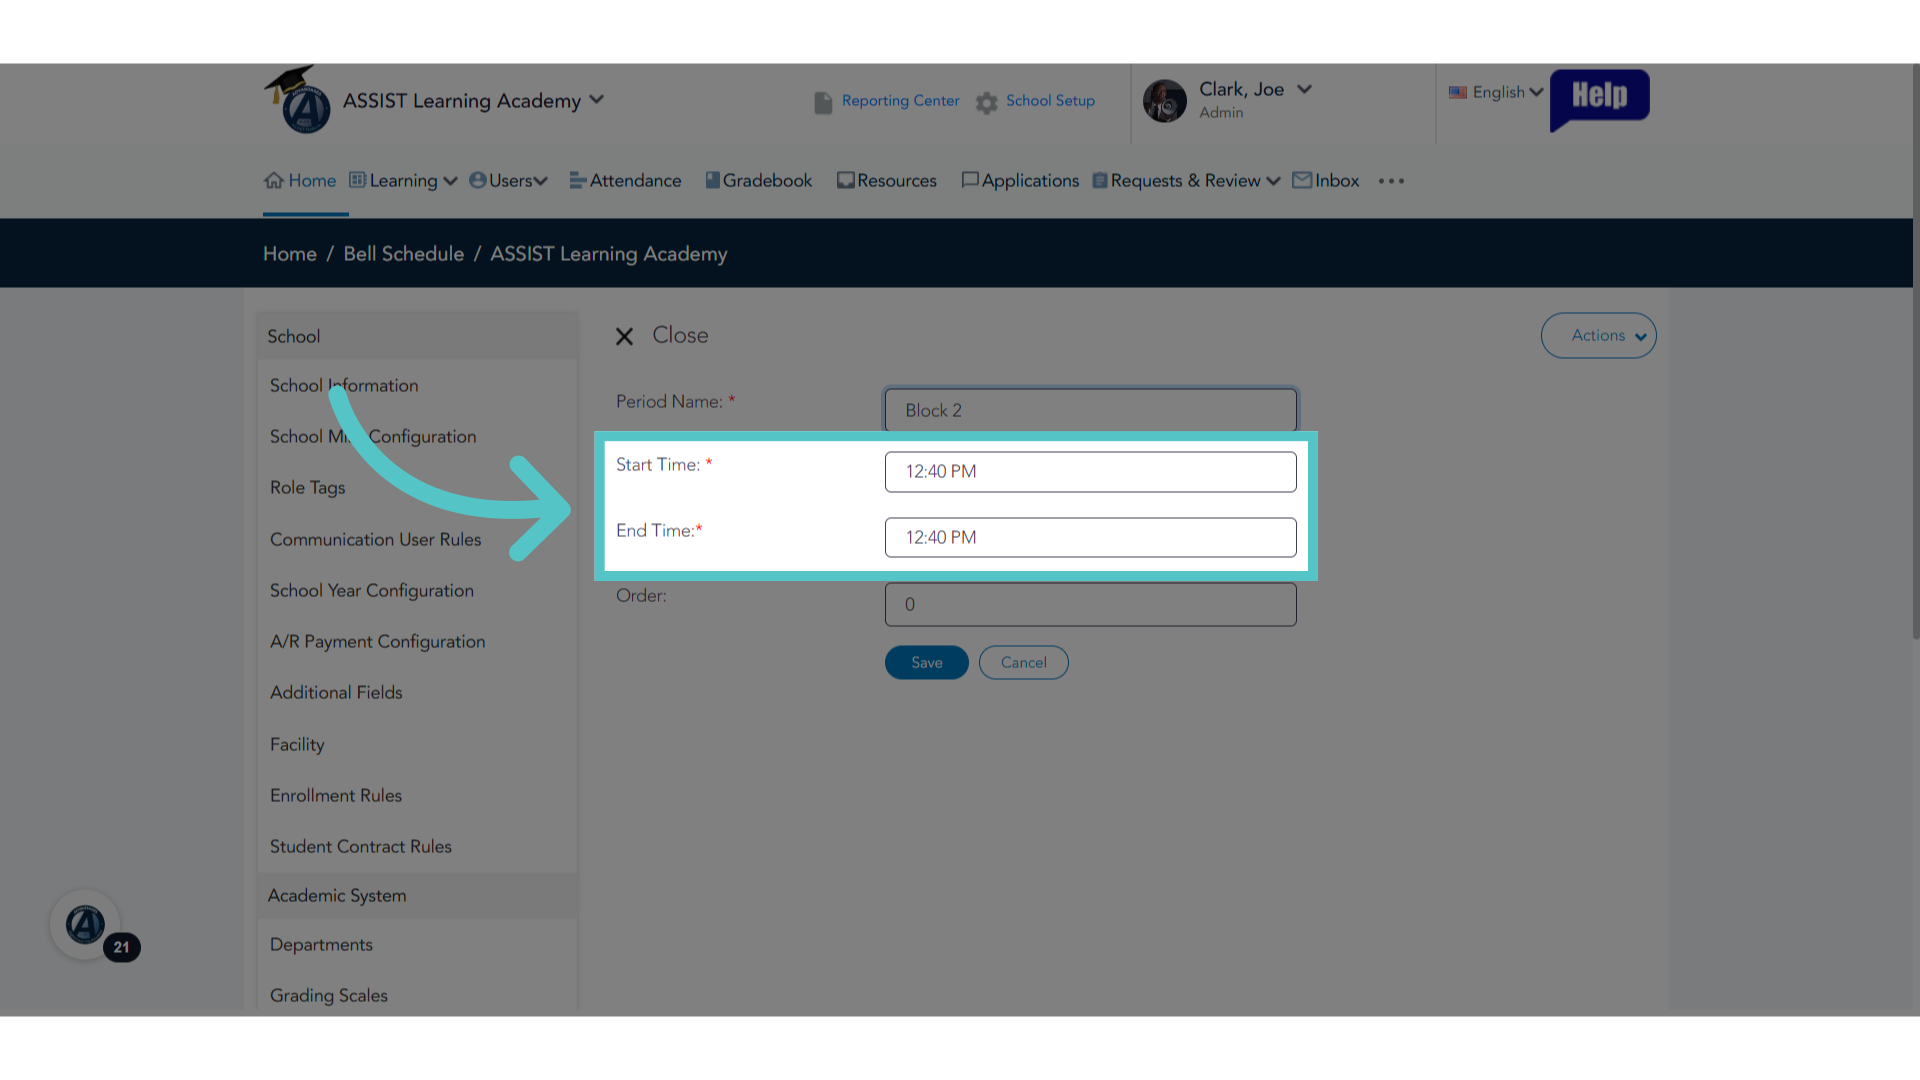
14. Start and End
Enter a start time and an end time for the class.
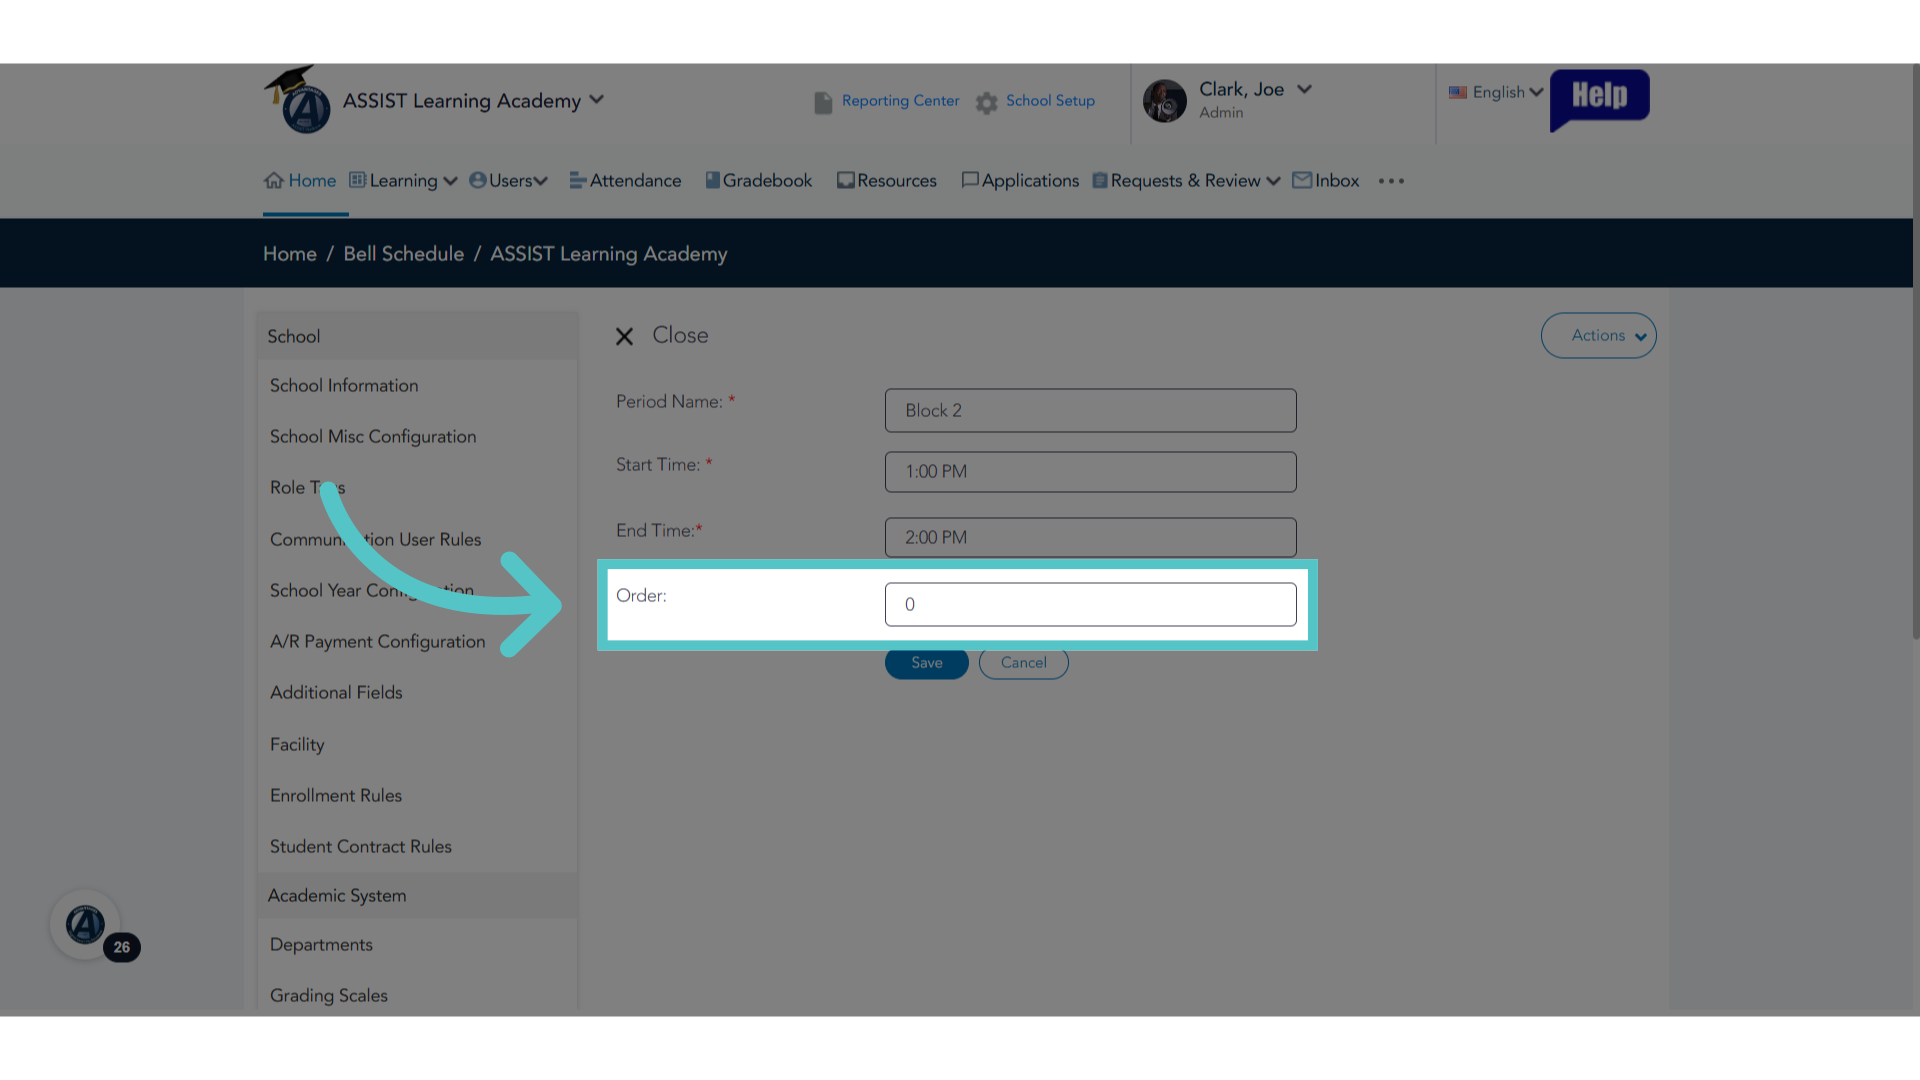
15. List Order
Enter where this classtime falls in the daily schedule. For example, is it the first of the day? Enter number one.
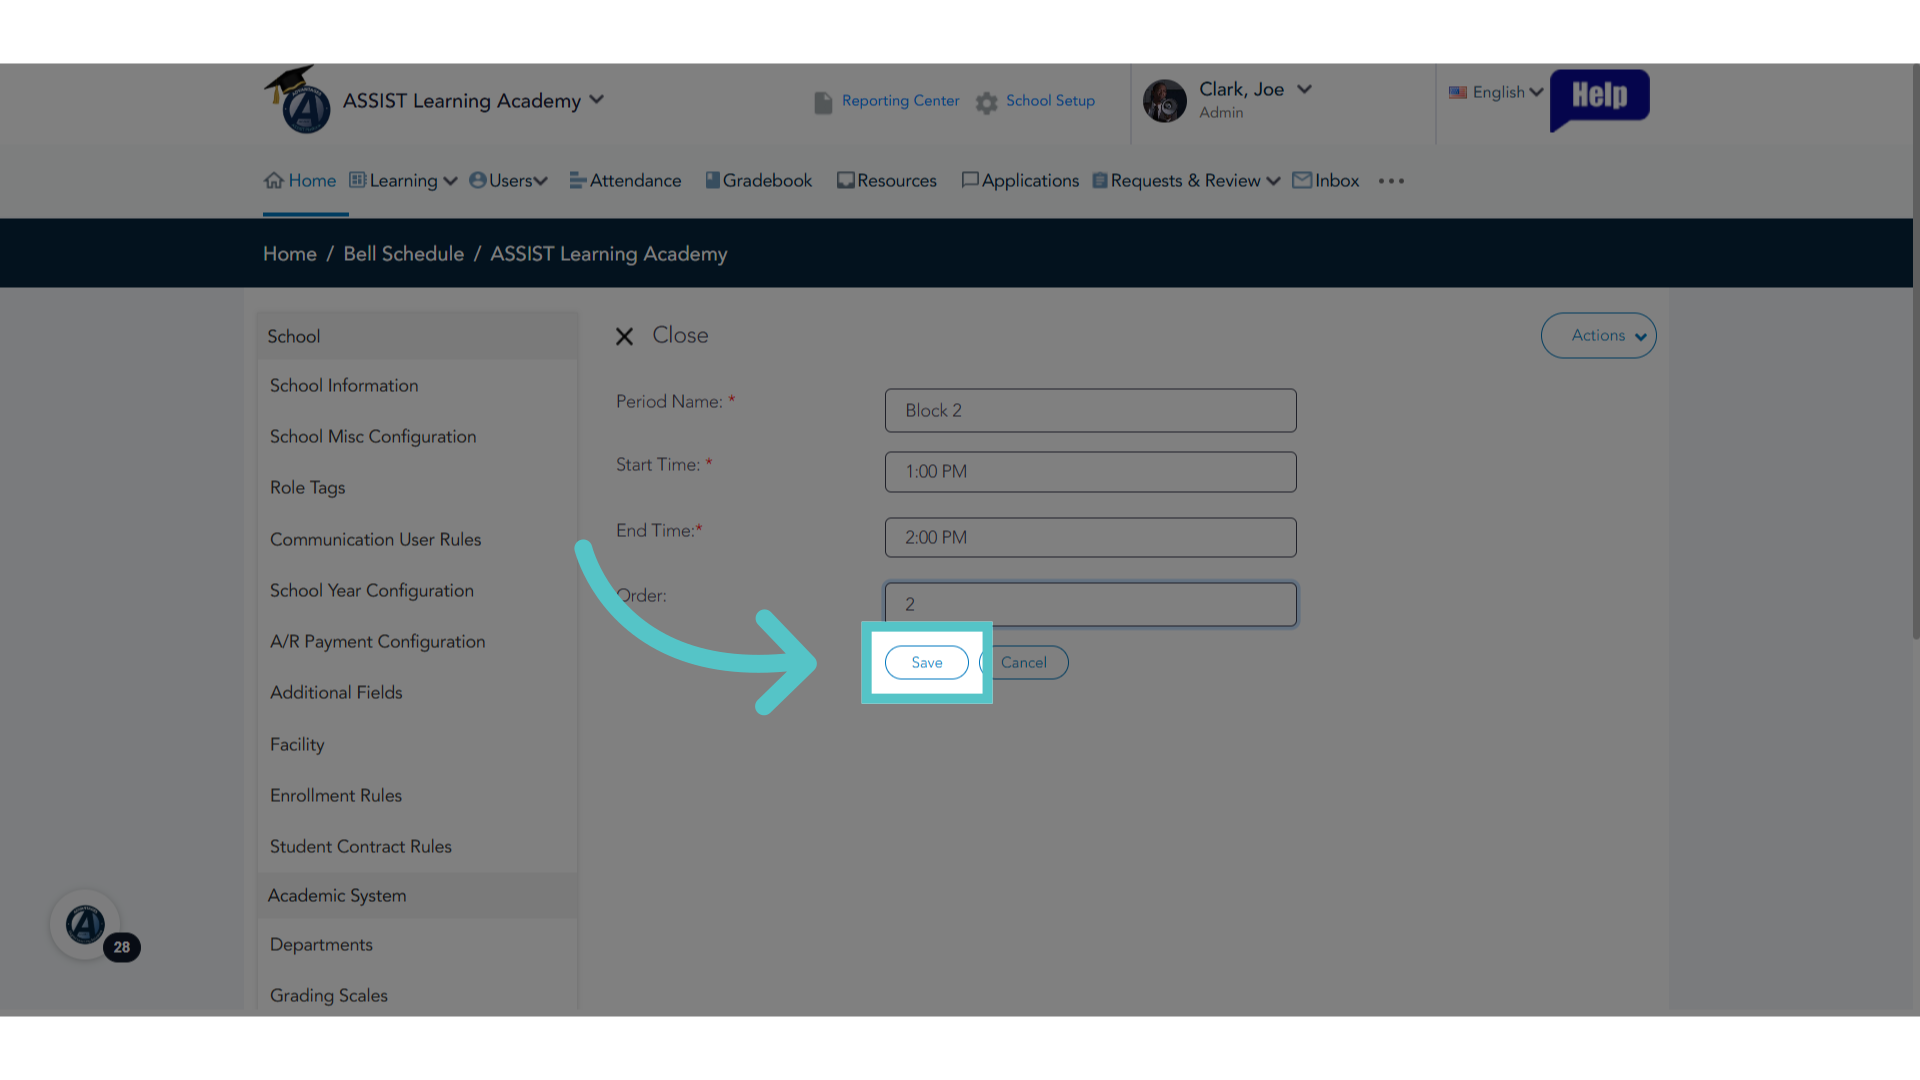
16. Click "Save"
Save your changes
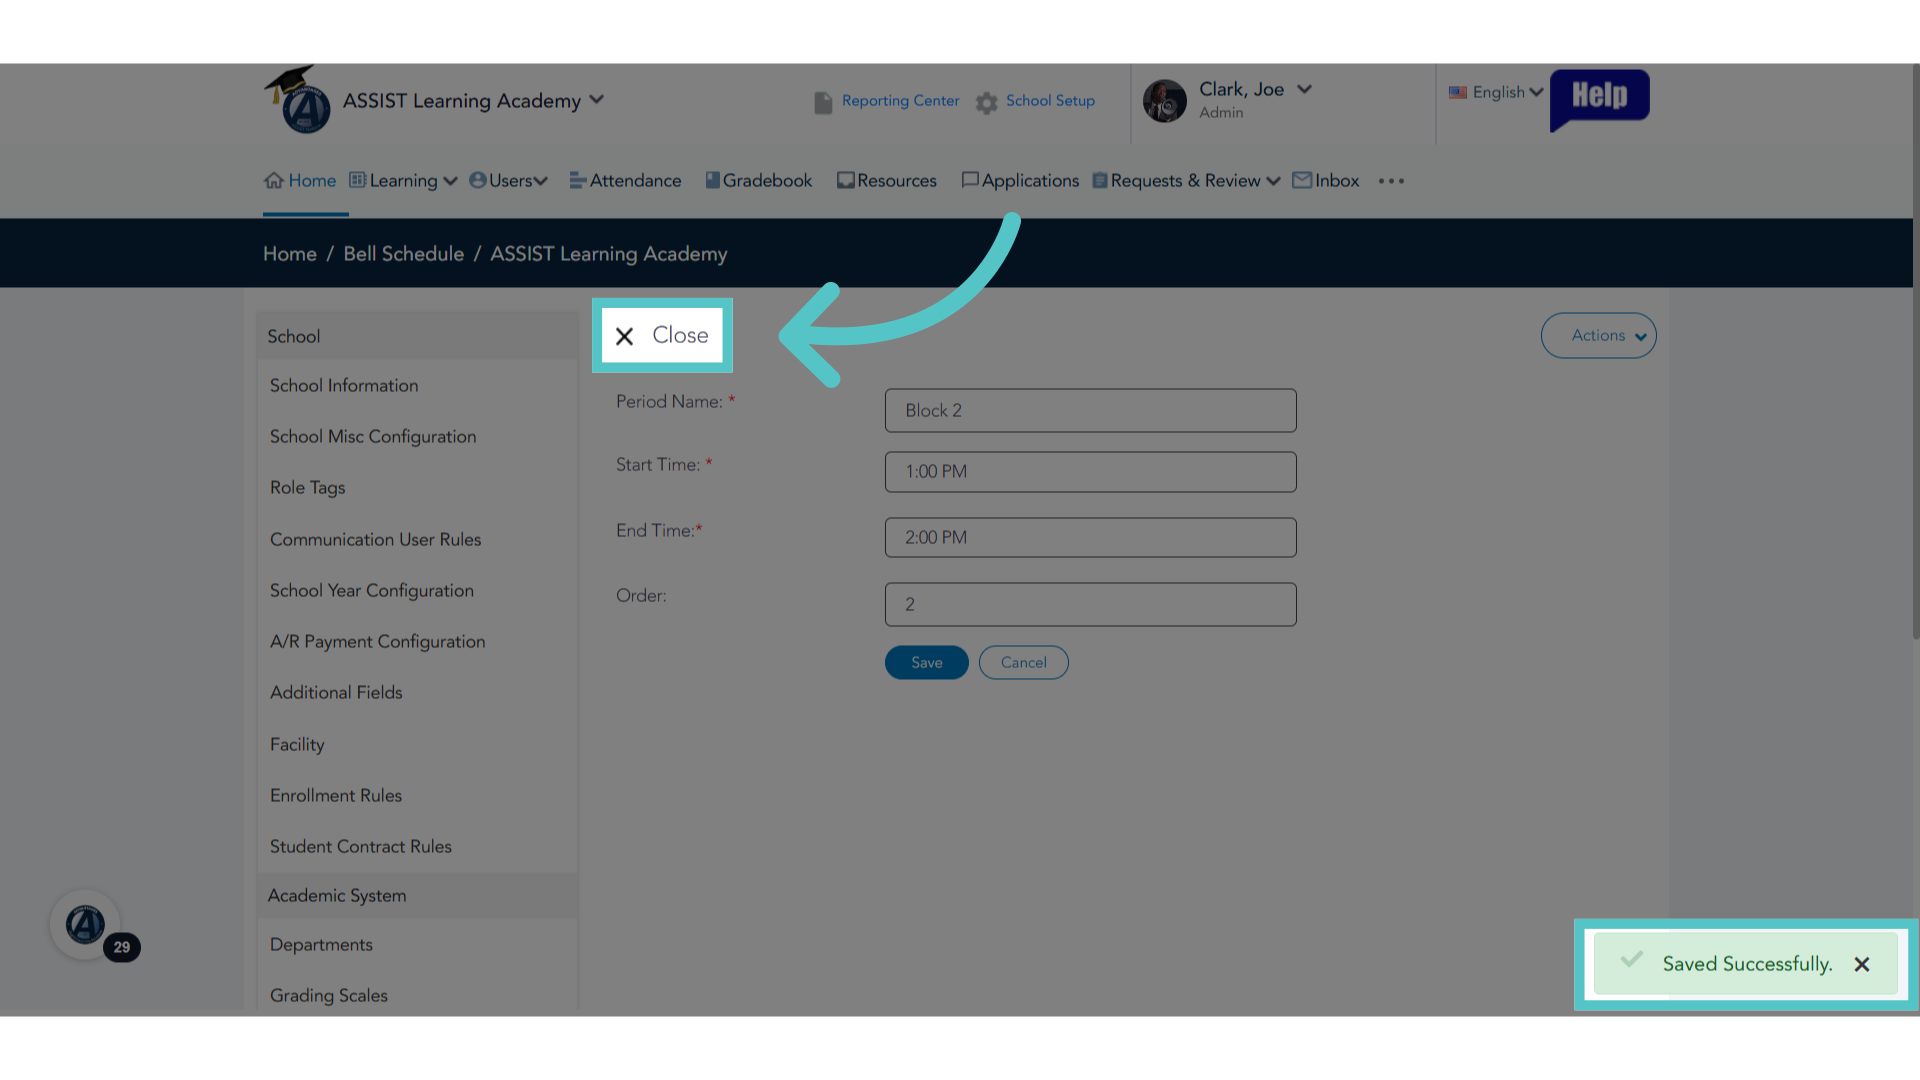
17. Click "Close"
This classtime has been saved in the Bell Schedule. Close the window, or add another classtime using the Actions button to edit this record and save again.
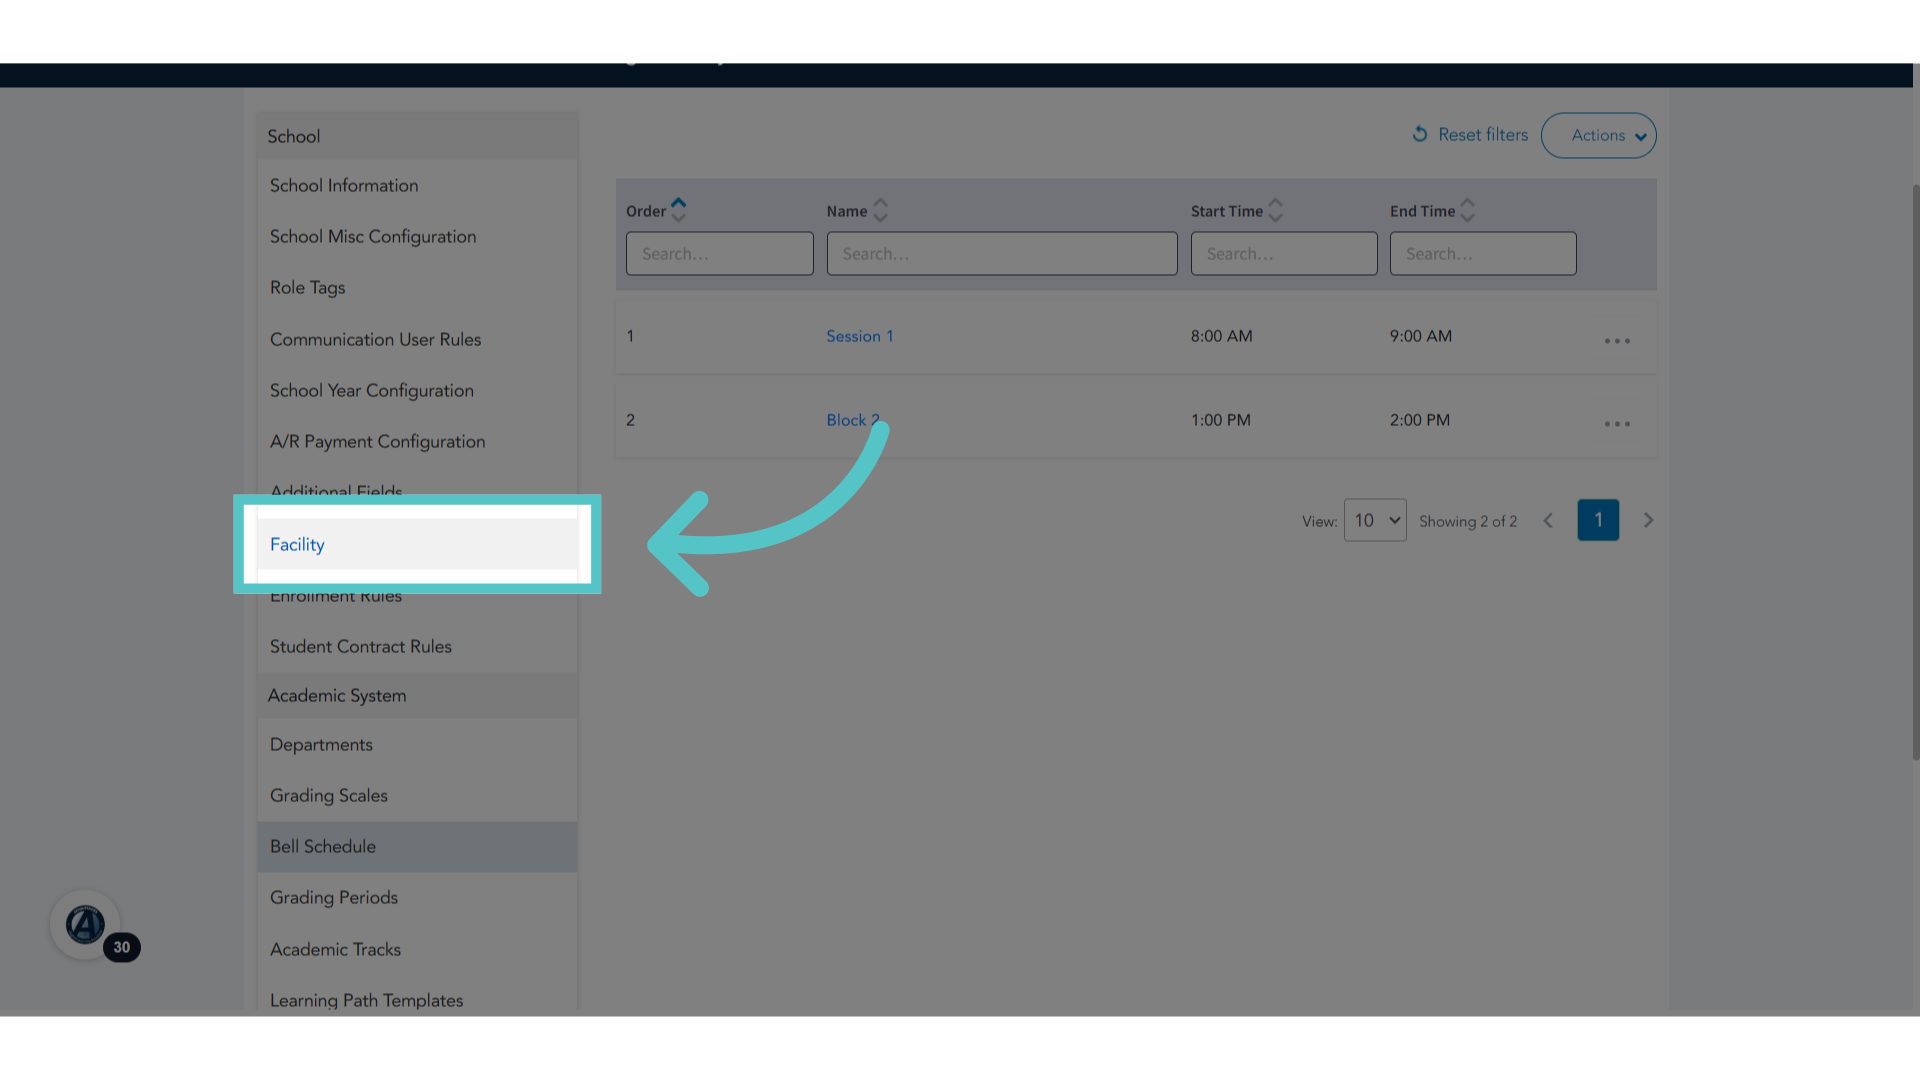
18. Click "Facility"
Once all class times have been added to the bell schedule, Access the Facility section from the left side menu.
19. Click "Actions"
Click the Actions button.
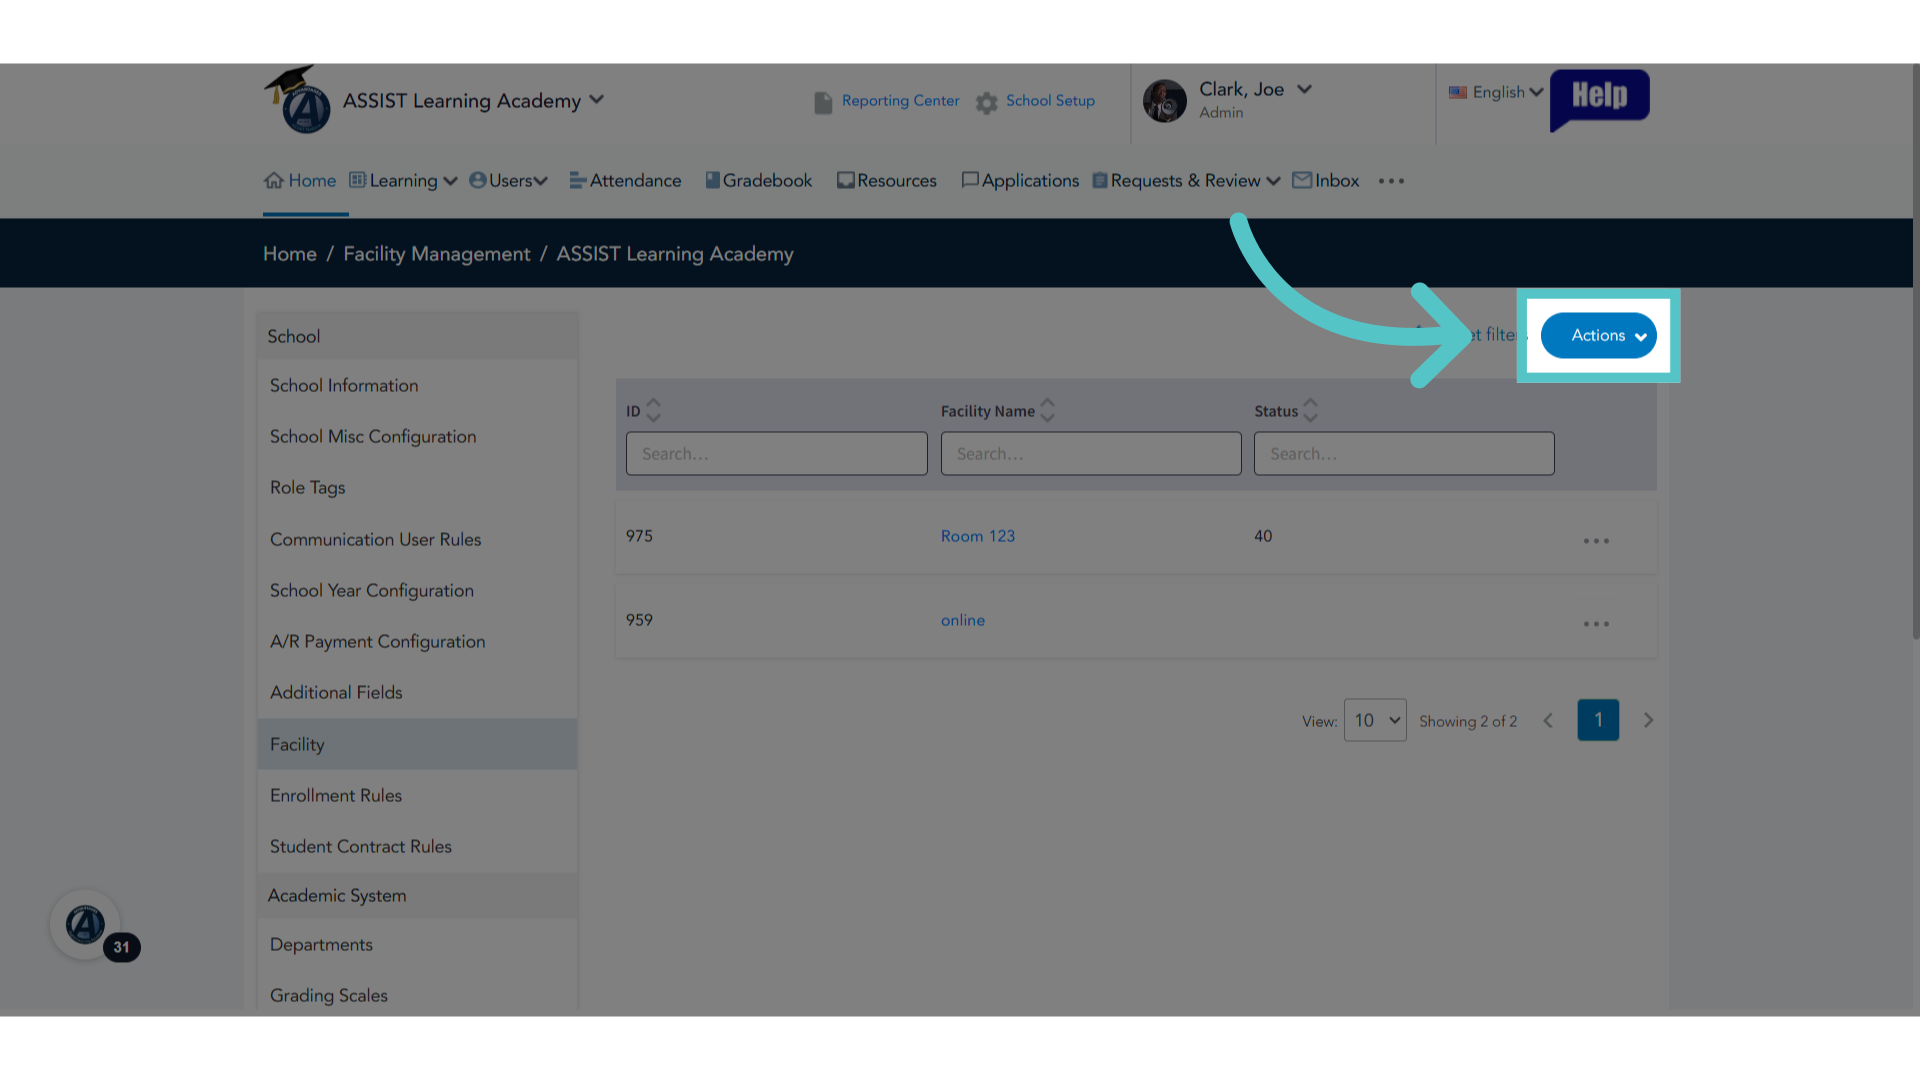
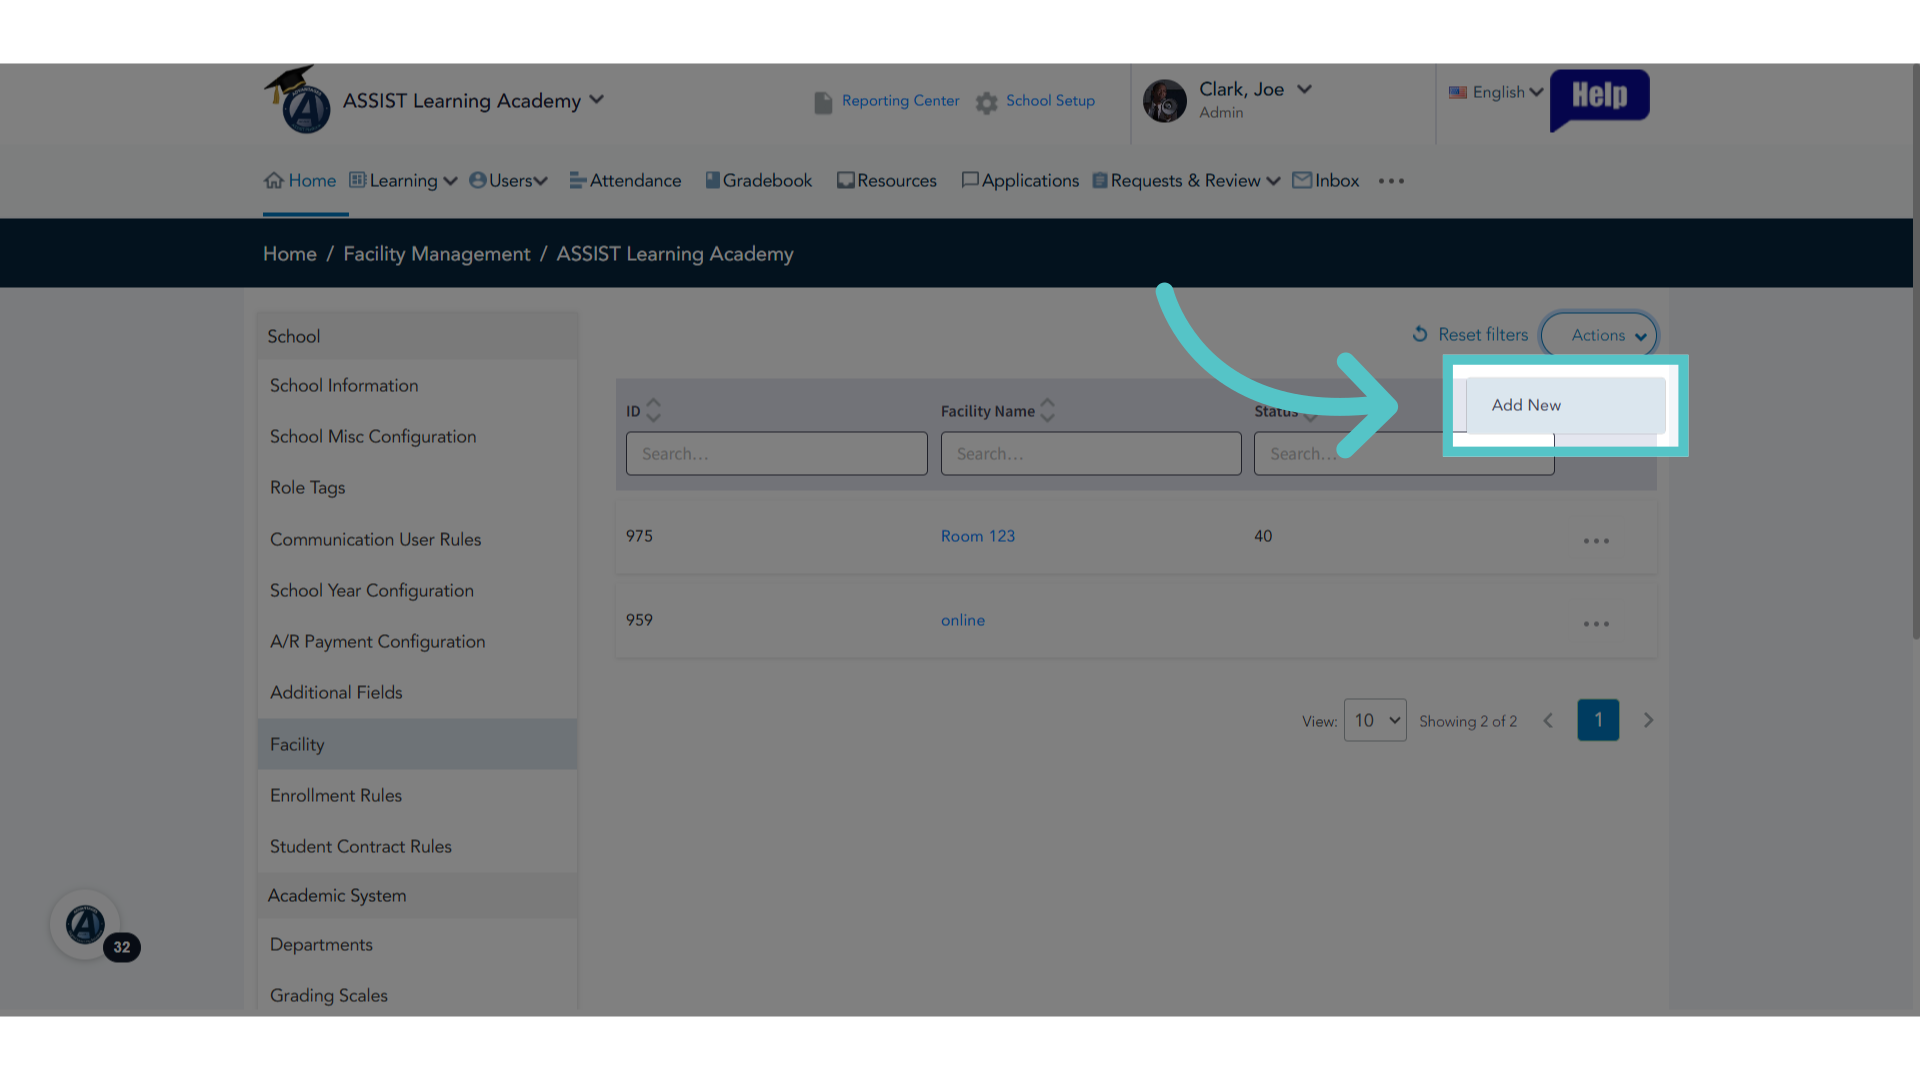
20. Click "Add New"
Click on Add New to add a new entry. This will indicate a space where students will be meeting for their attendance to be taken.
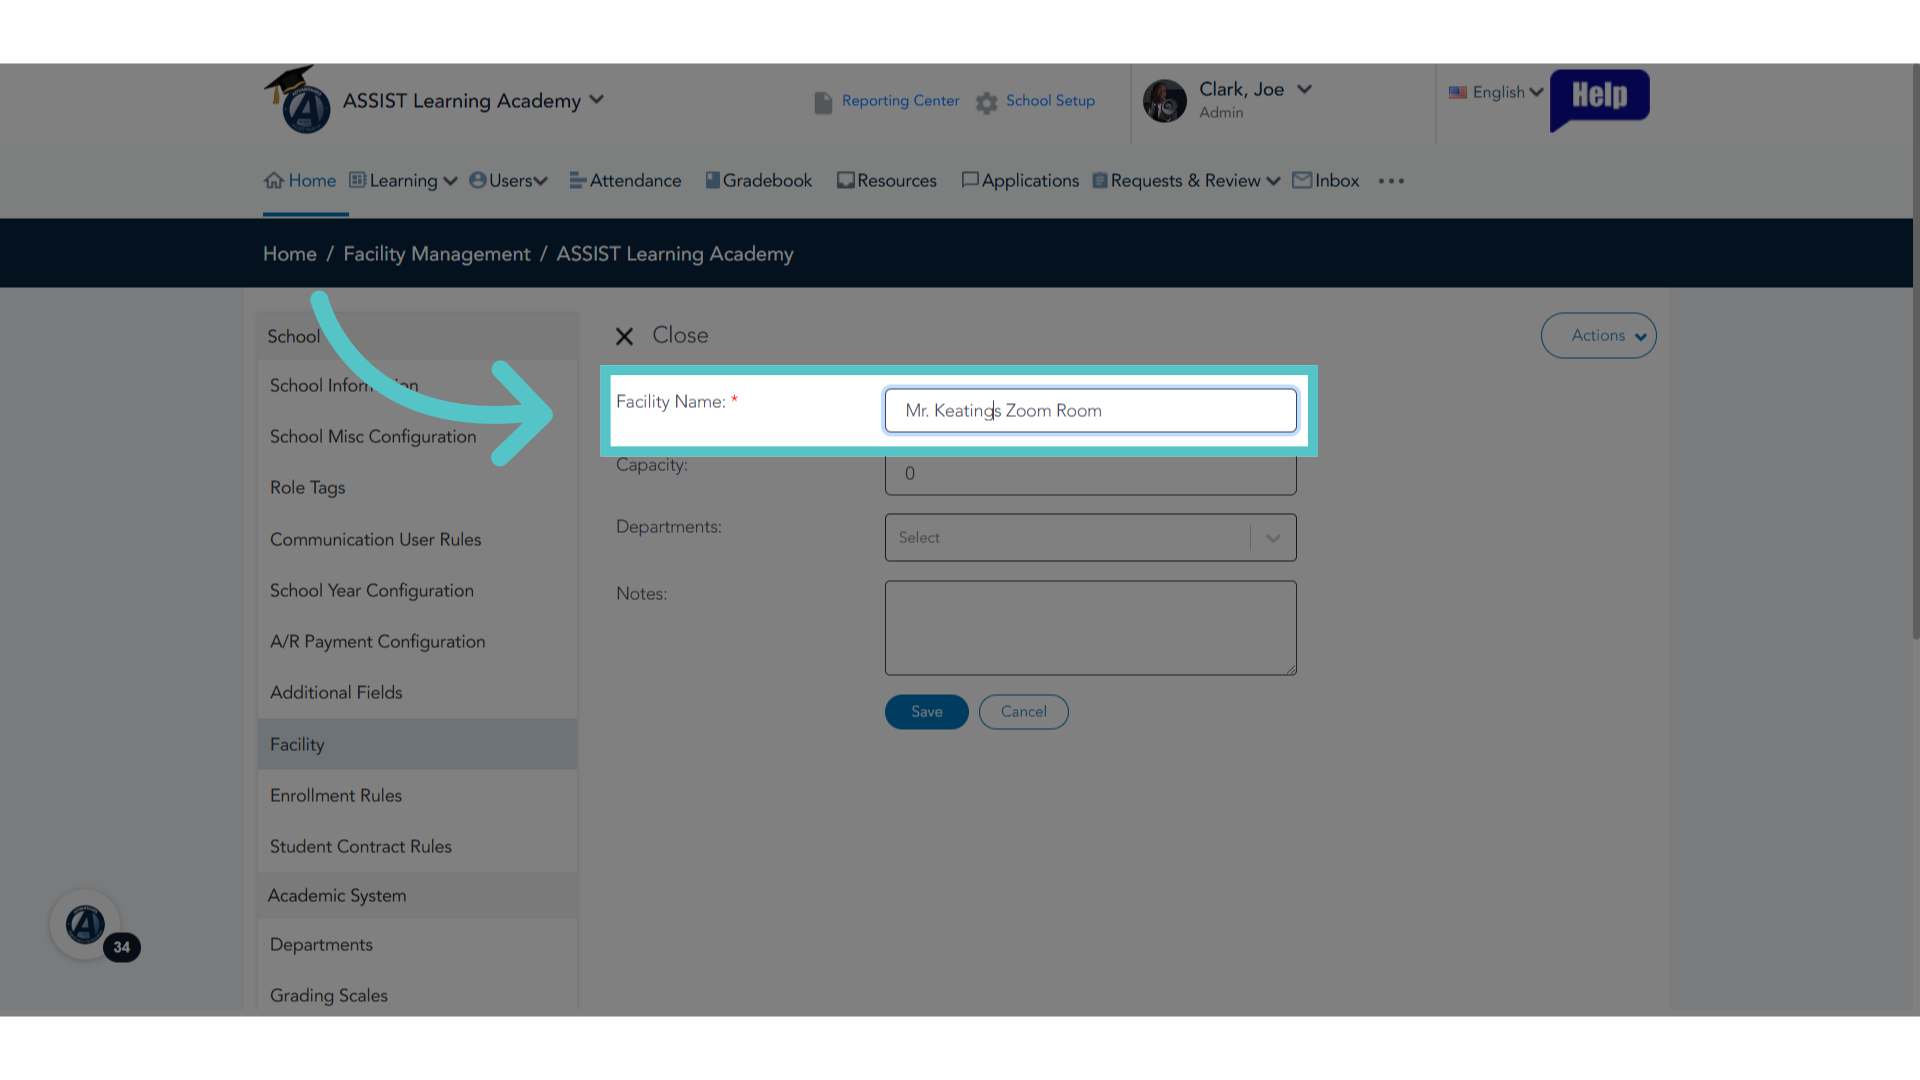
21. Location
Enter the name of the location. This can be a room number, location name, or online.
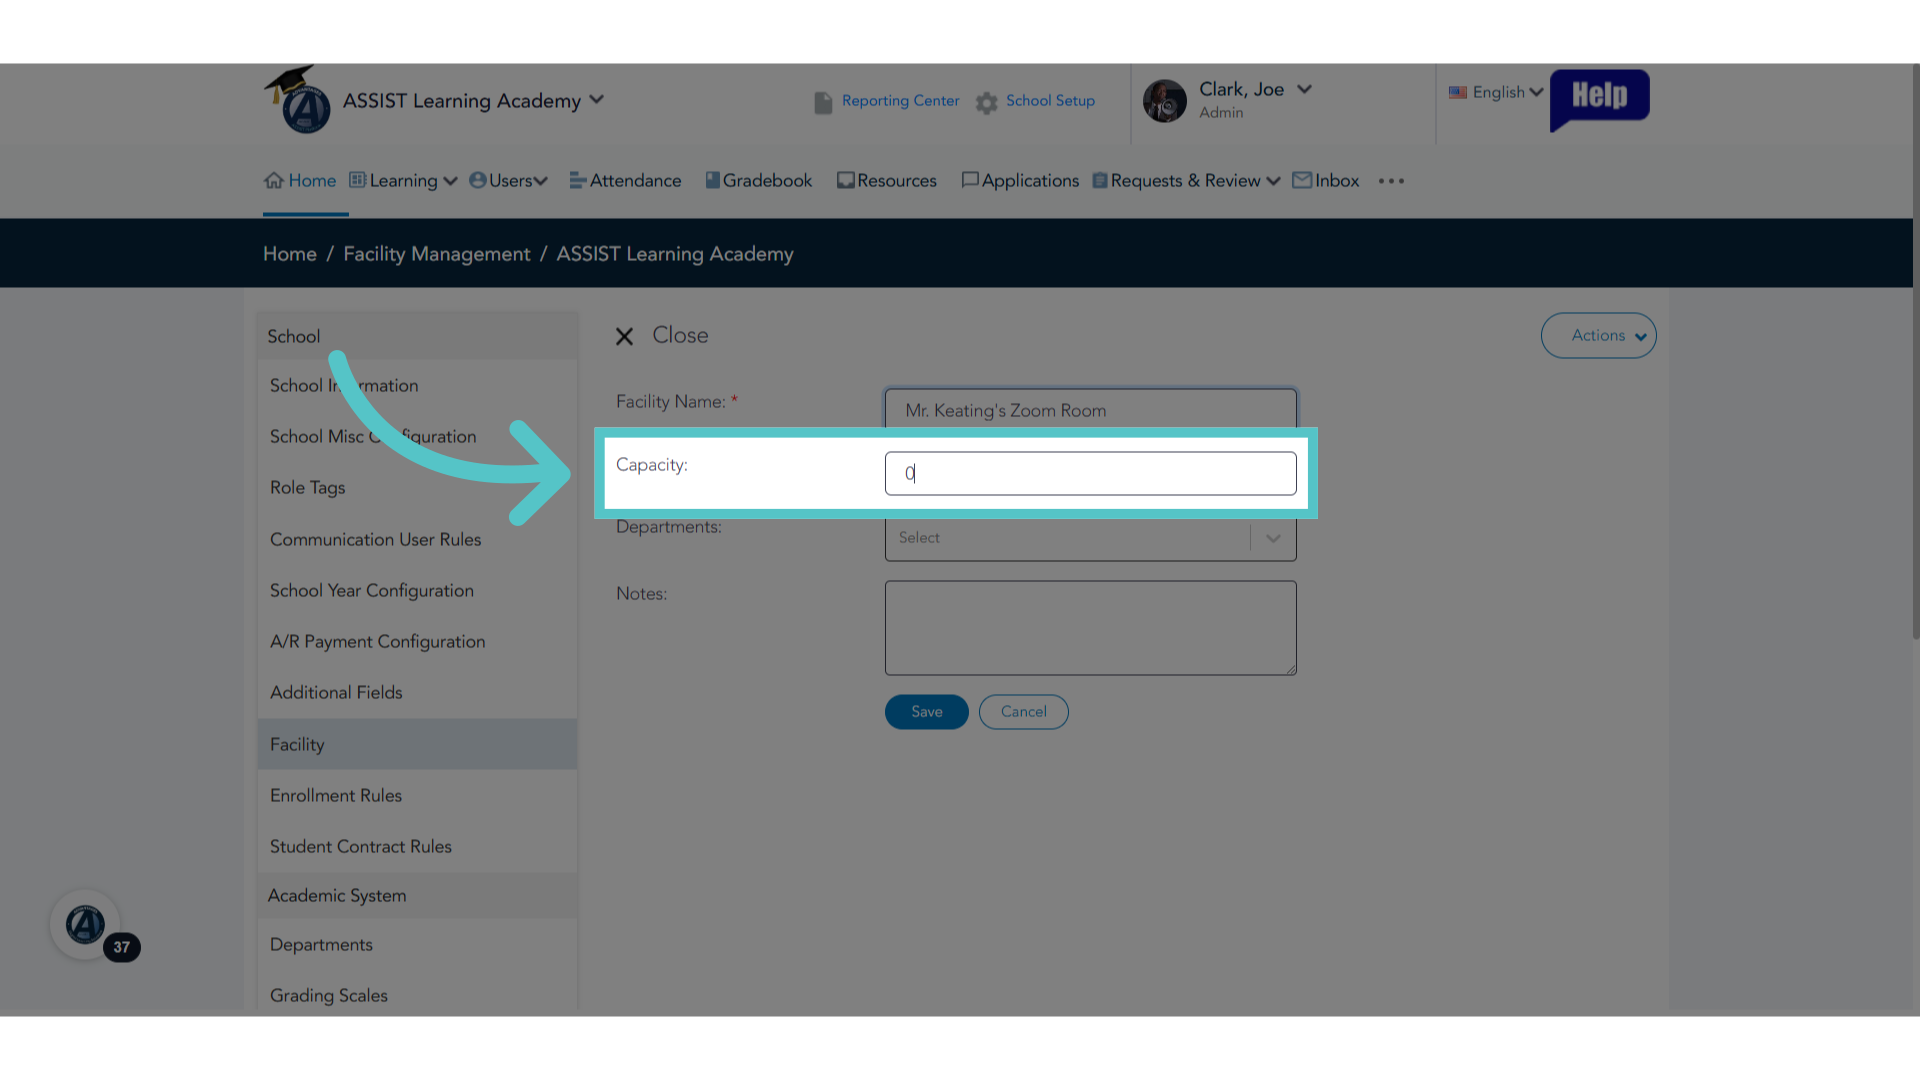
22. Capacity
Indicate capacity if space is limited to a certain number of people.
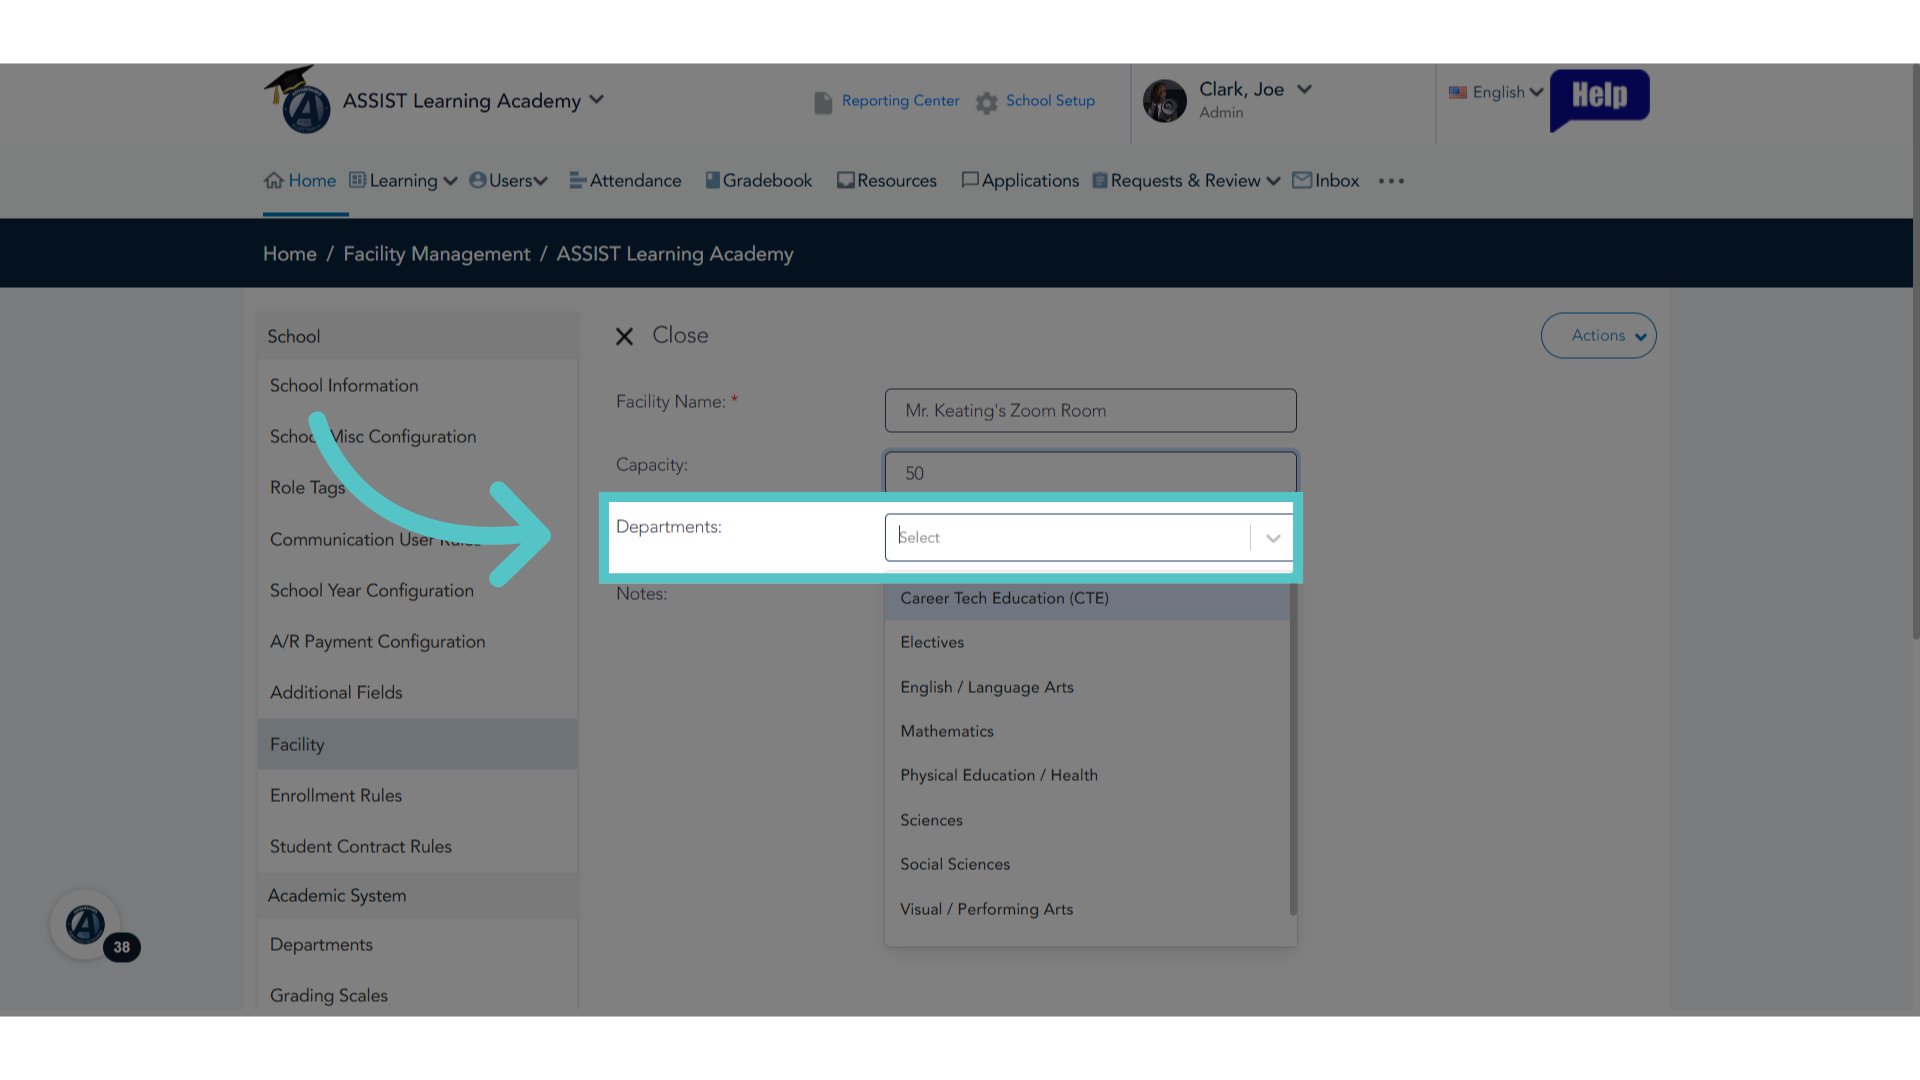
23. Department
Indicate department if the space is only for certain subjects, such as a science lab.
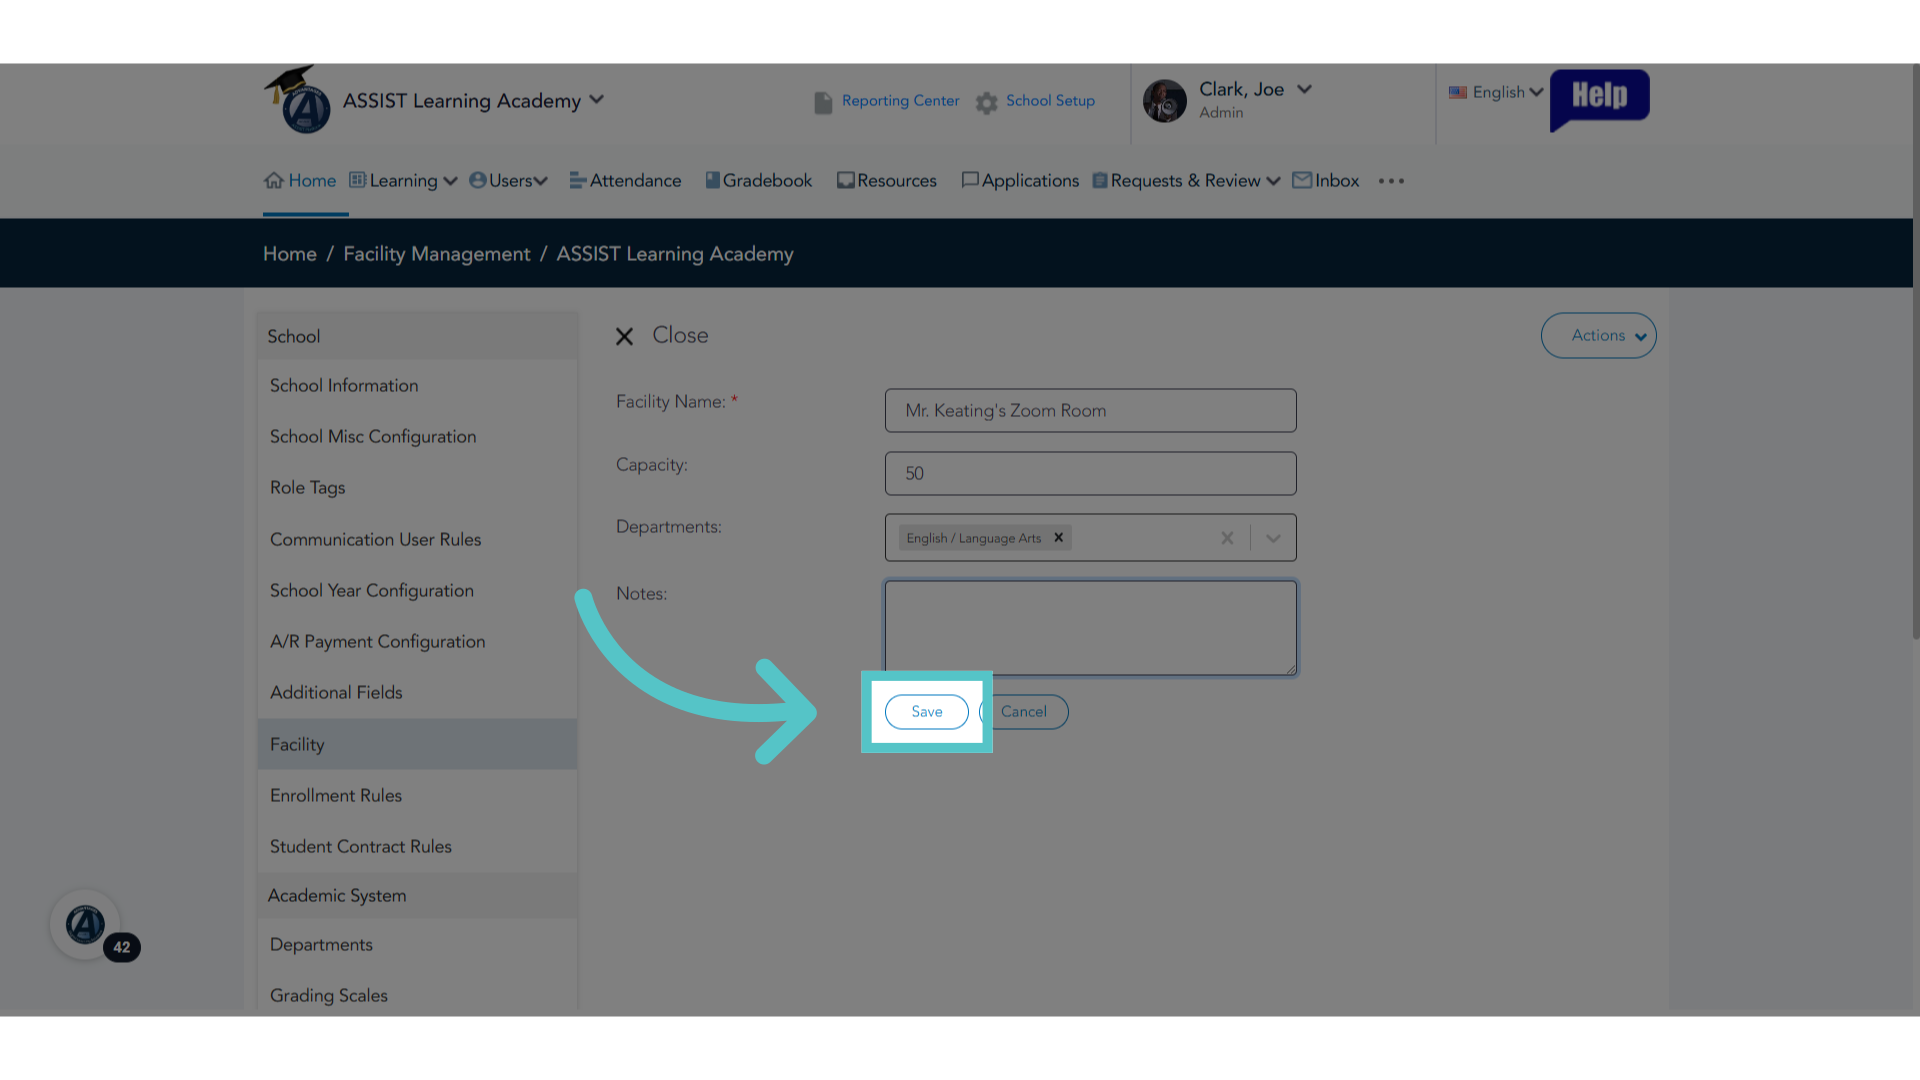
24. Click "Save"
Save your changes
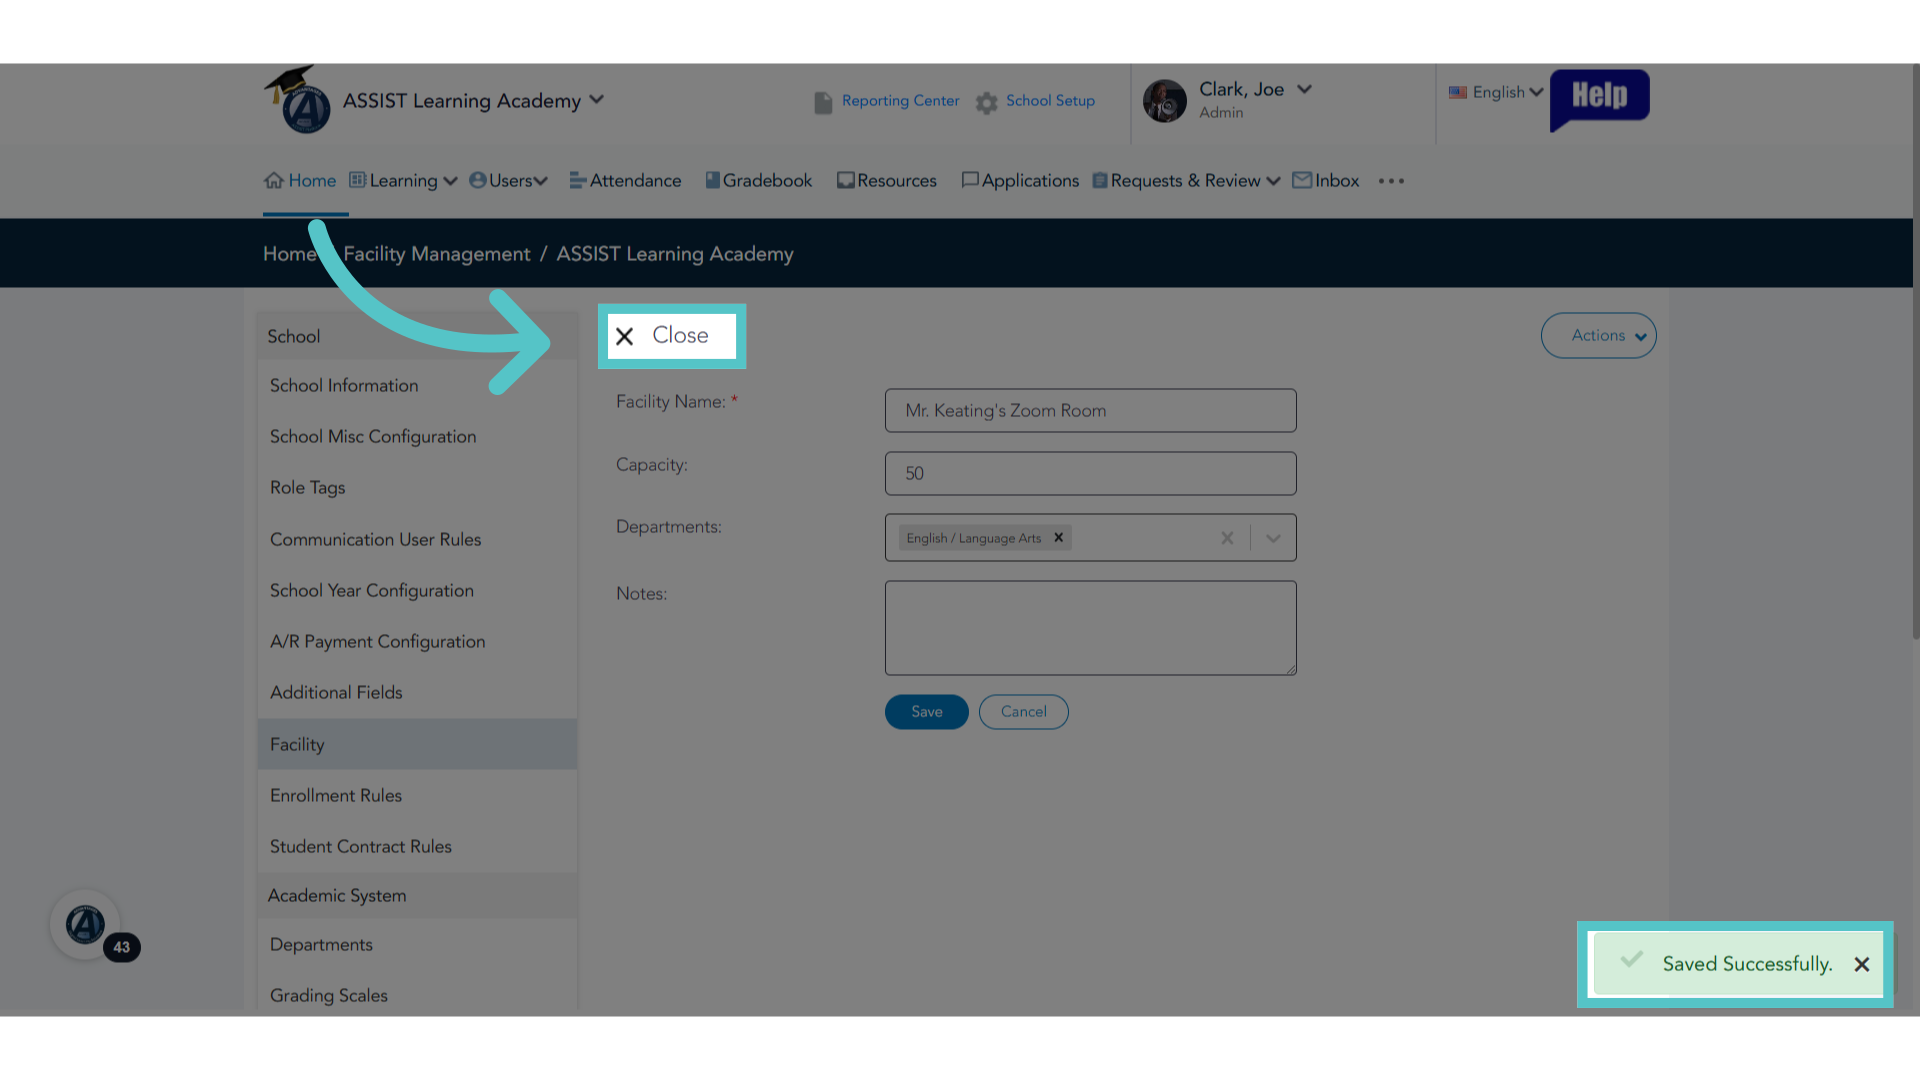
25. Click Close
This location has been saved in the Facilities List. Close the window, or add another facility using the Actions button to edit this record and save again.
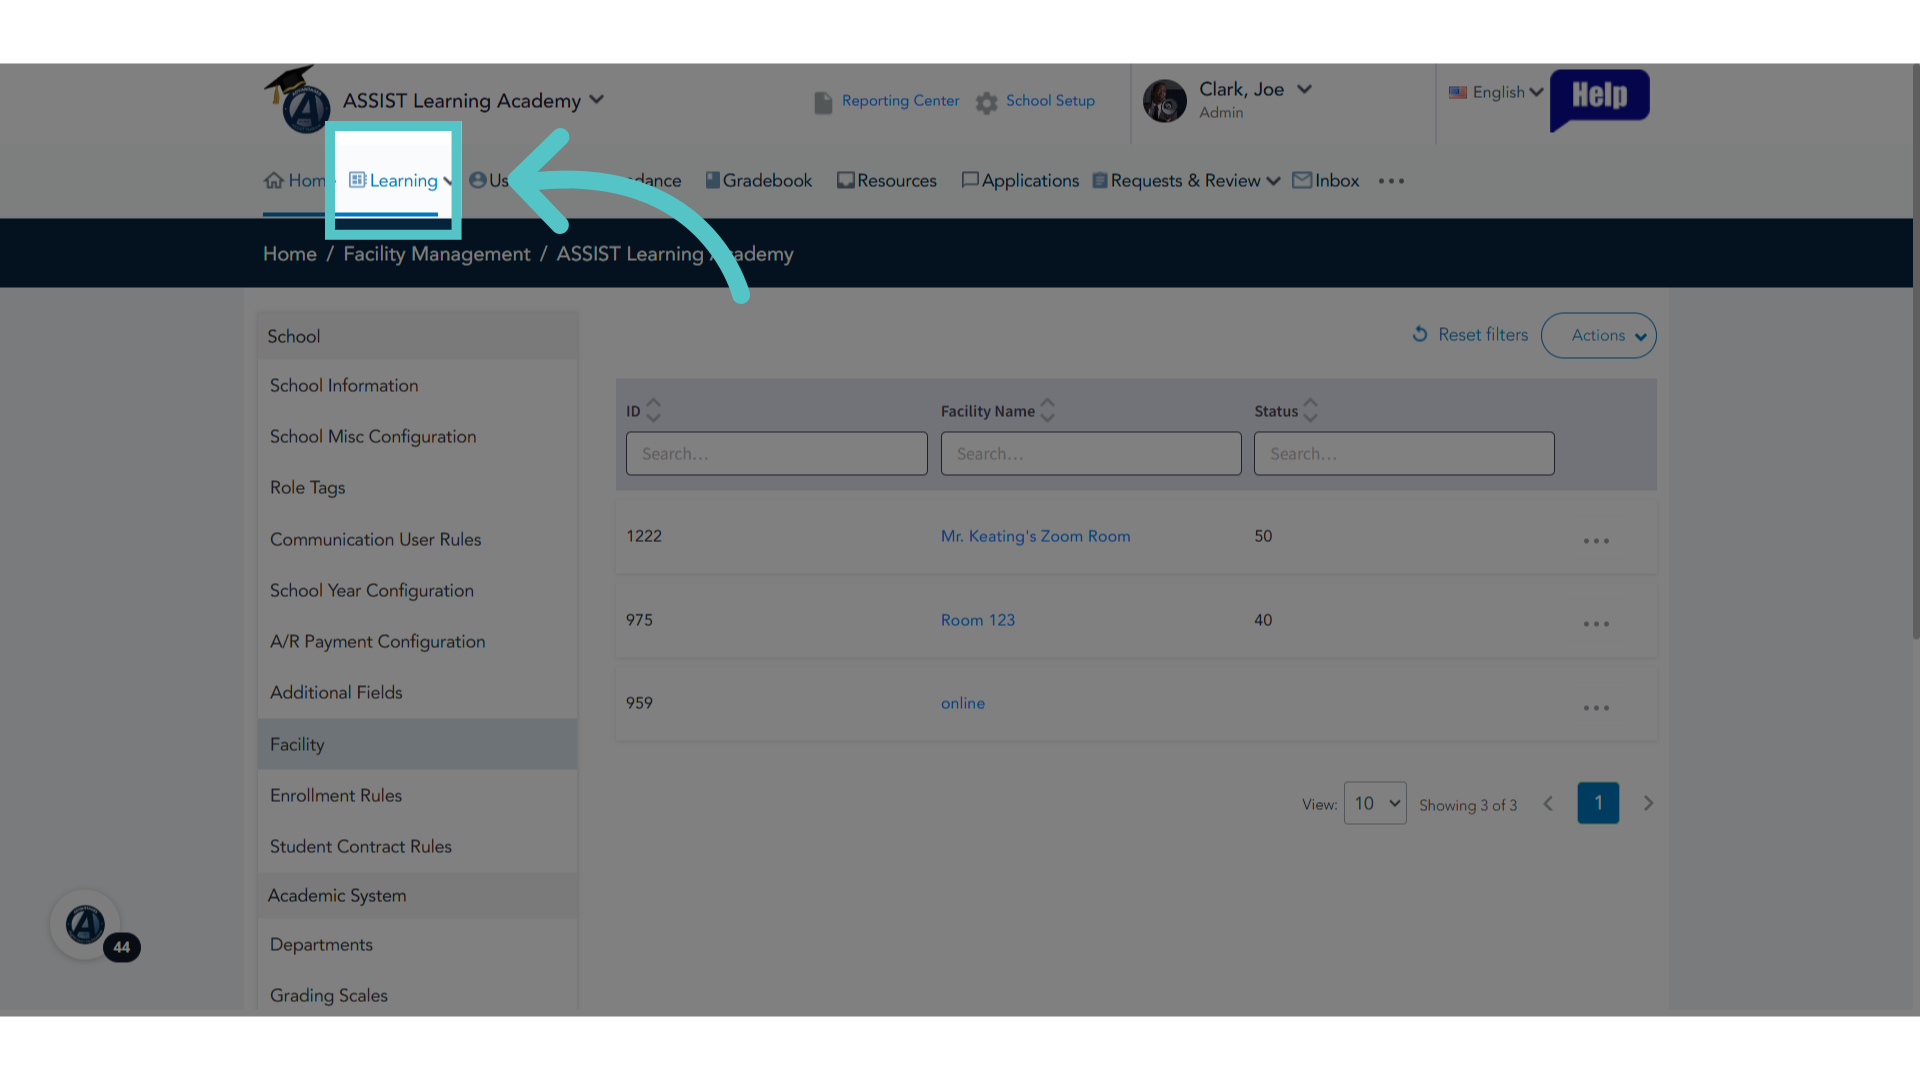
26. Click "Learning"
It is now time to add a class section that will monitor attendance. Click the Learning tab.
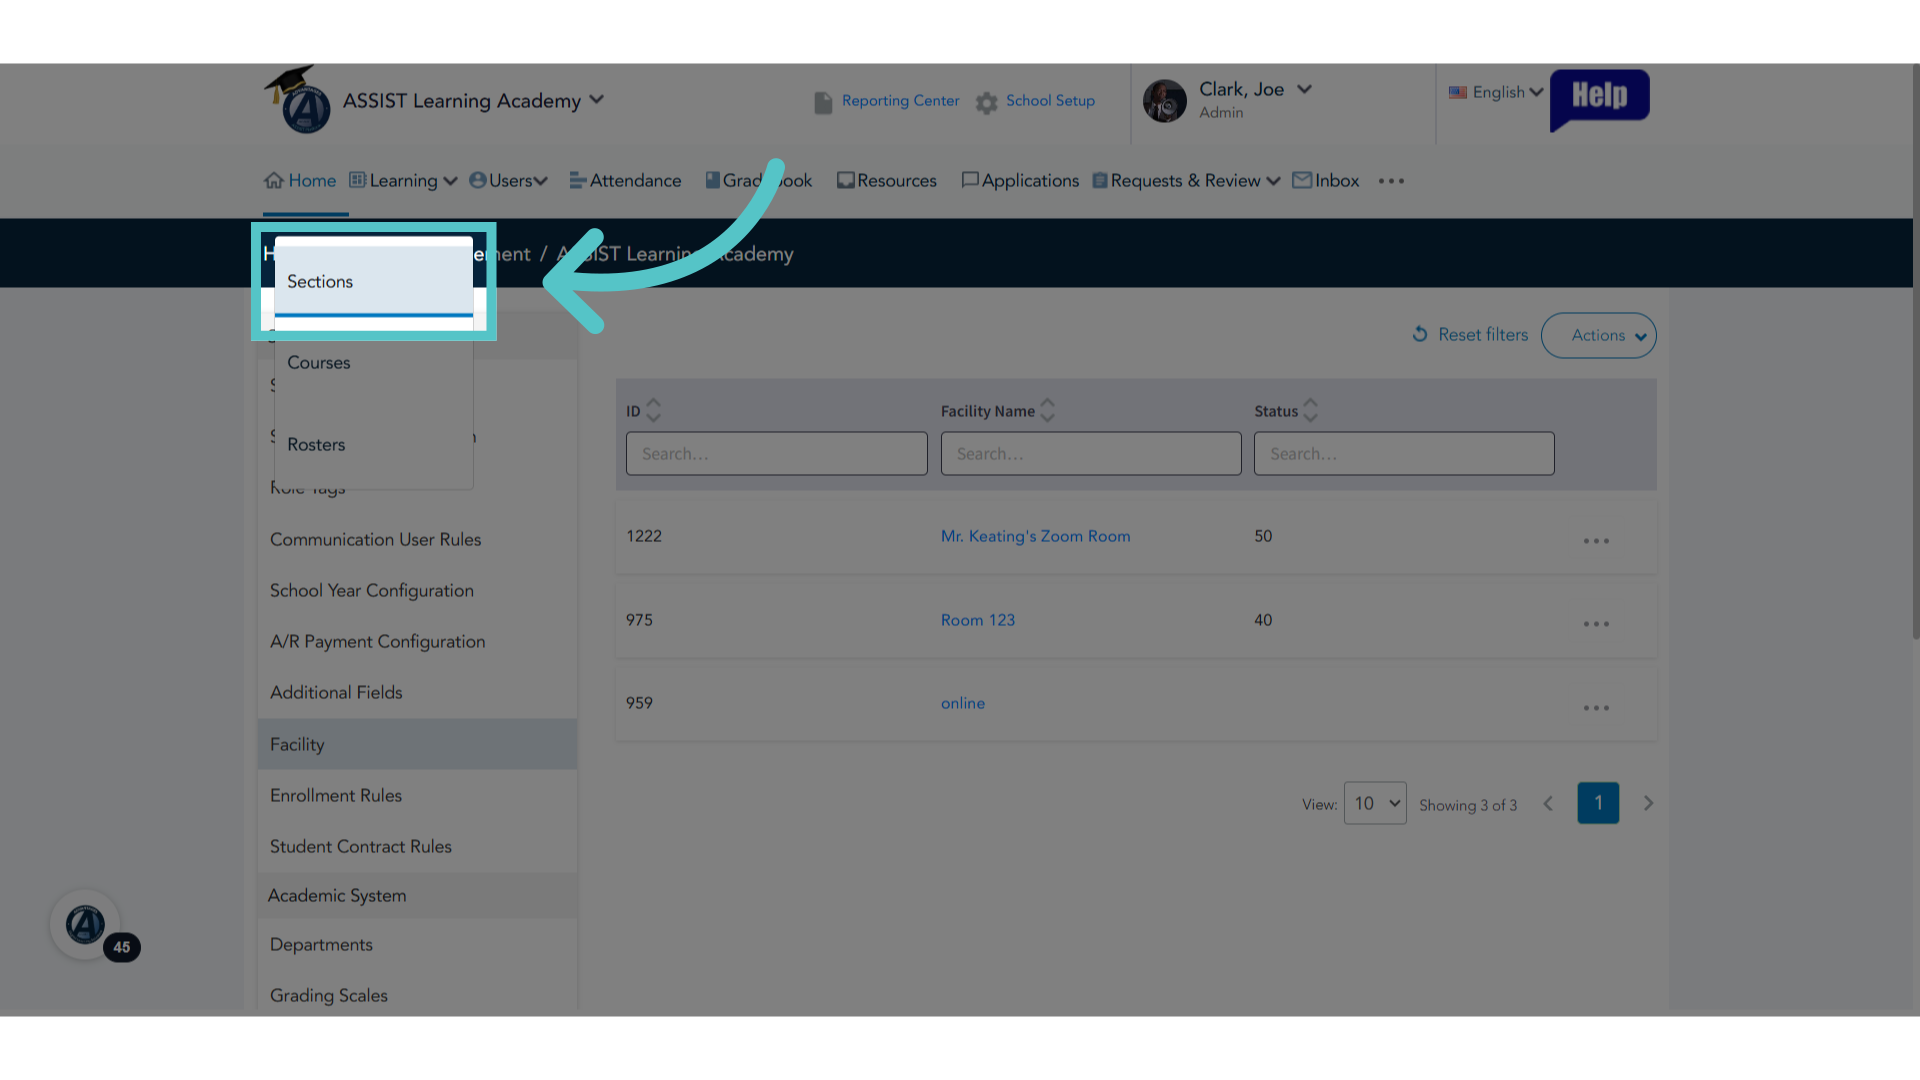
27. Click "Sections"
Choose "Sections" from the menu.
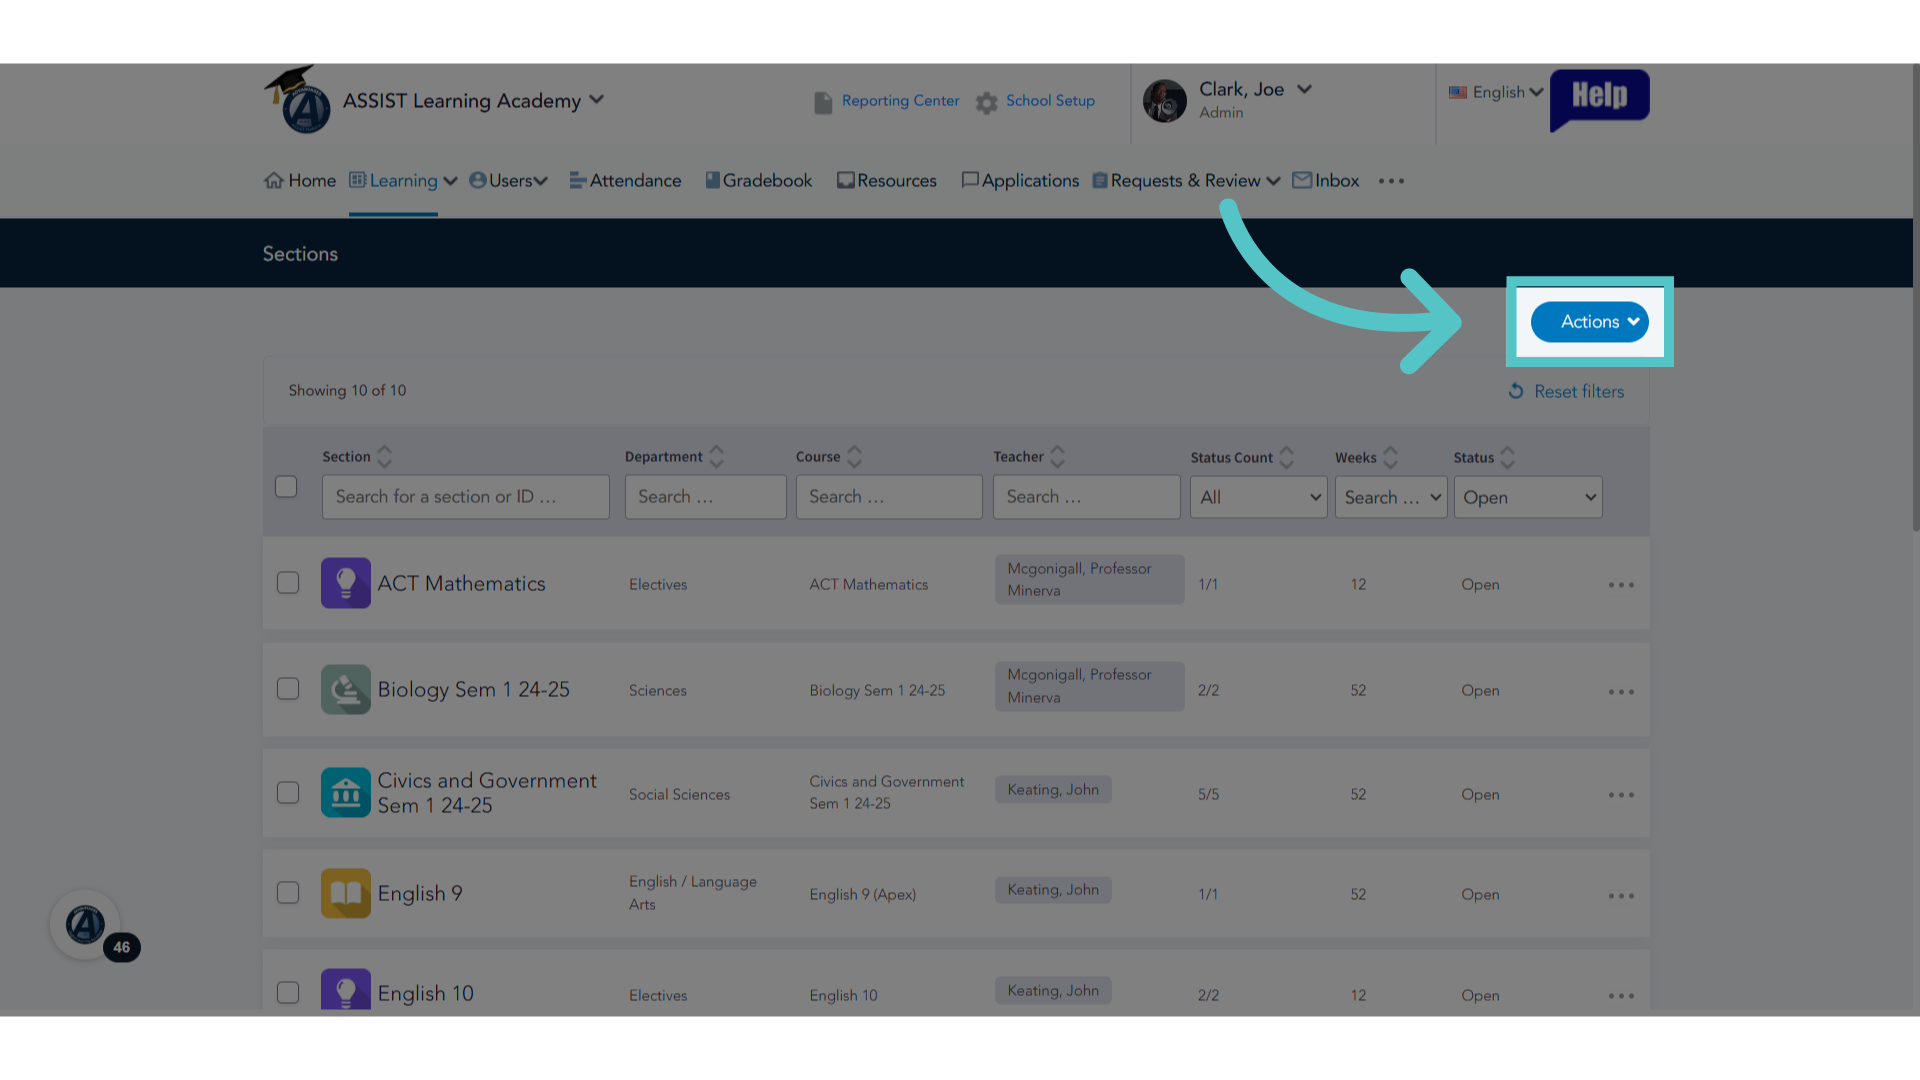
28. Click "Actions"
Click the Actions button.
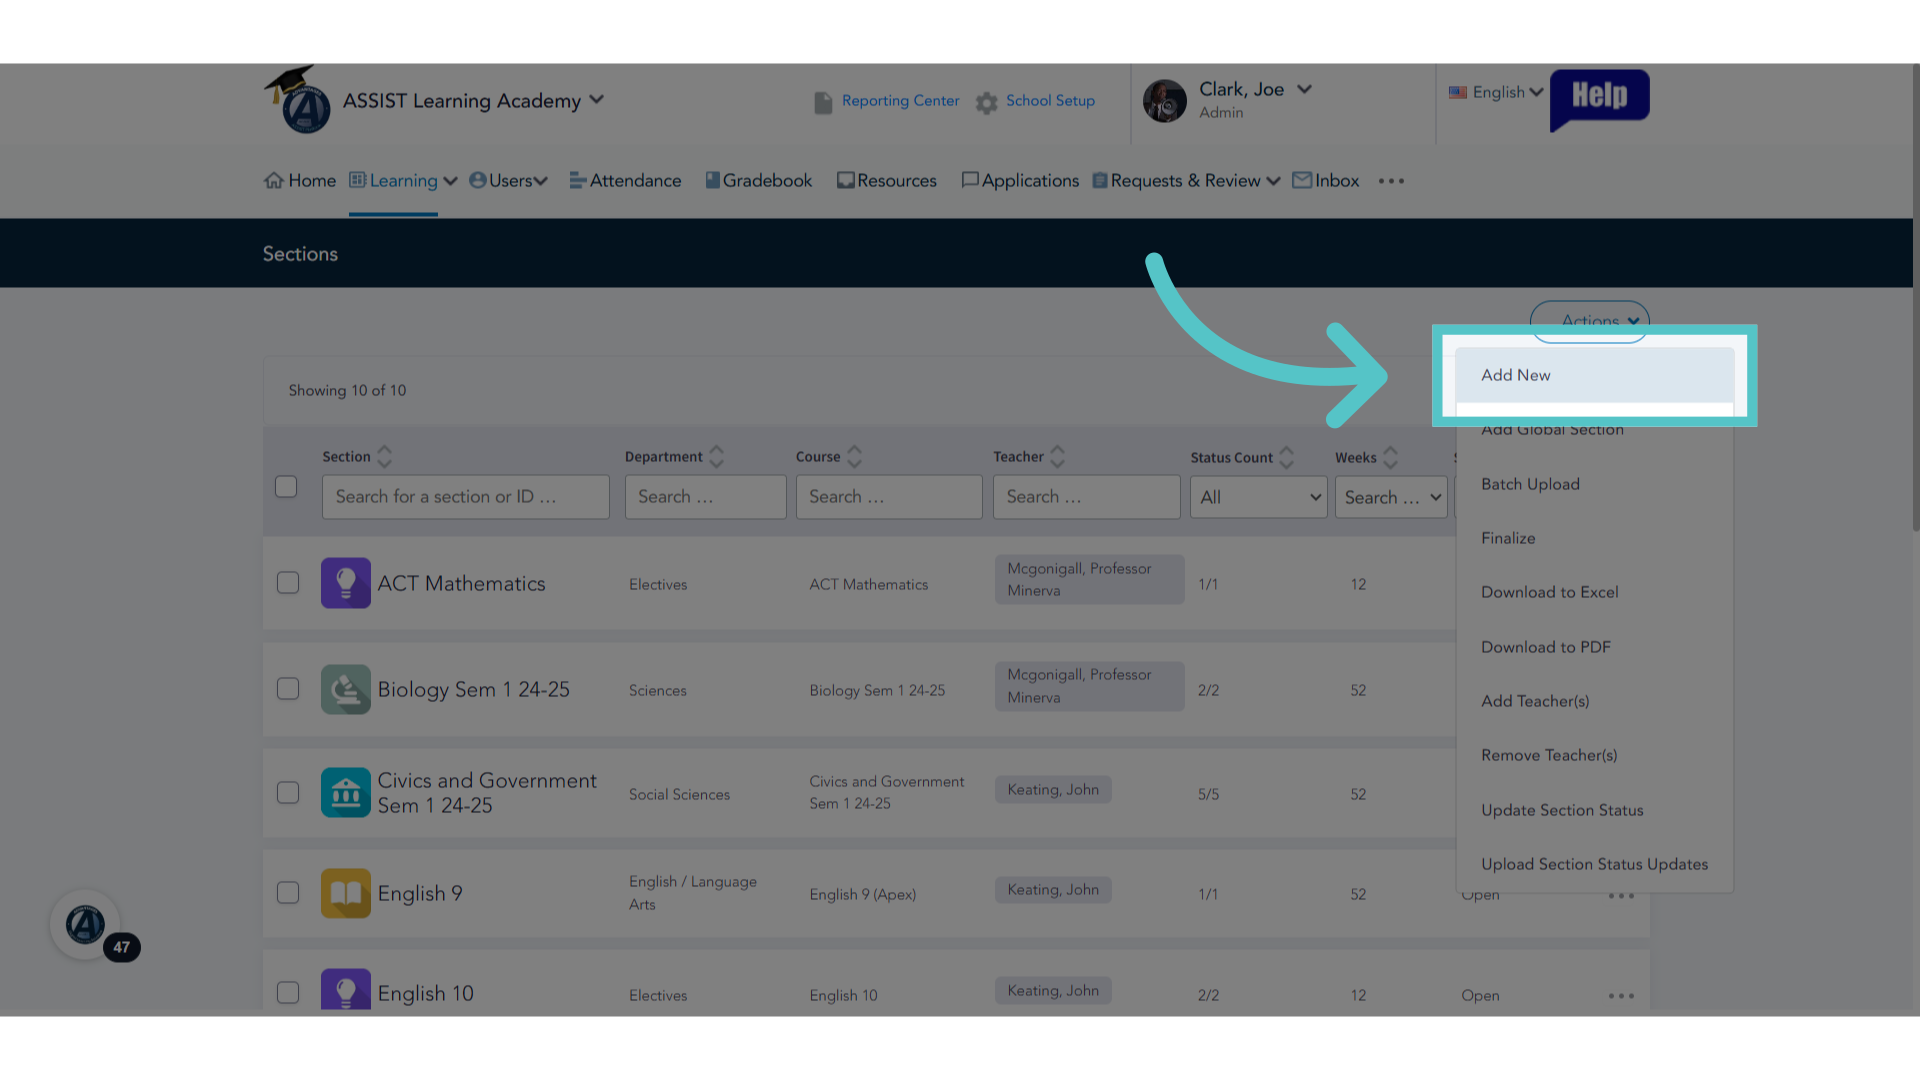
29. Click "Add New"
Click on Add New for a new entry. This will set up a new class section.
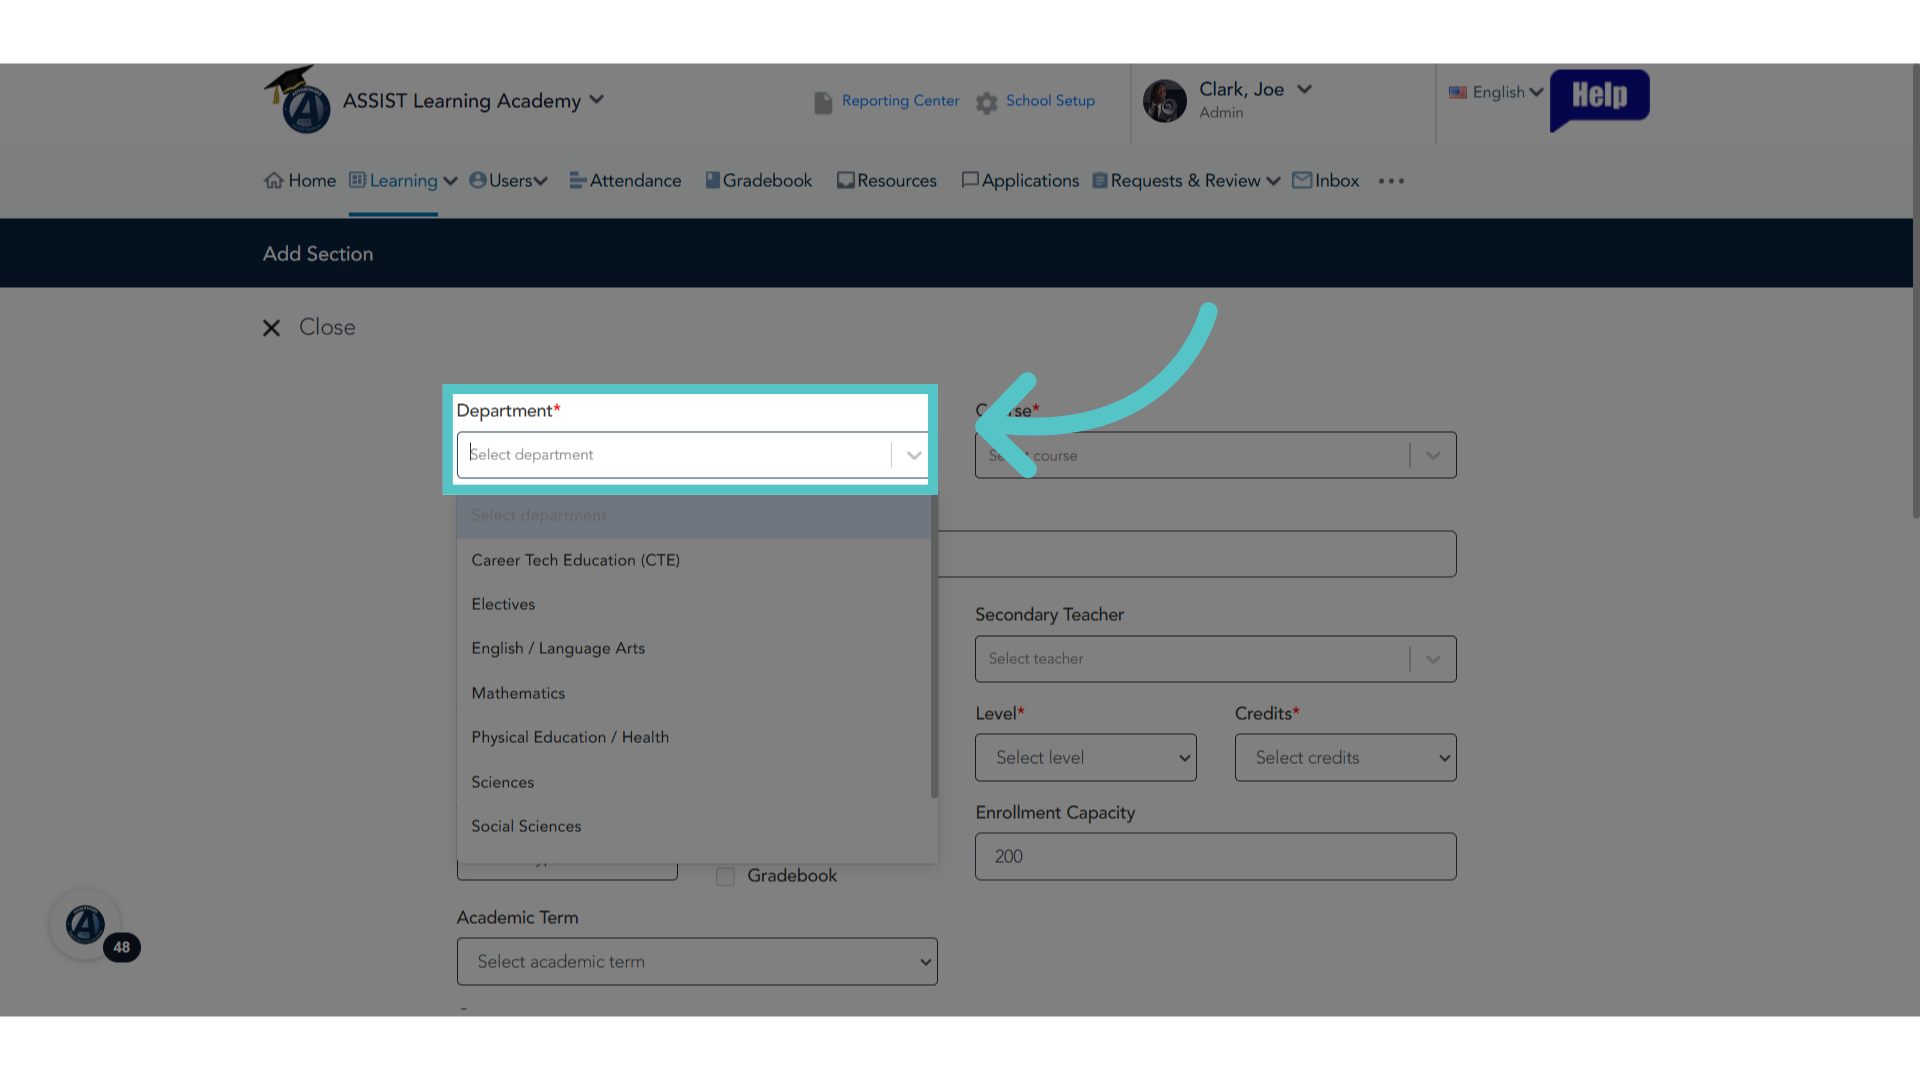
30. Select Department
Choose the department
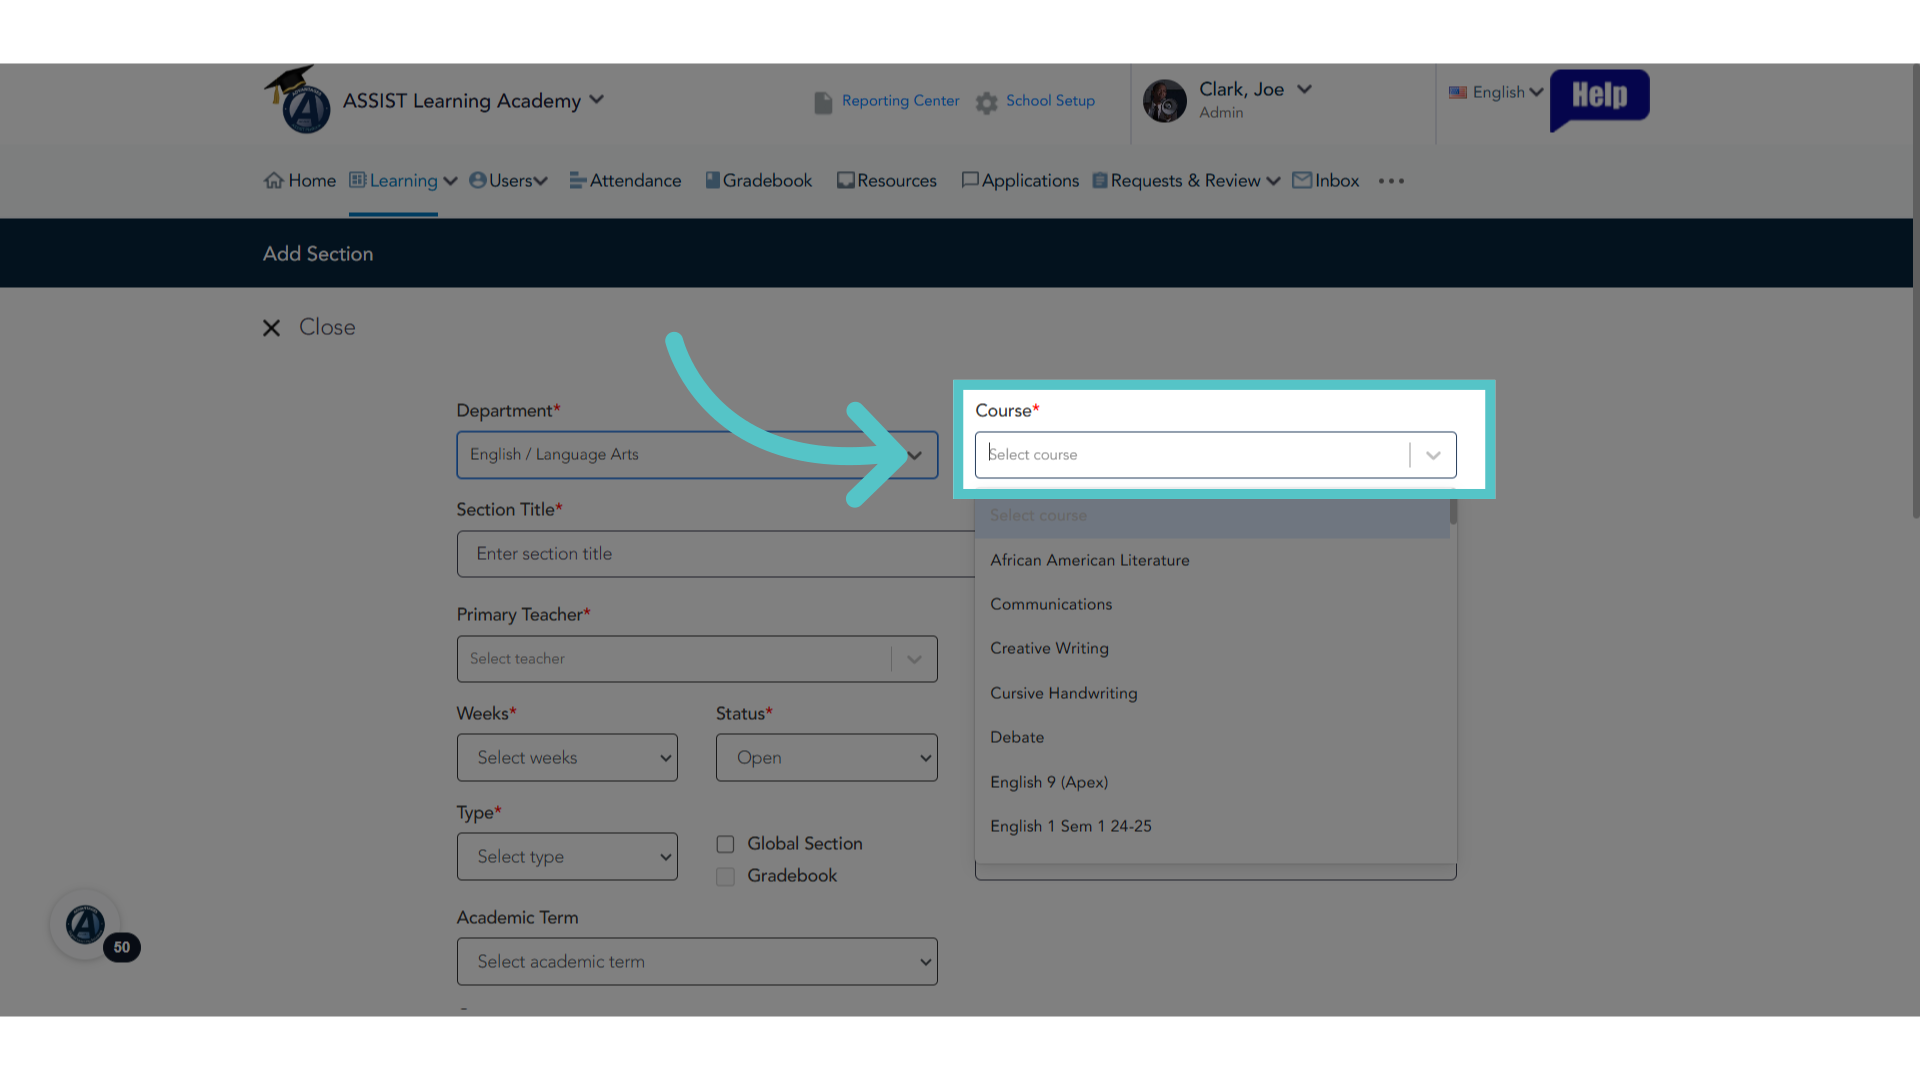
31. Select the Course
Choose the specific course
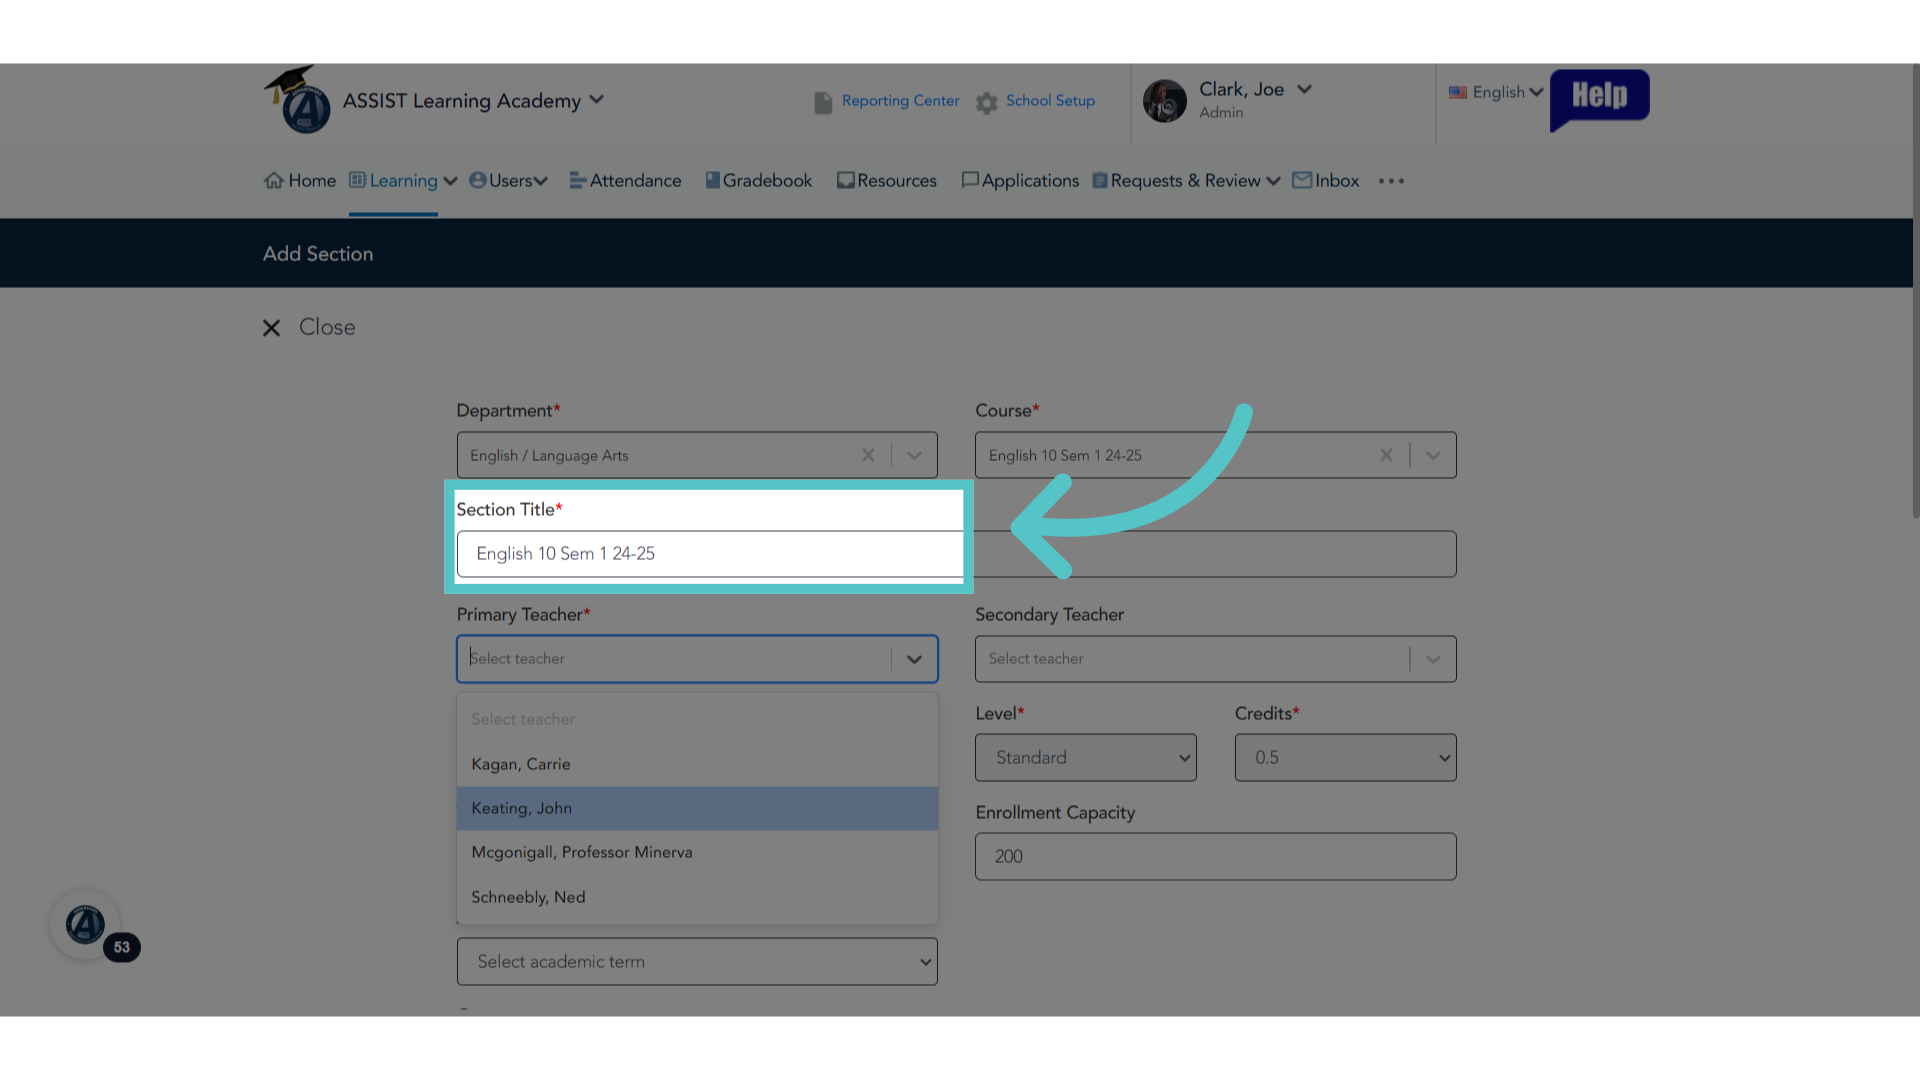
32. Name of Section
Name the section. You can keep the course name and add the teacher name, school name, or year. The section can have any name you choose.
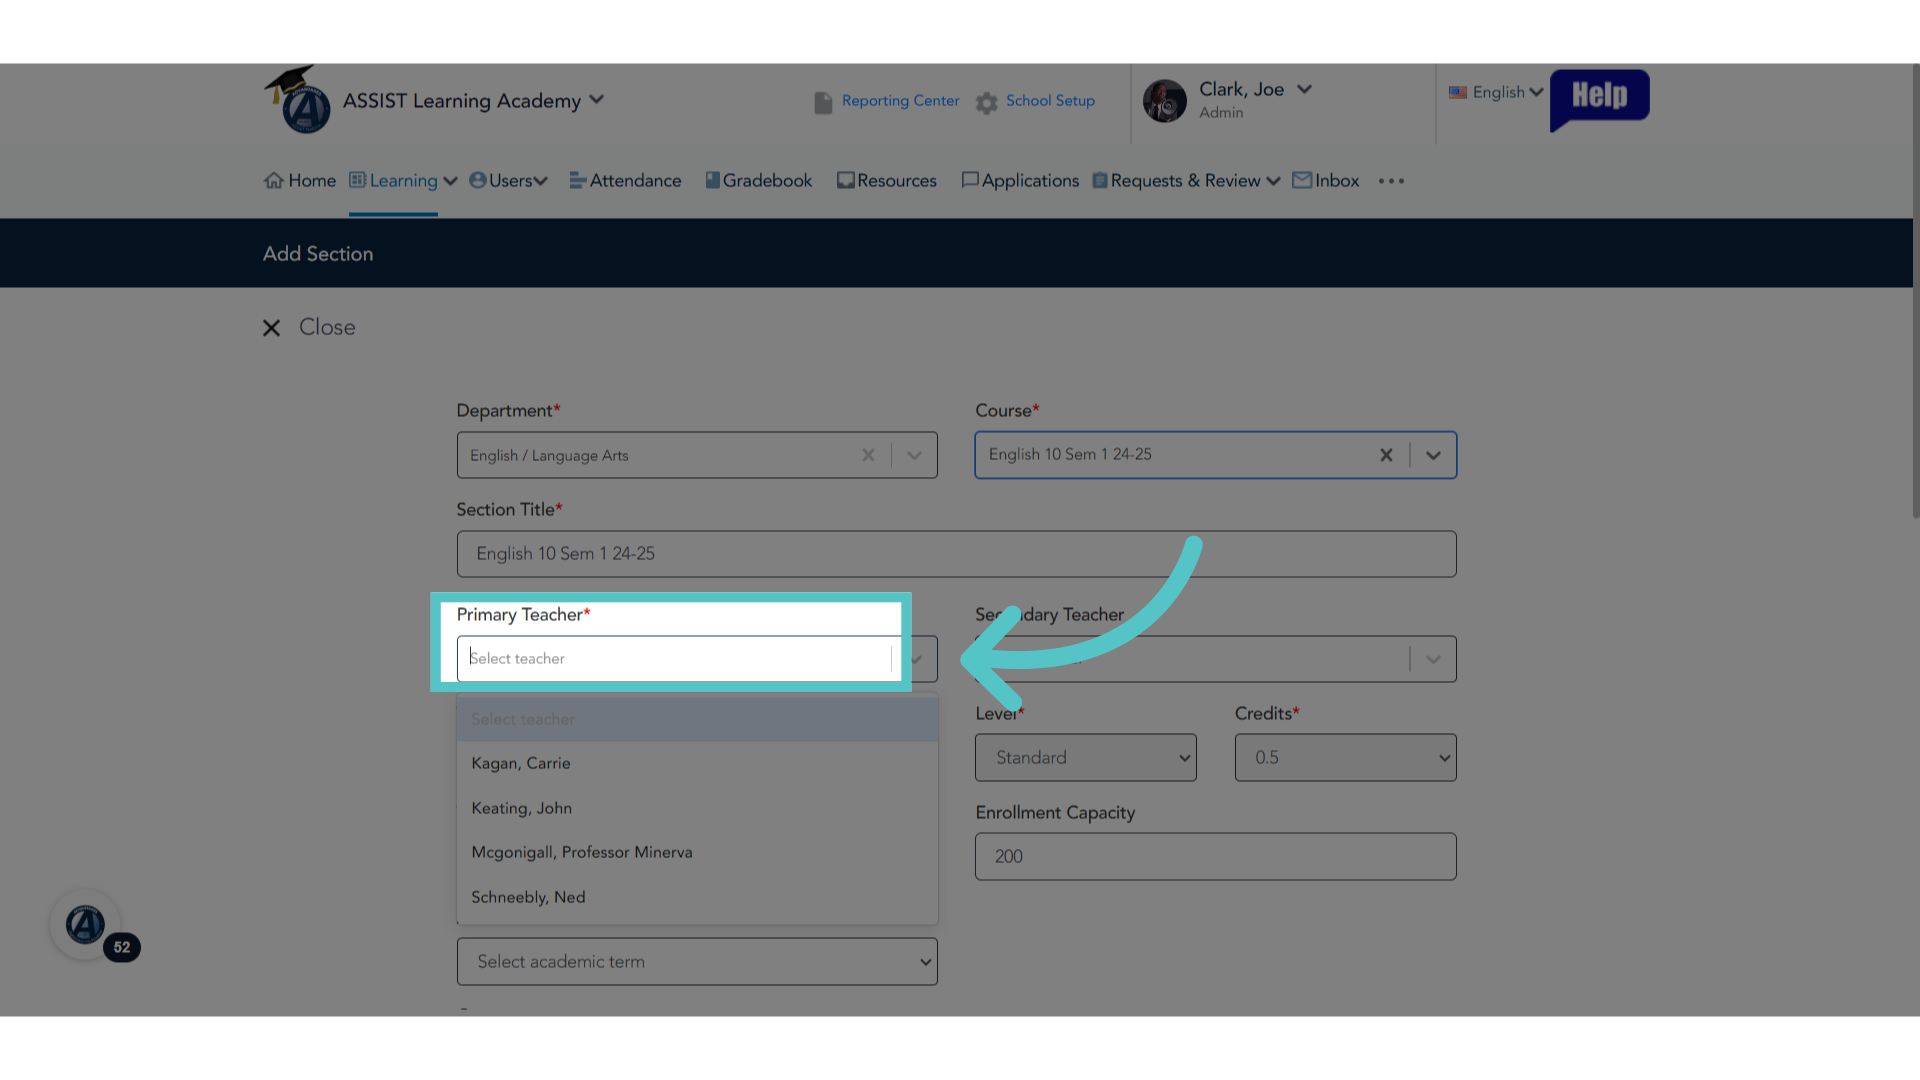
33. Primary Teacher
Choose the teacher from the list
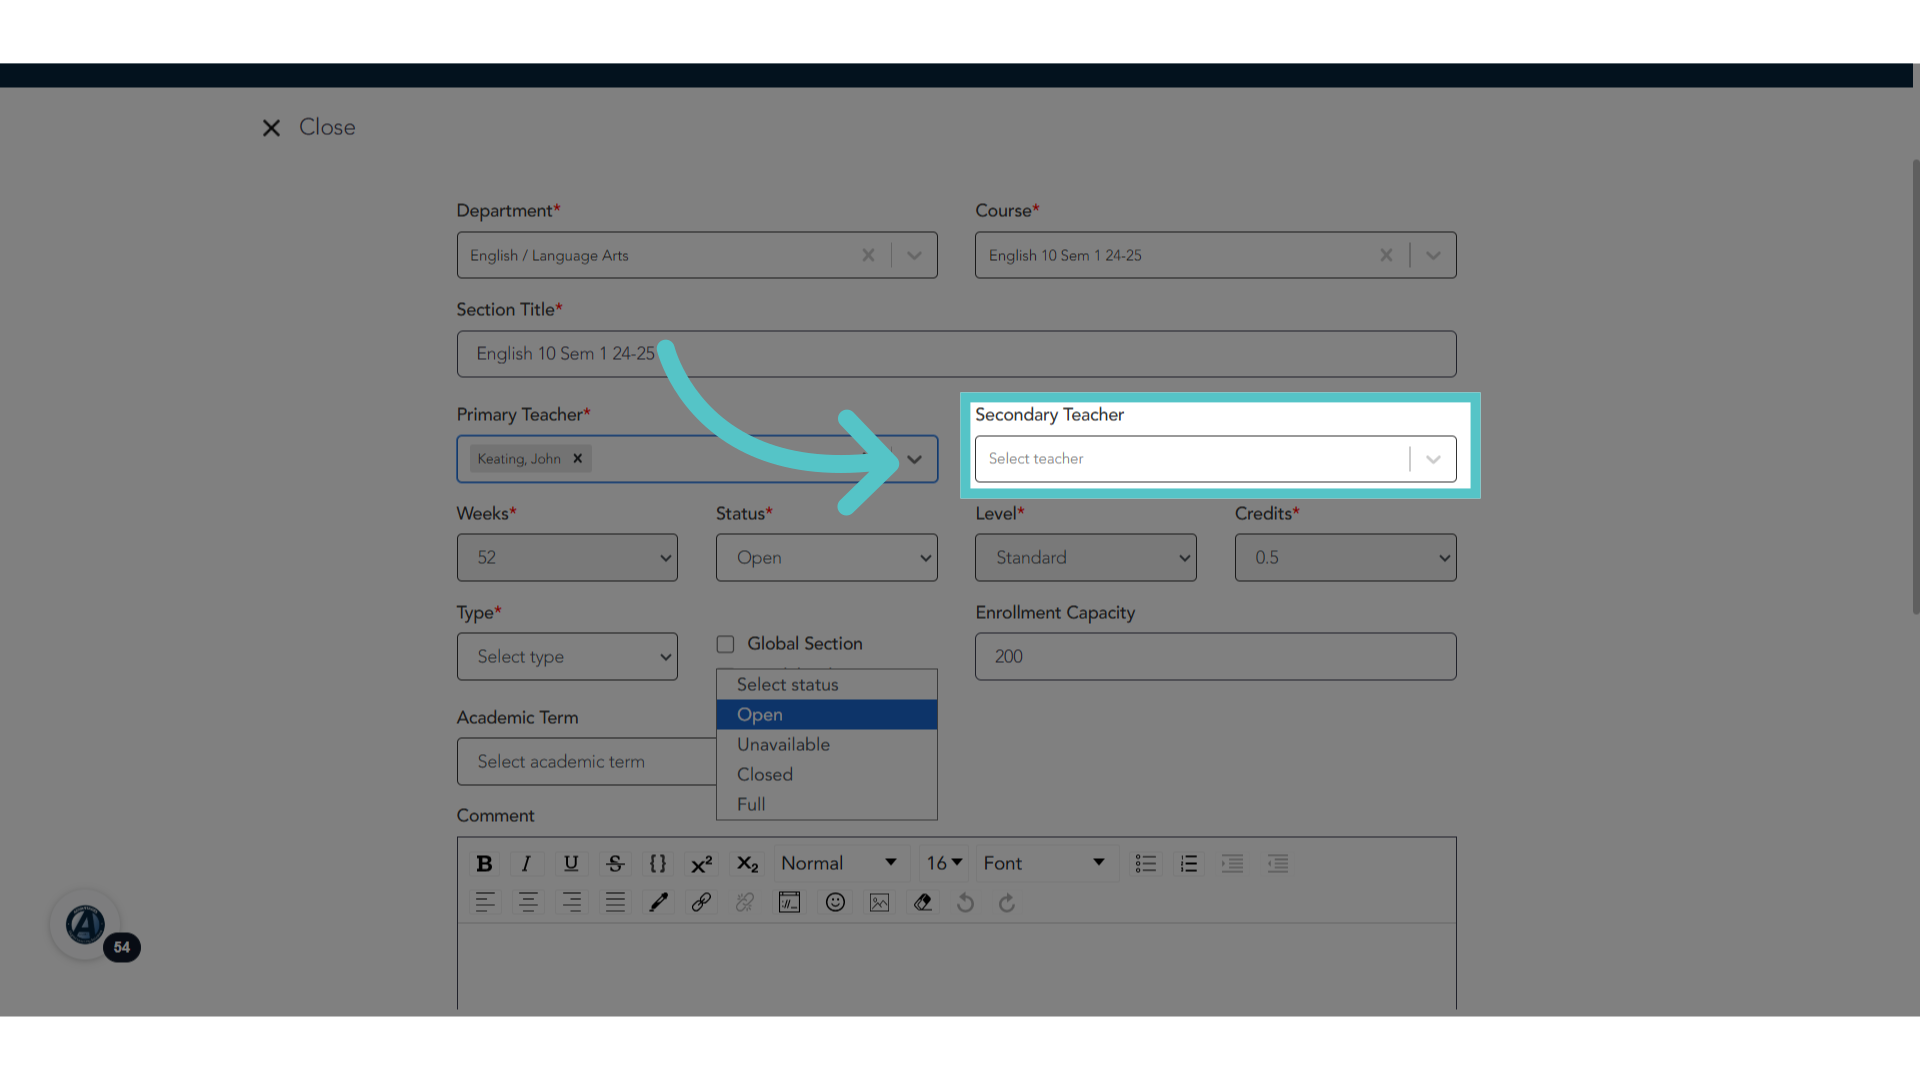
34. Secondary Teacher
If you would like additional teachers to have access to the section information and gradebook, please indicate a secondary teacher. This is optional.
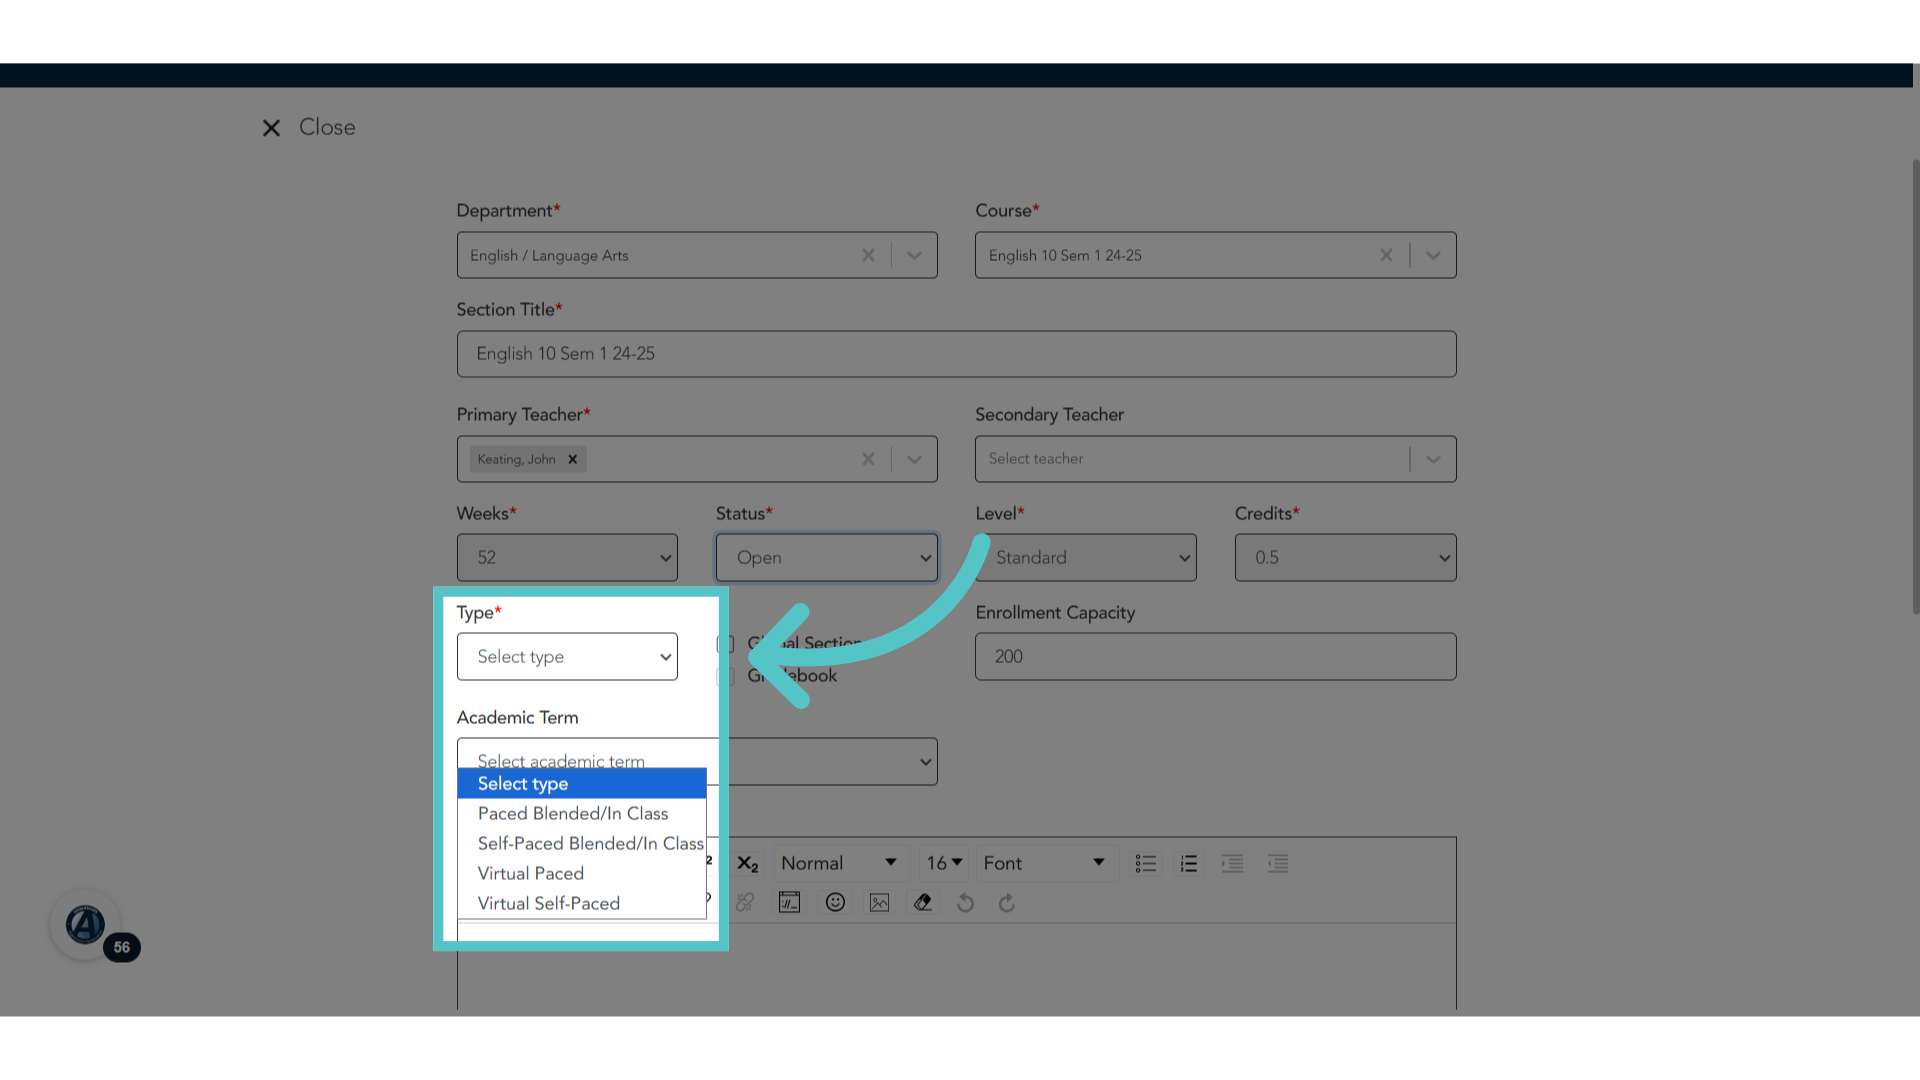
35. Type: Blended/In Class
Choose the section type. For sections that will be monitoring attendance, select "Blended/In Class." If you would like due dates to be automatically set for all activities in the course, select "Paced, Blended/In Class." If you do not want any due dates to be set for the course assignments, select "Self-paced, Blended/In Class."
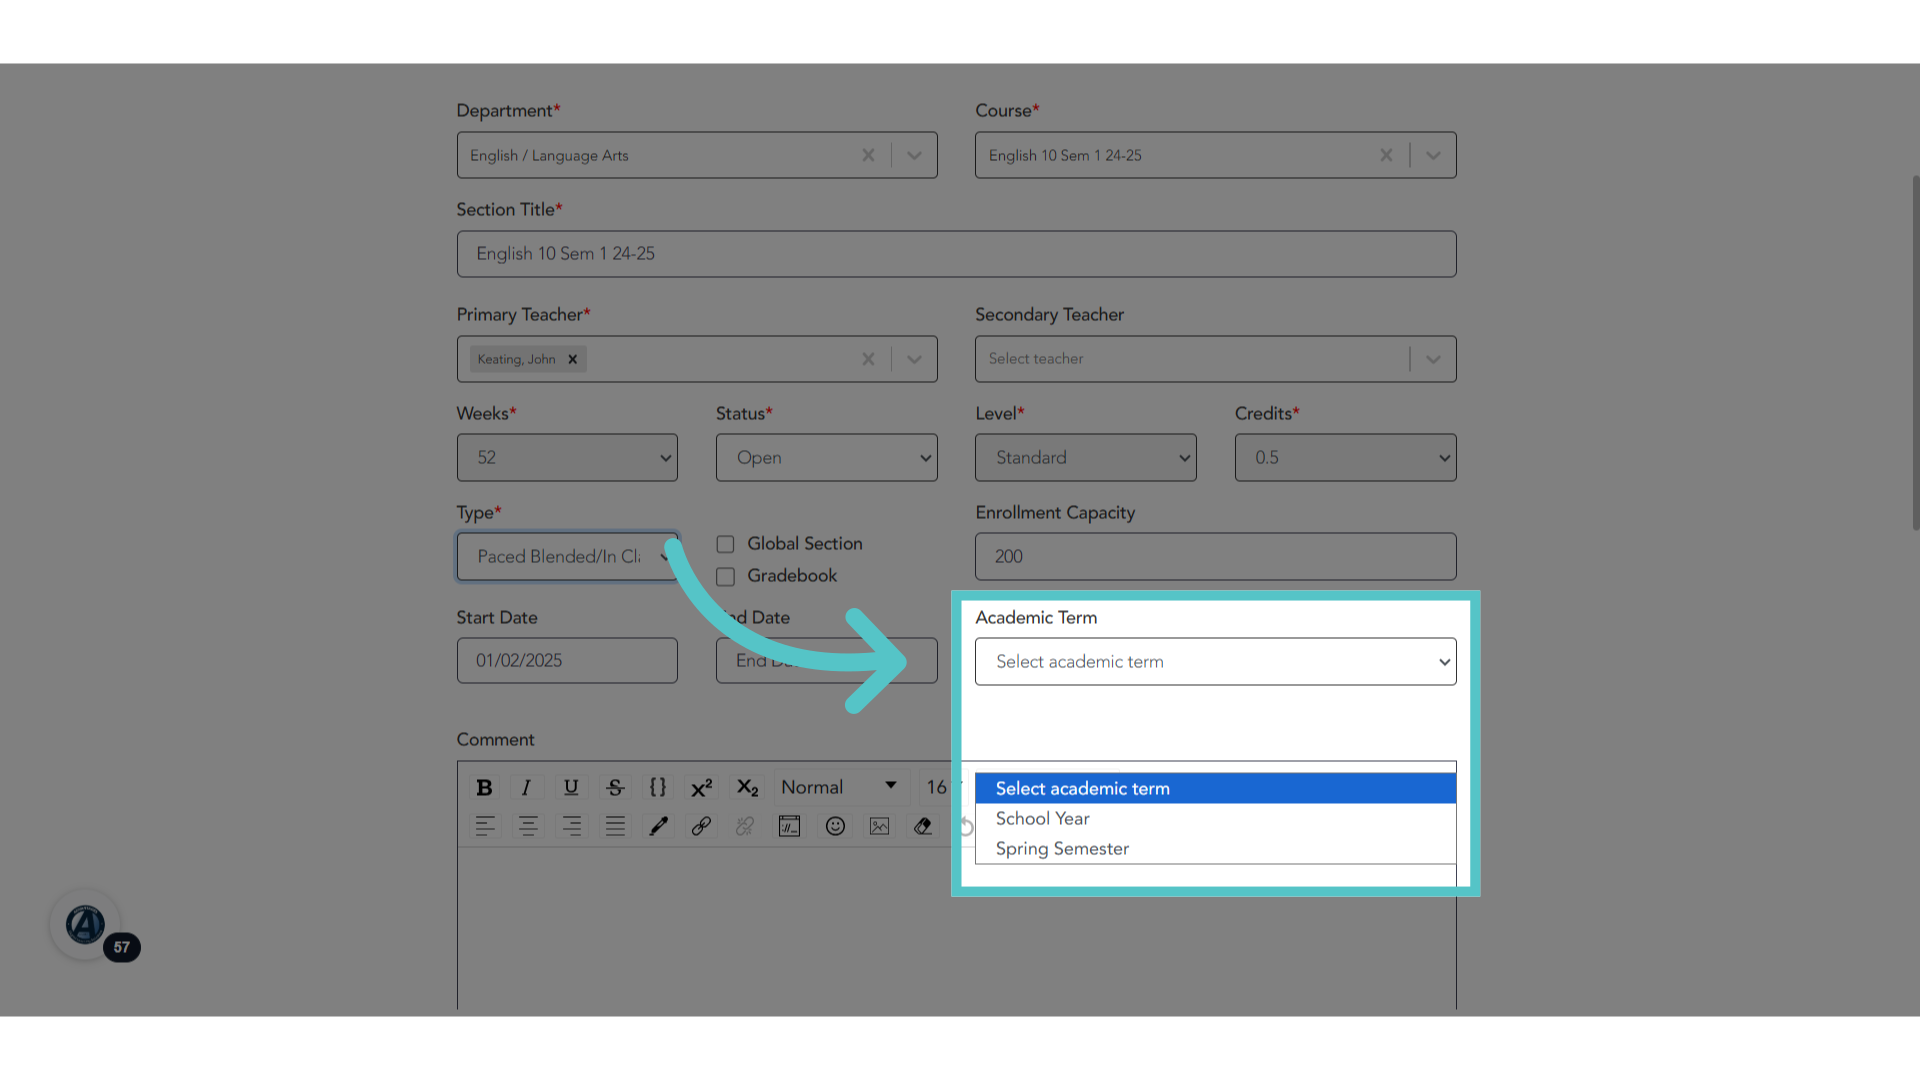
36. Academic Term
Select the academic term. The options will be from the terms entered in the School Setup Menu. This will determine the start and end dates for the class section.
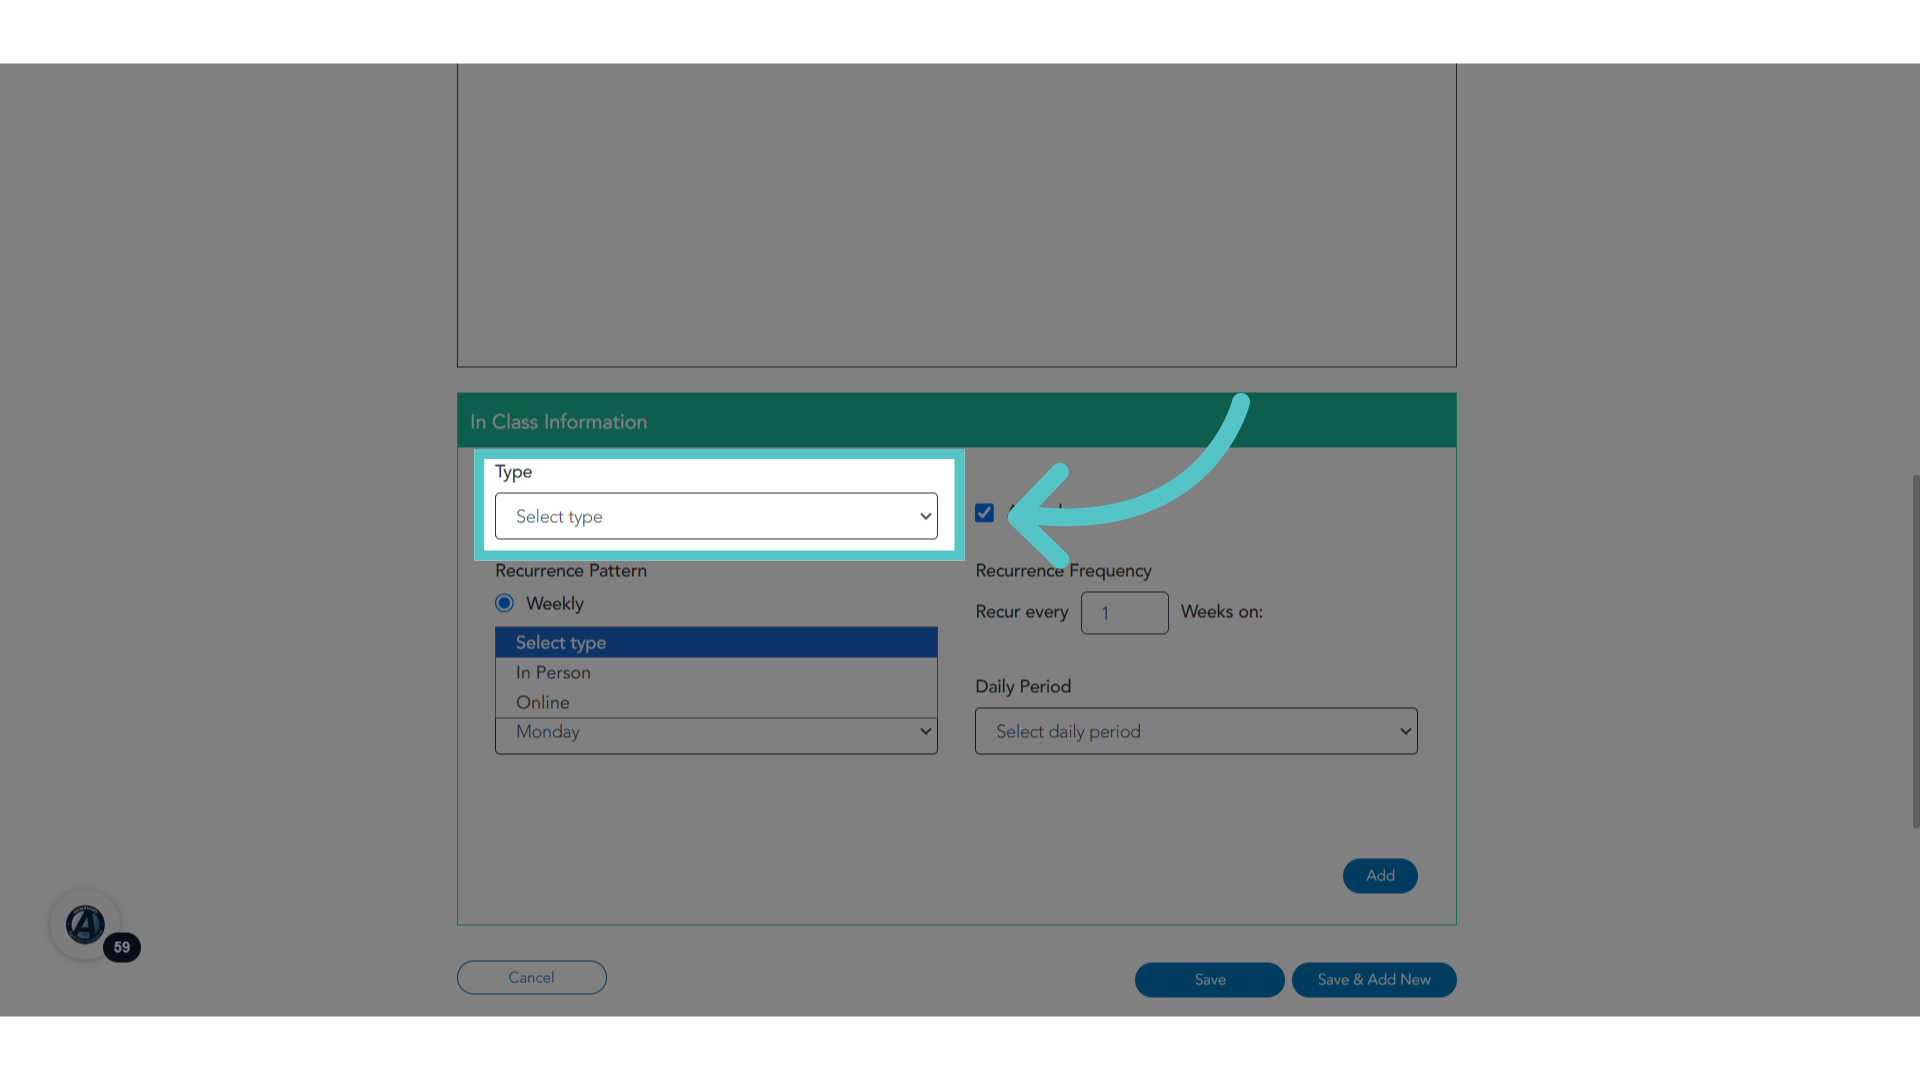
37. In Class Type
Be sure to scroll down past the Comment Box to find the In Class Information. This is the key to setting up a section for monitoring attendance. Choose the course type: In Person, or Online.
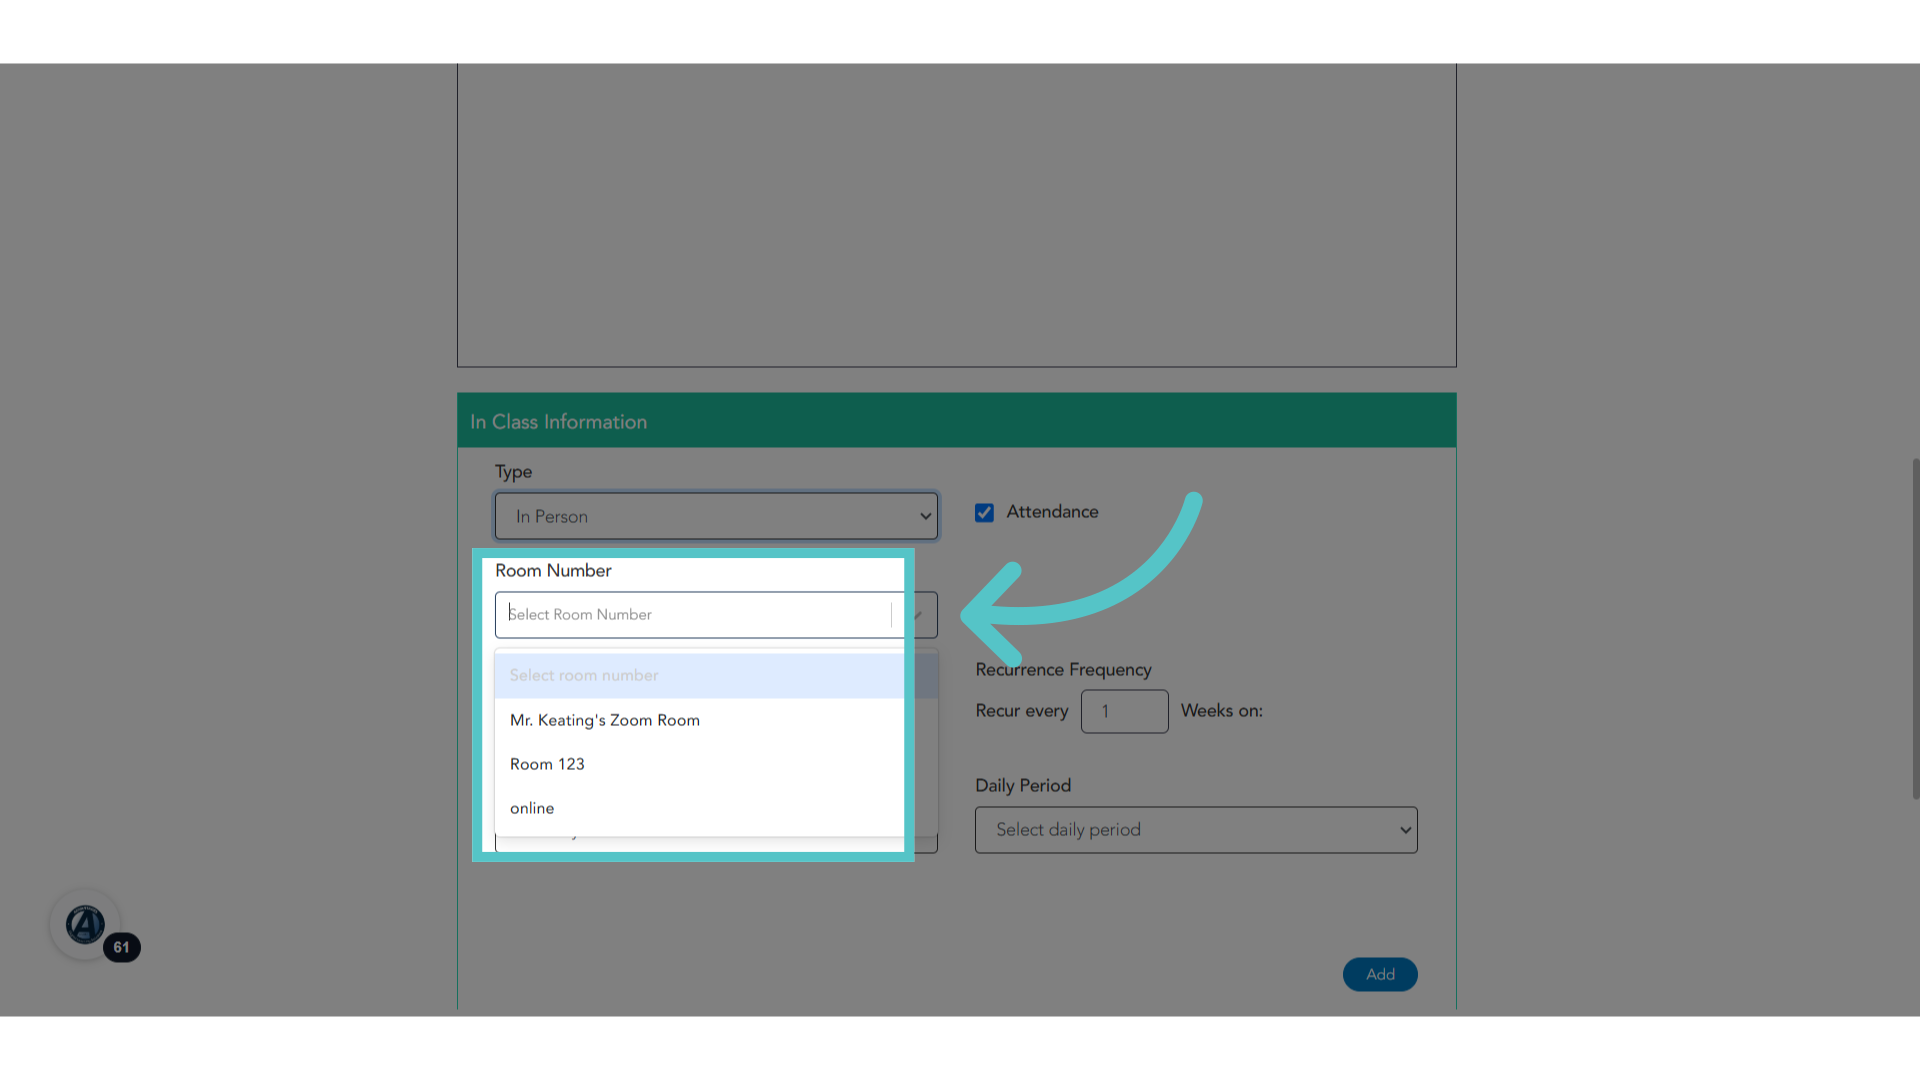
38. Facility
For an "in-person" class, select the room number from your list of facility options. For an "online"class, enter the url for a virtual meeting space.
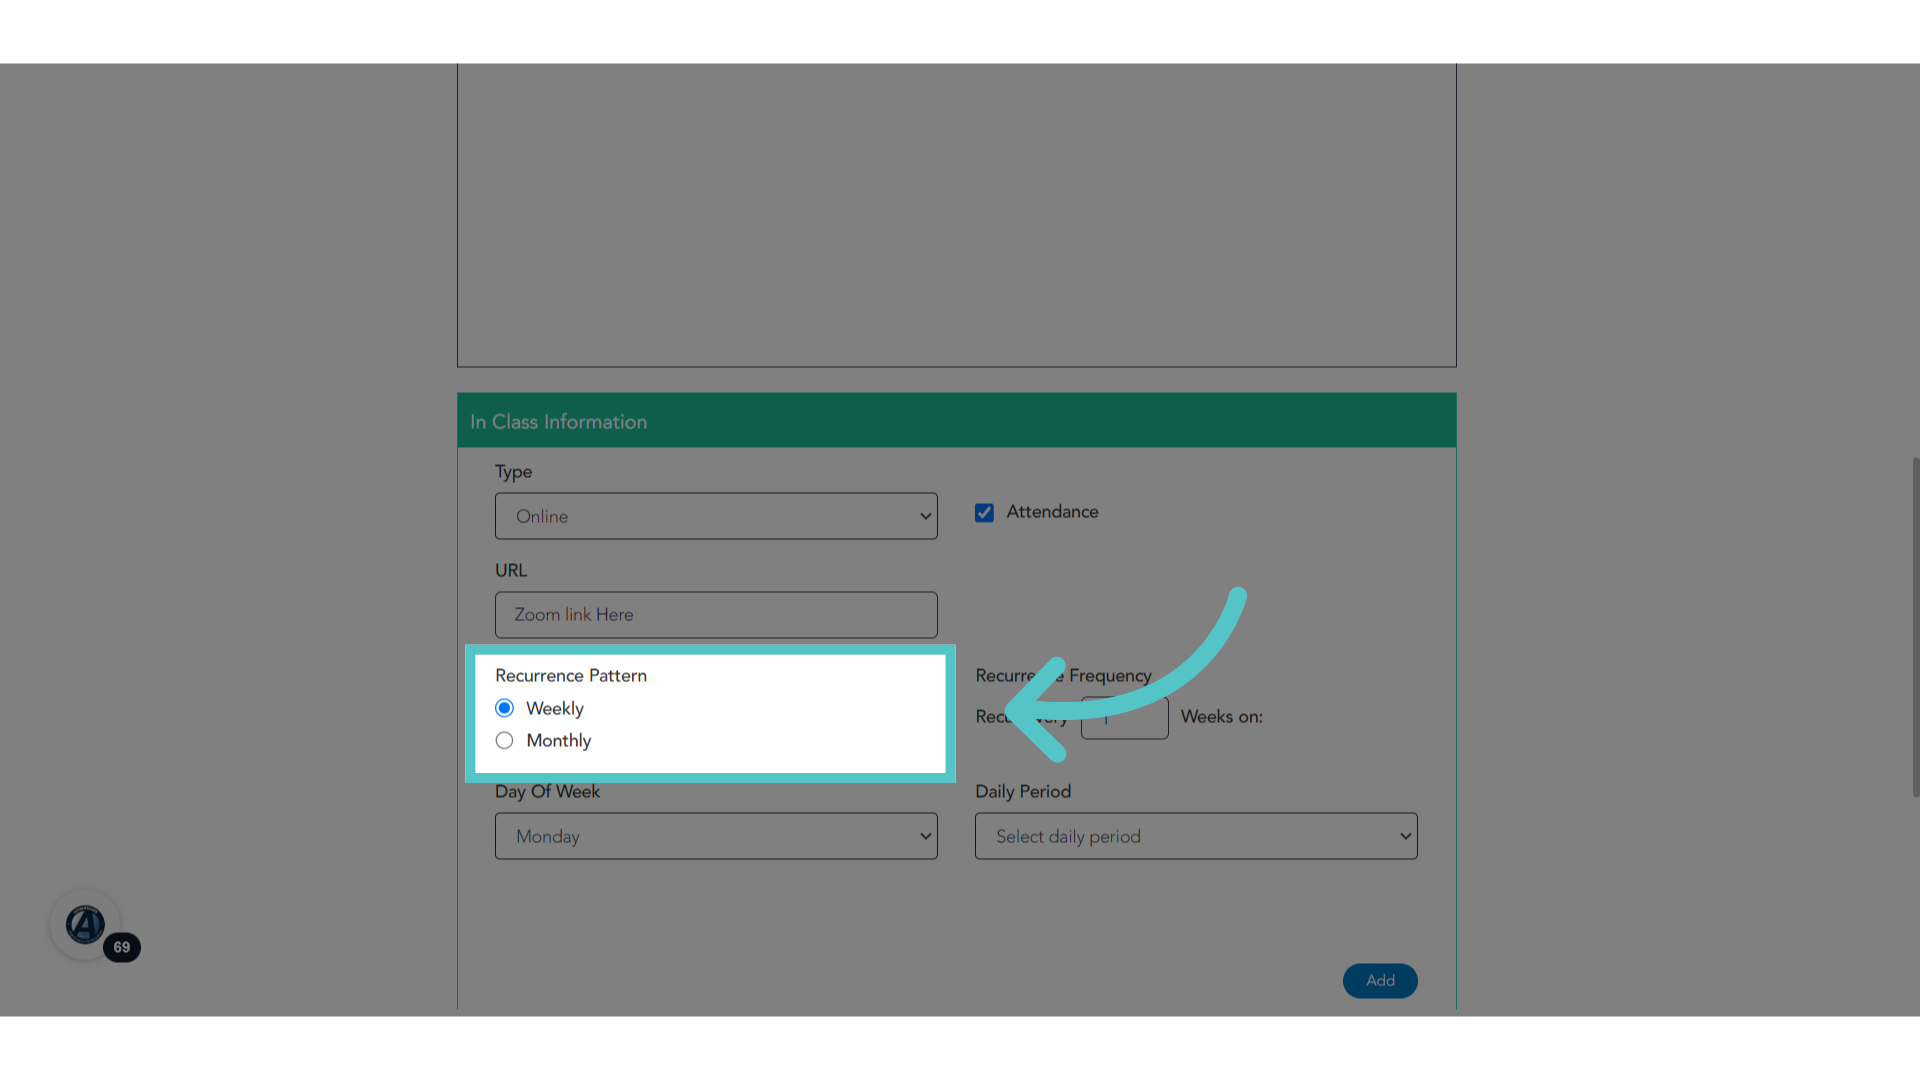
39. Schedule
Select the recurrence pattern. Will the class meet at times every week or every month?
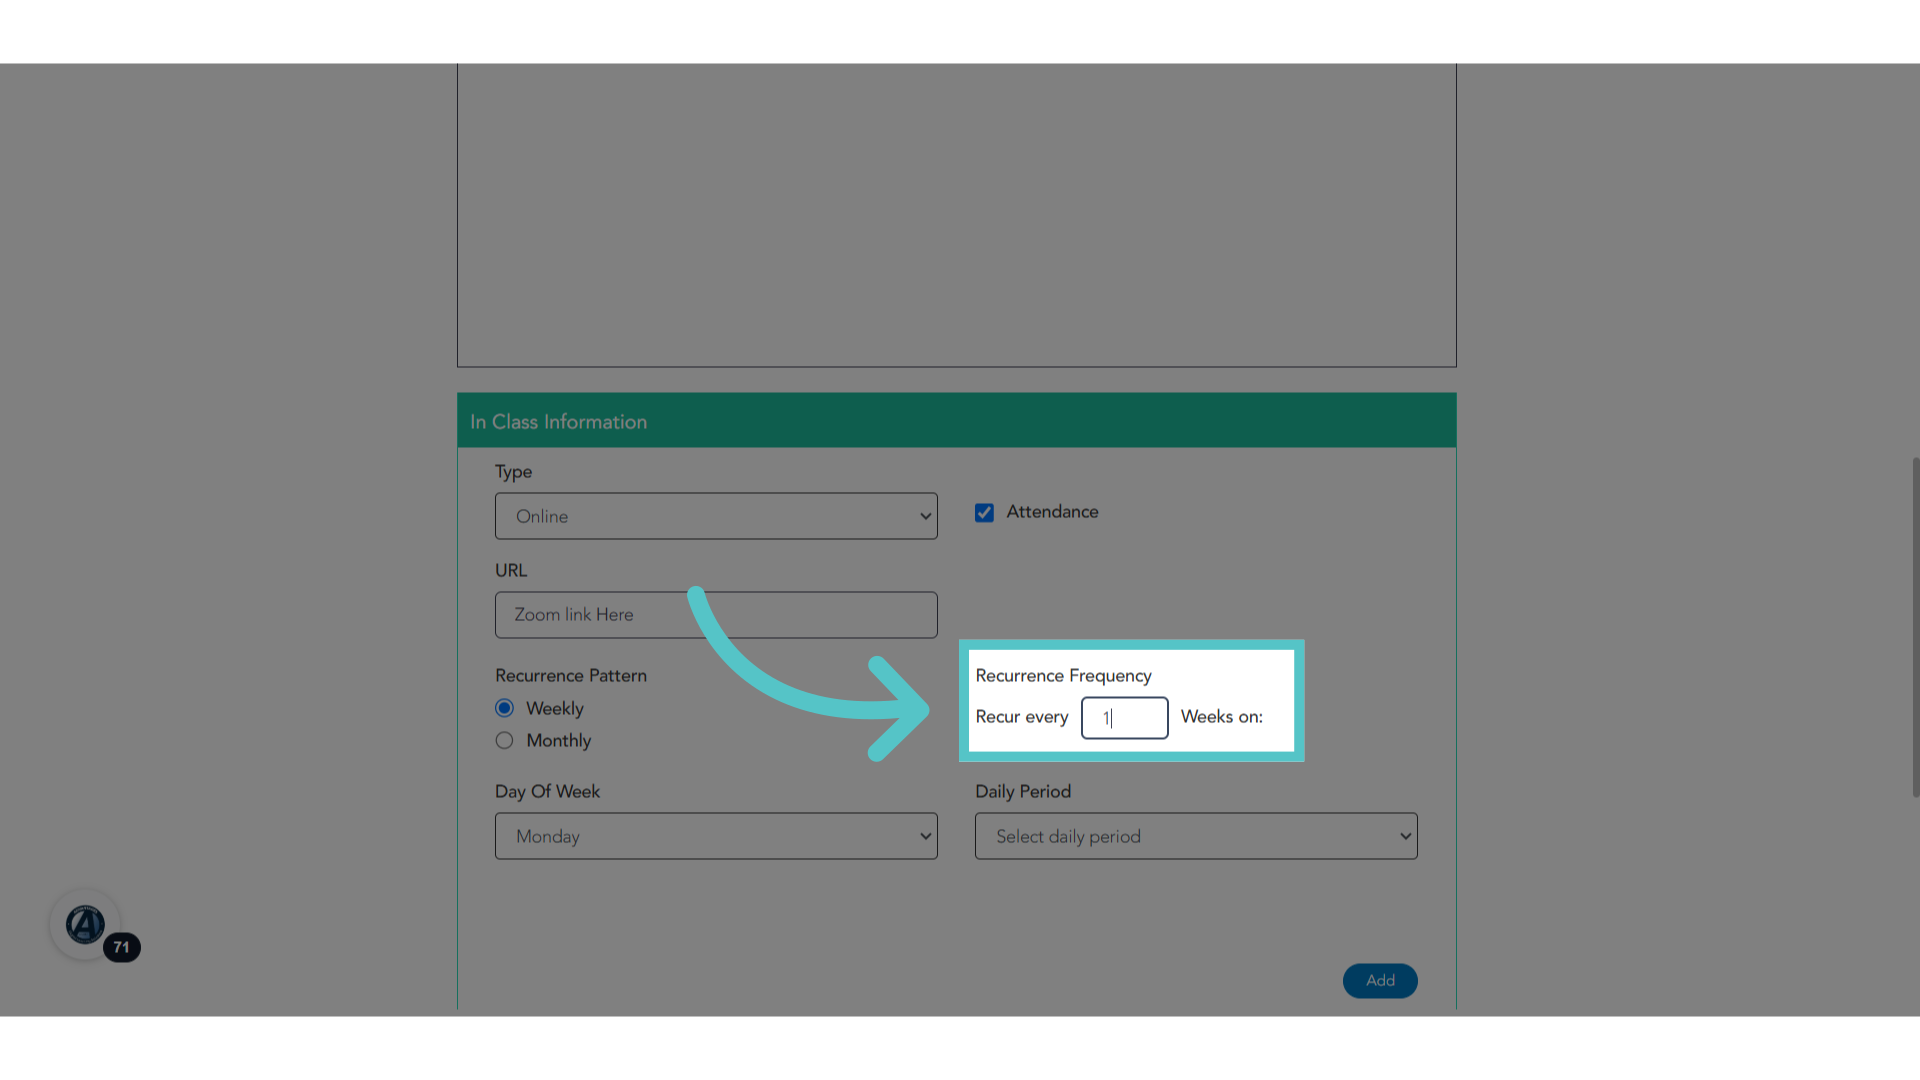
40. Frequency
Recurrence Frequency indicates if the class will meet repeatedly every week, or every 2 weeks, etc... on the below days and times.
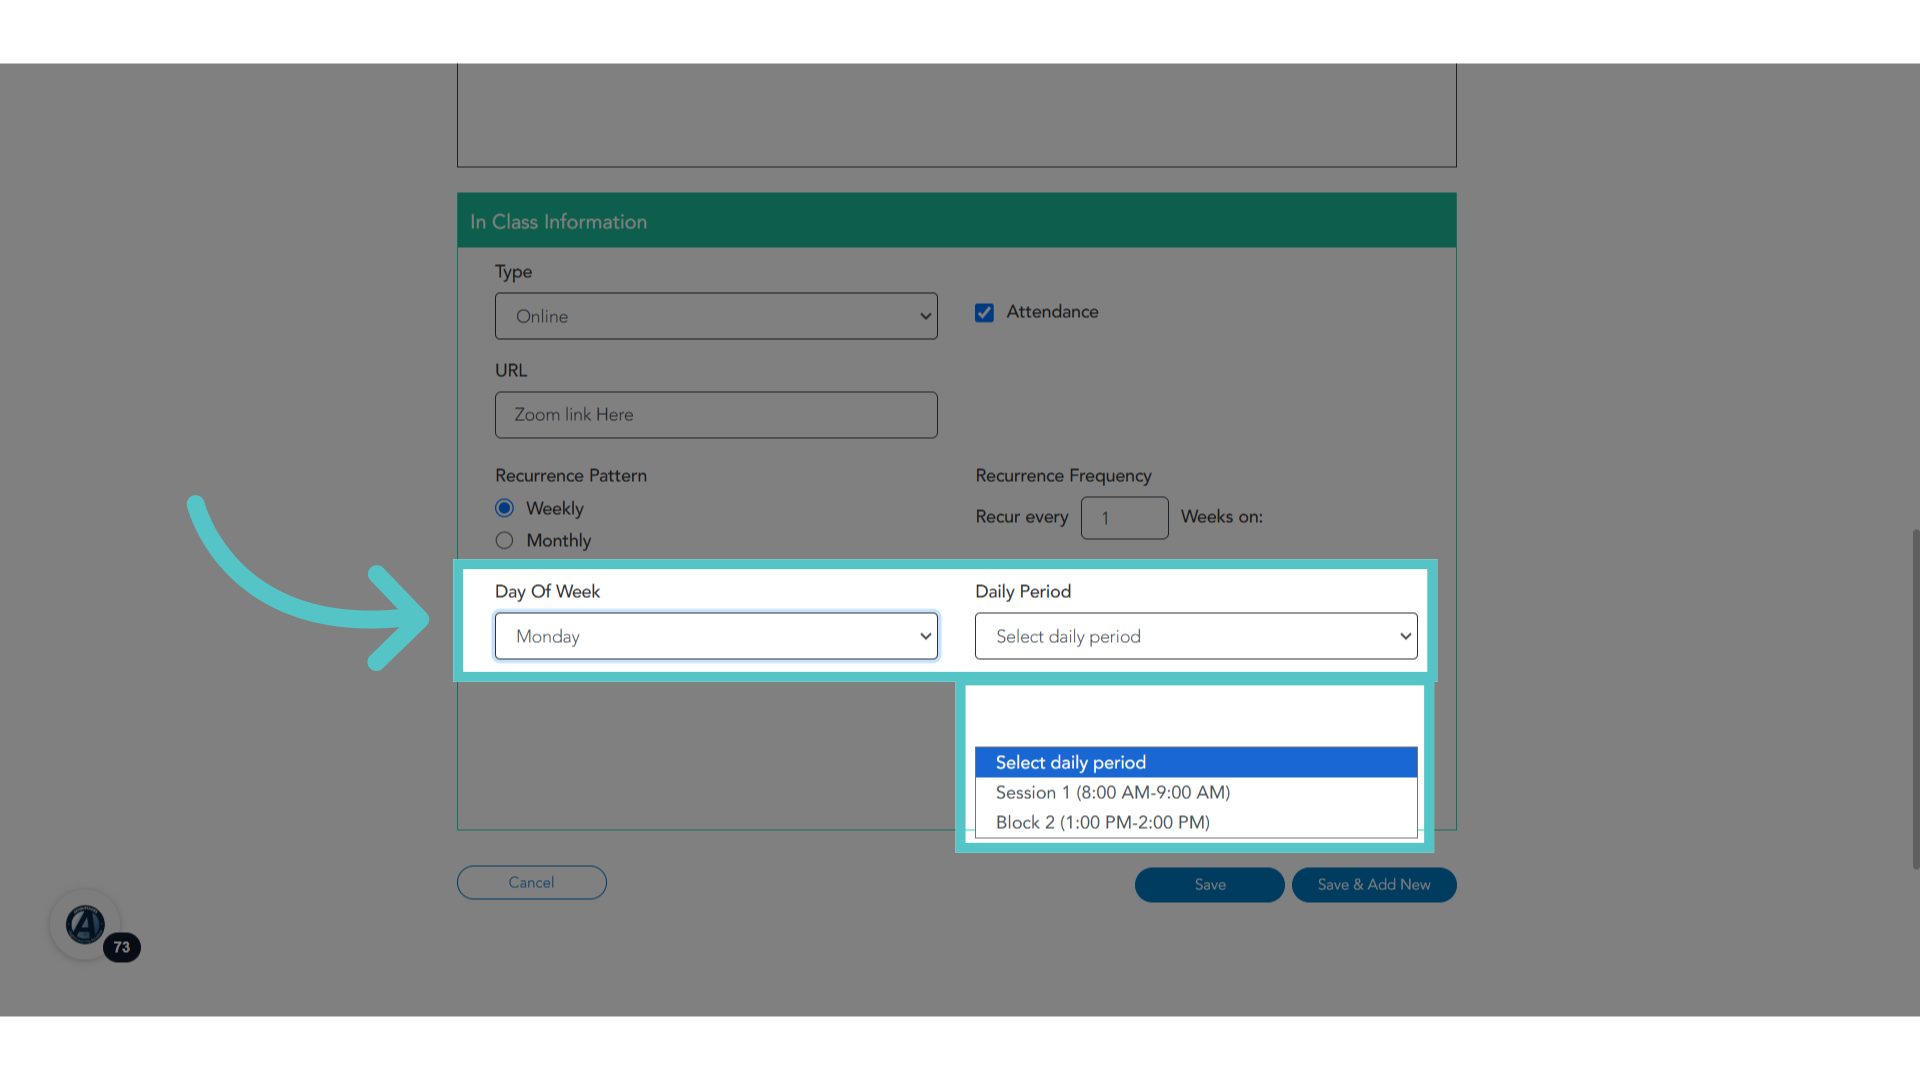
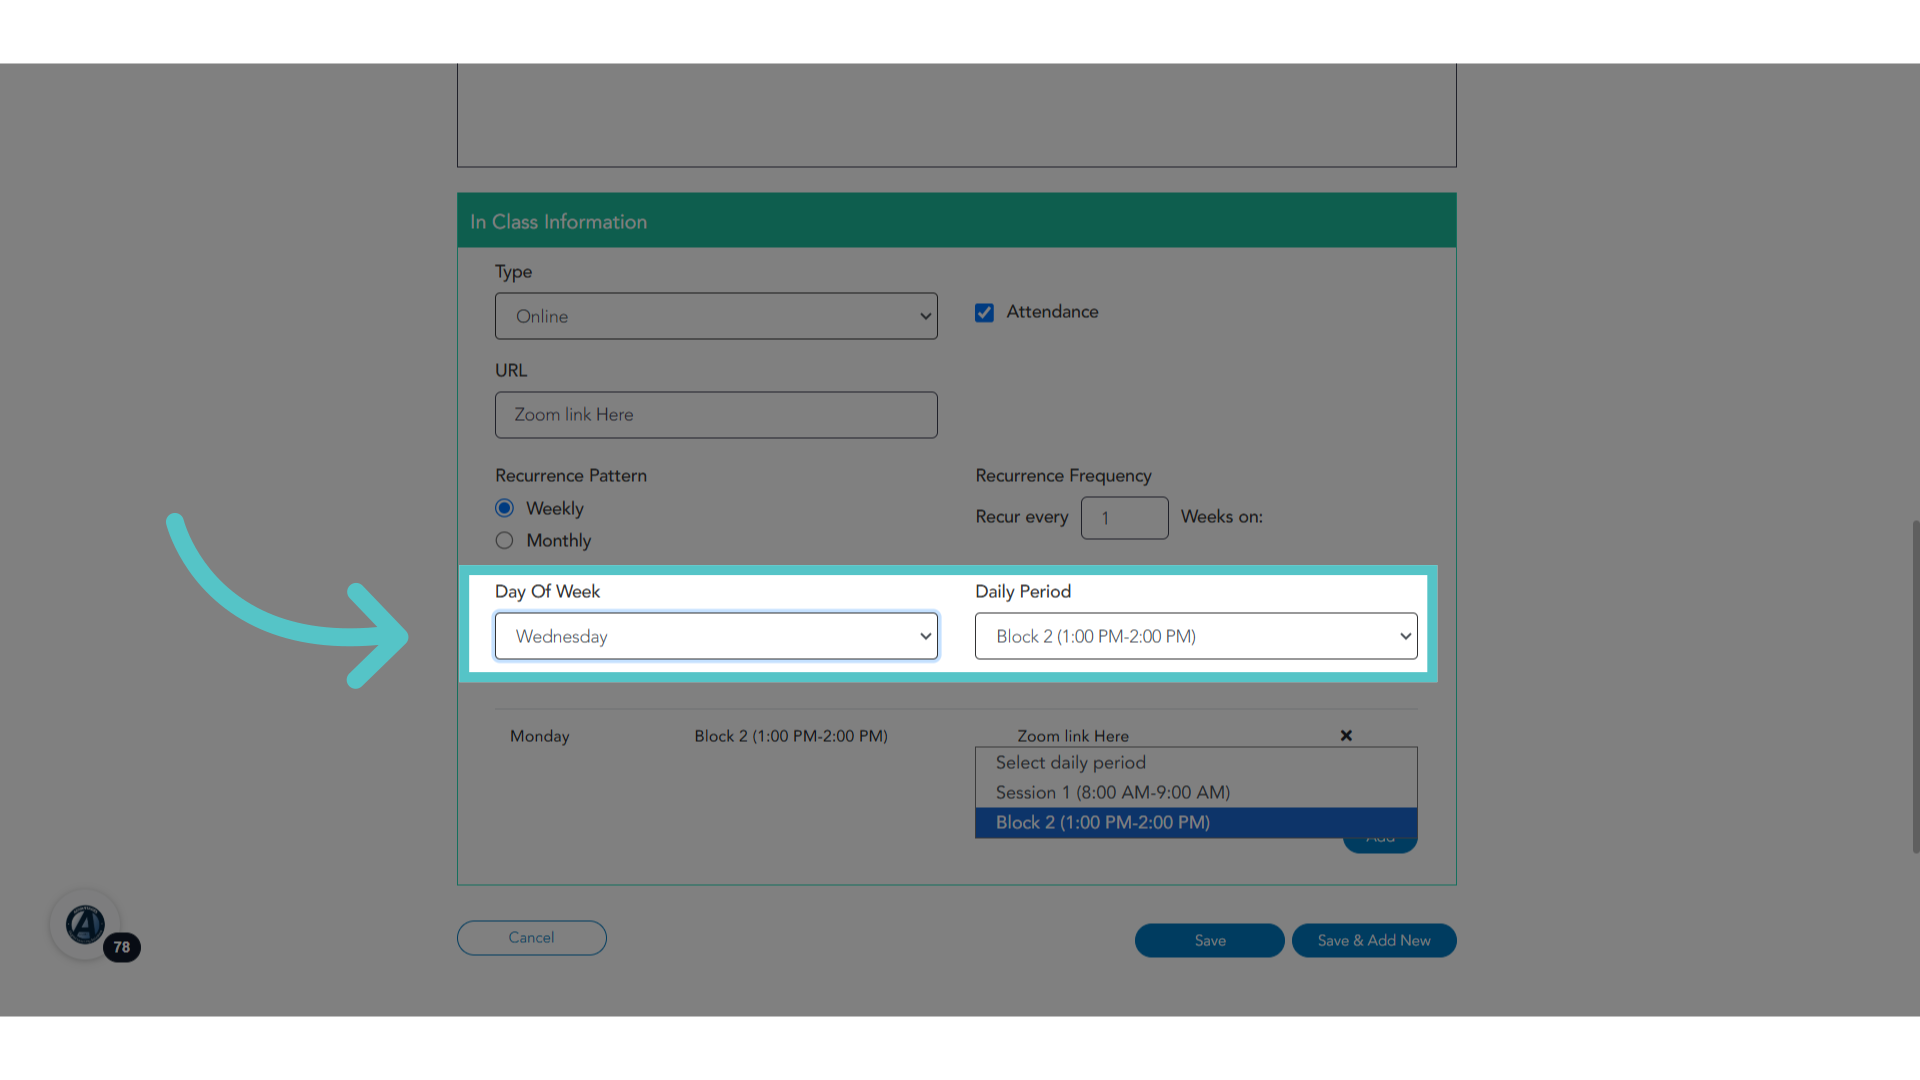
41. Bell Schedule
Choose the day of the week the class will meet and select the timeframe. These are options that were entered in the Bell Schedule in the school Setup Menu.
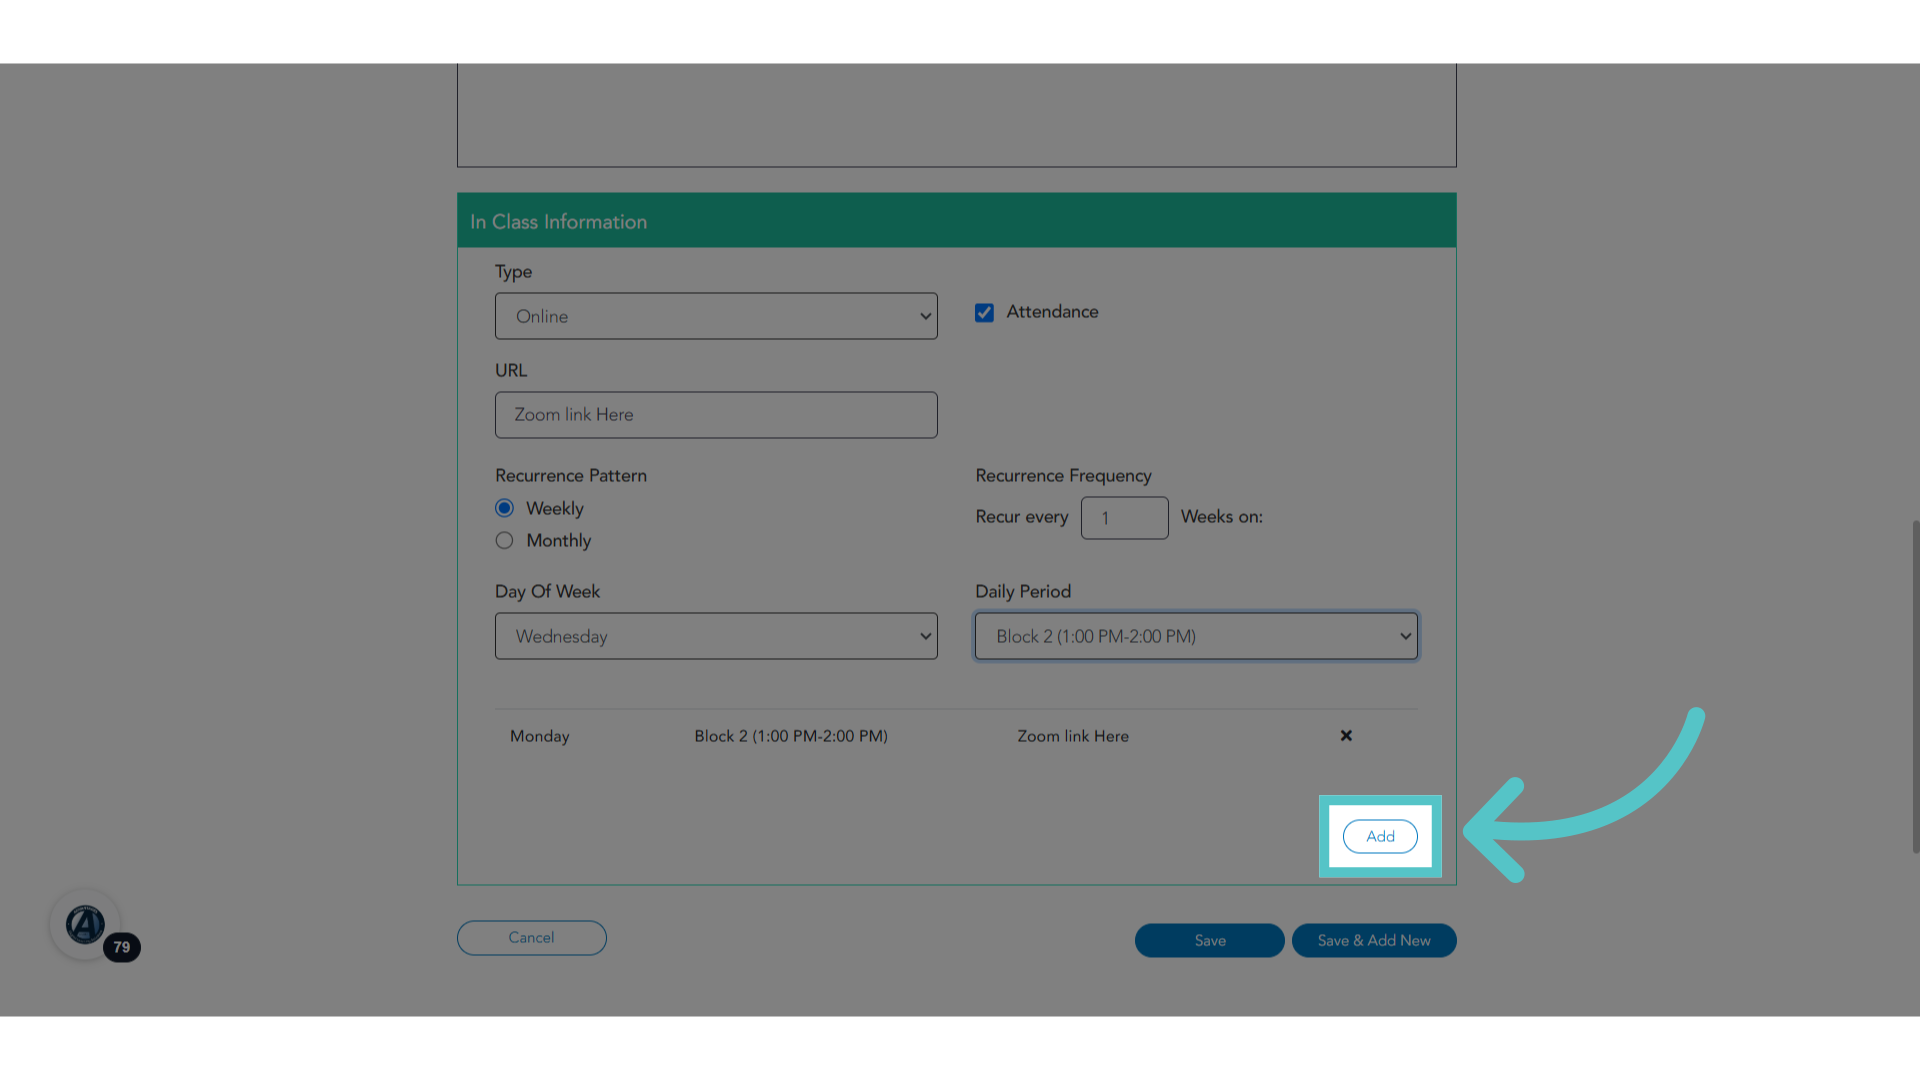
42. Click "Add"
Add the selected day and time to the class schedule.
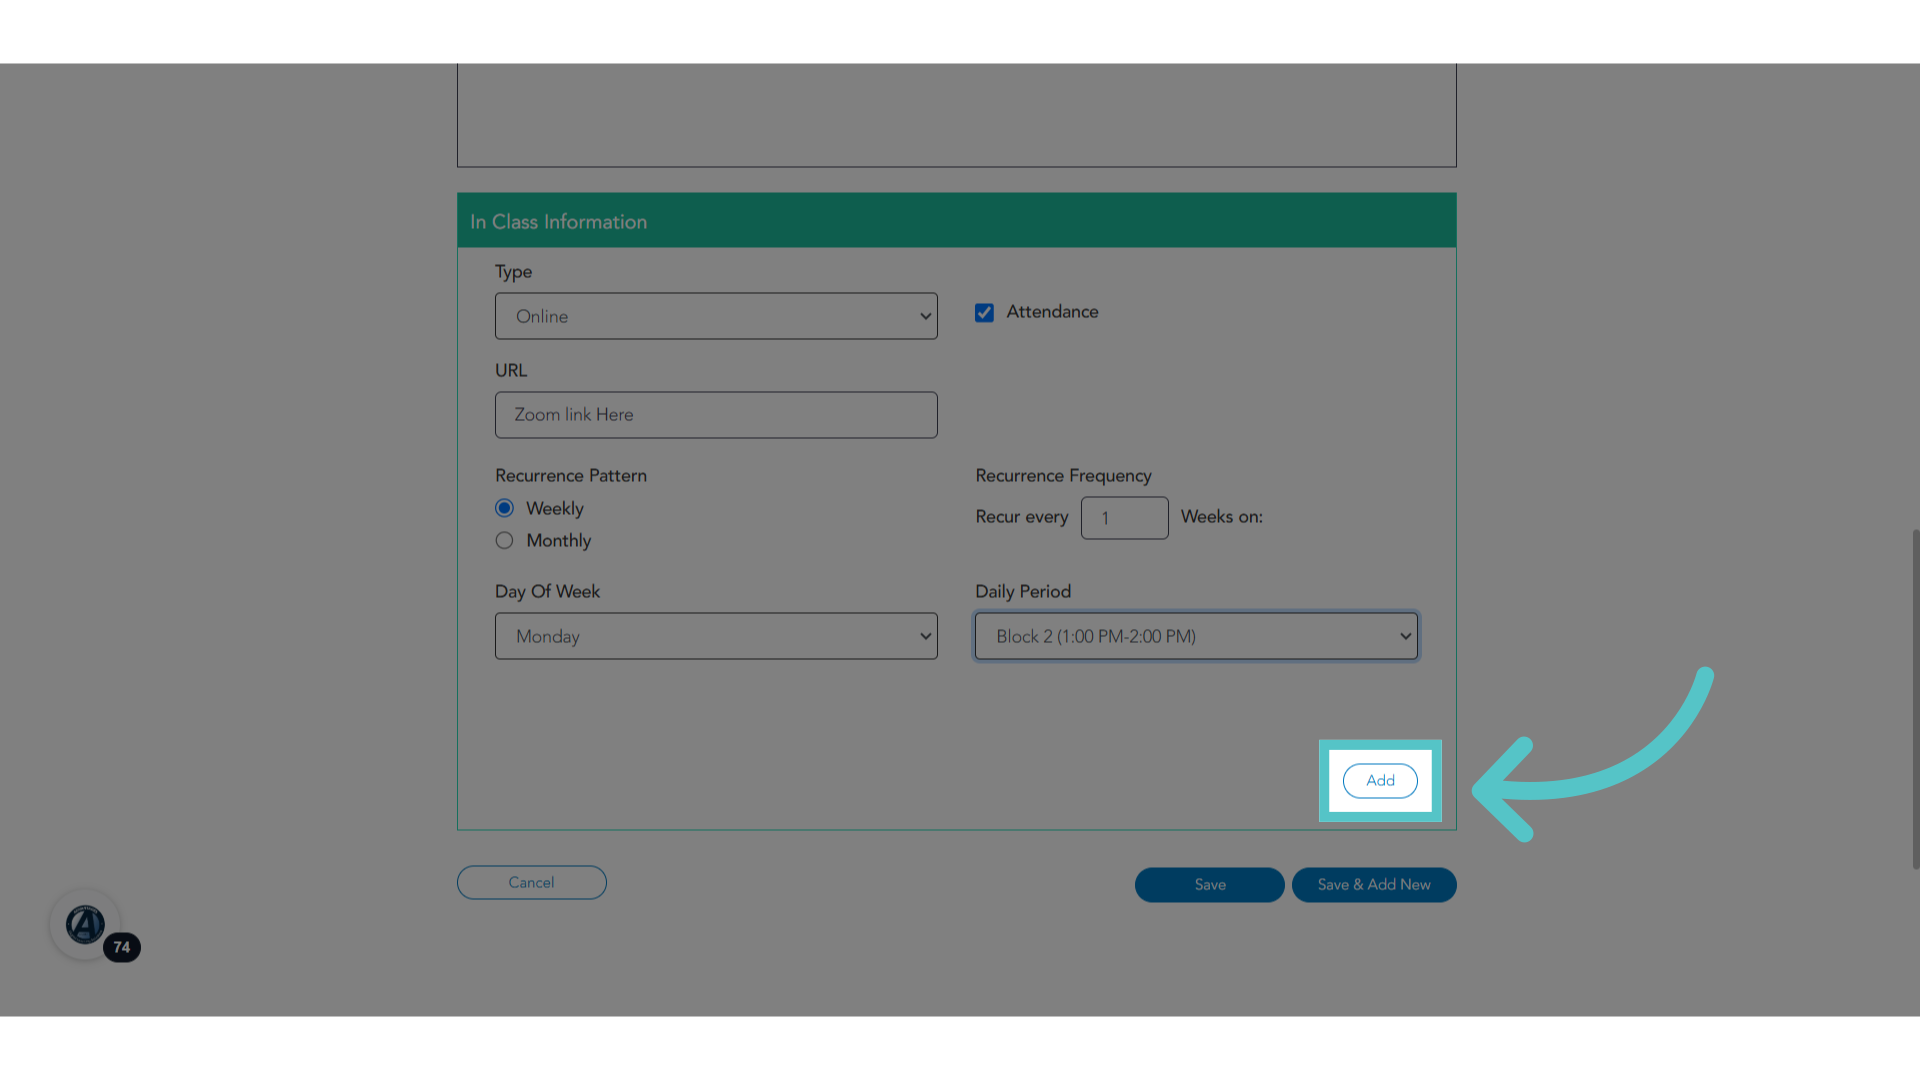
43. Add Another
Ad as many days and classtimes as needed for the section. Attendance will be expected for each classtime entered within the academic term.
44. Click "Add"
Be sure to click "Add" after each entry.
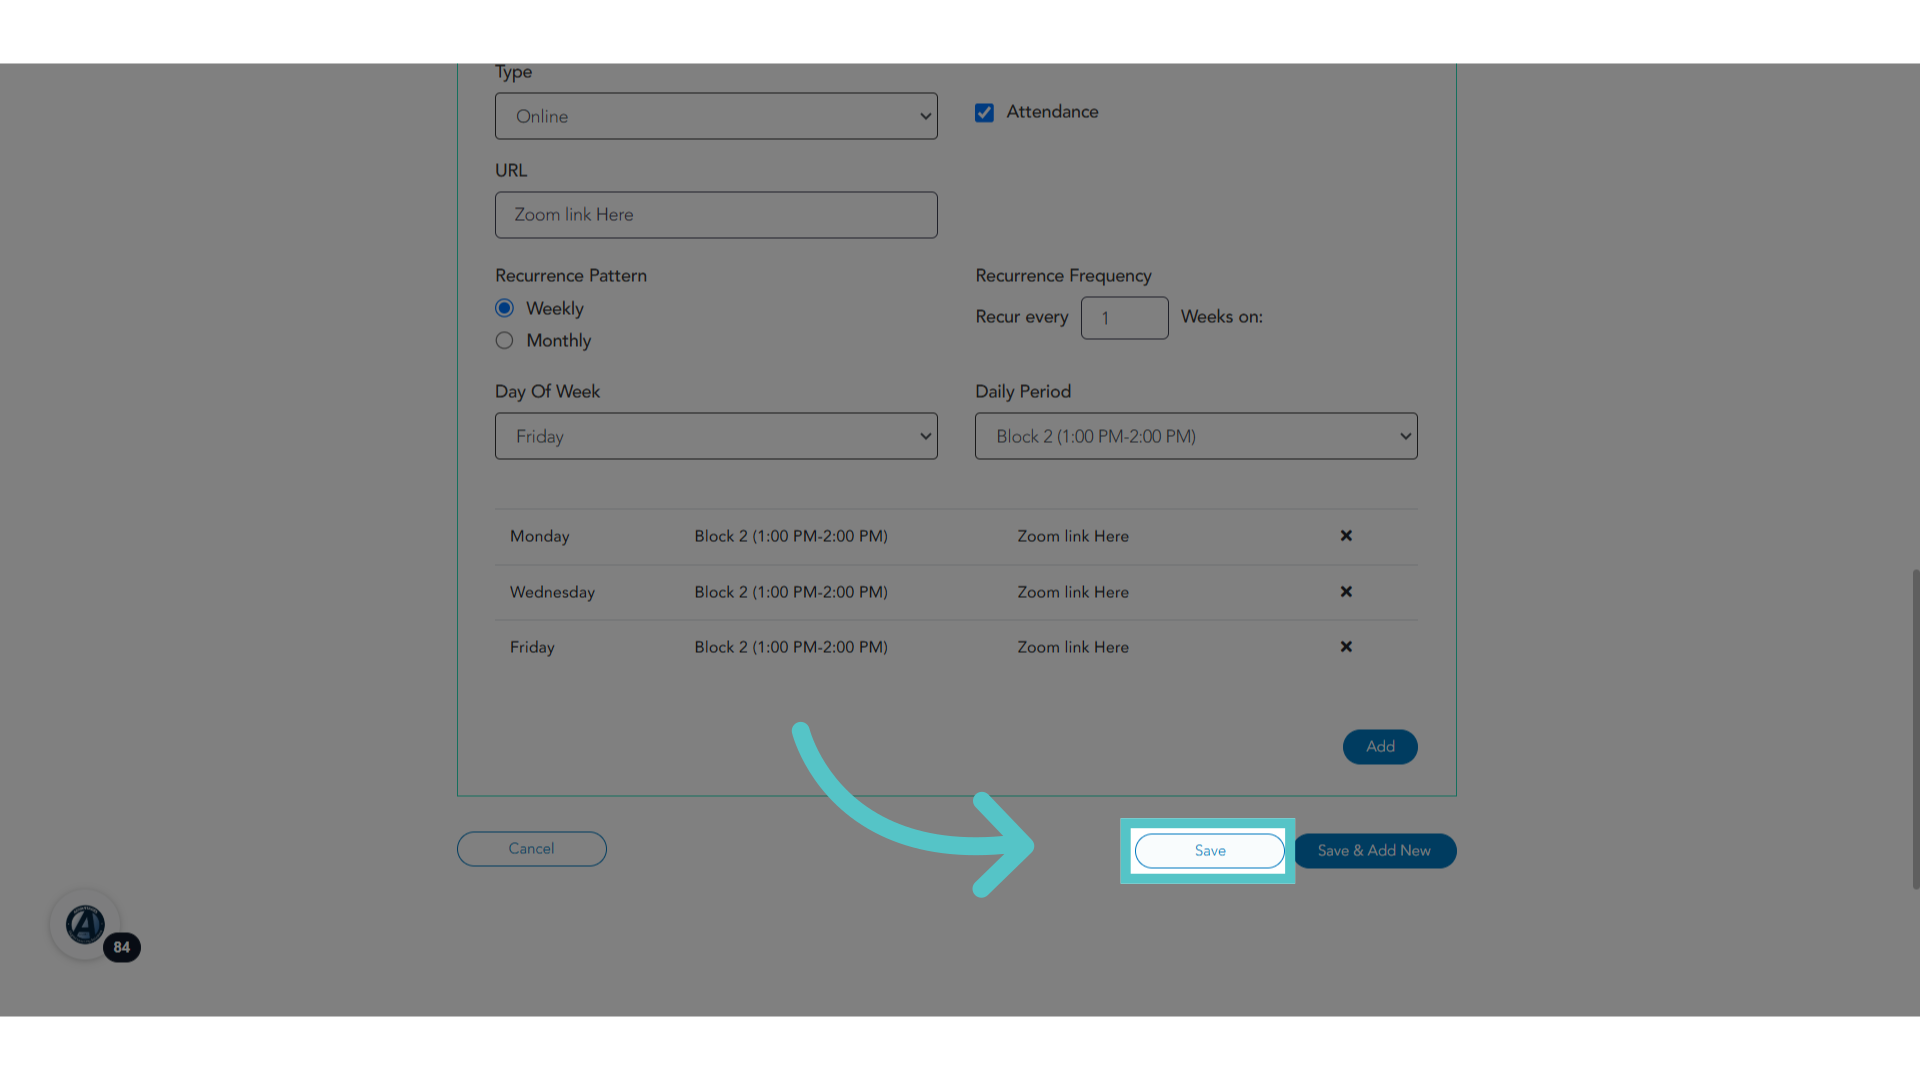
45. Click "Save"
Save your changes
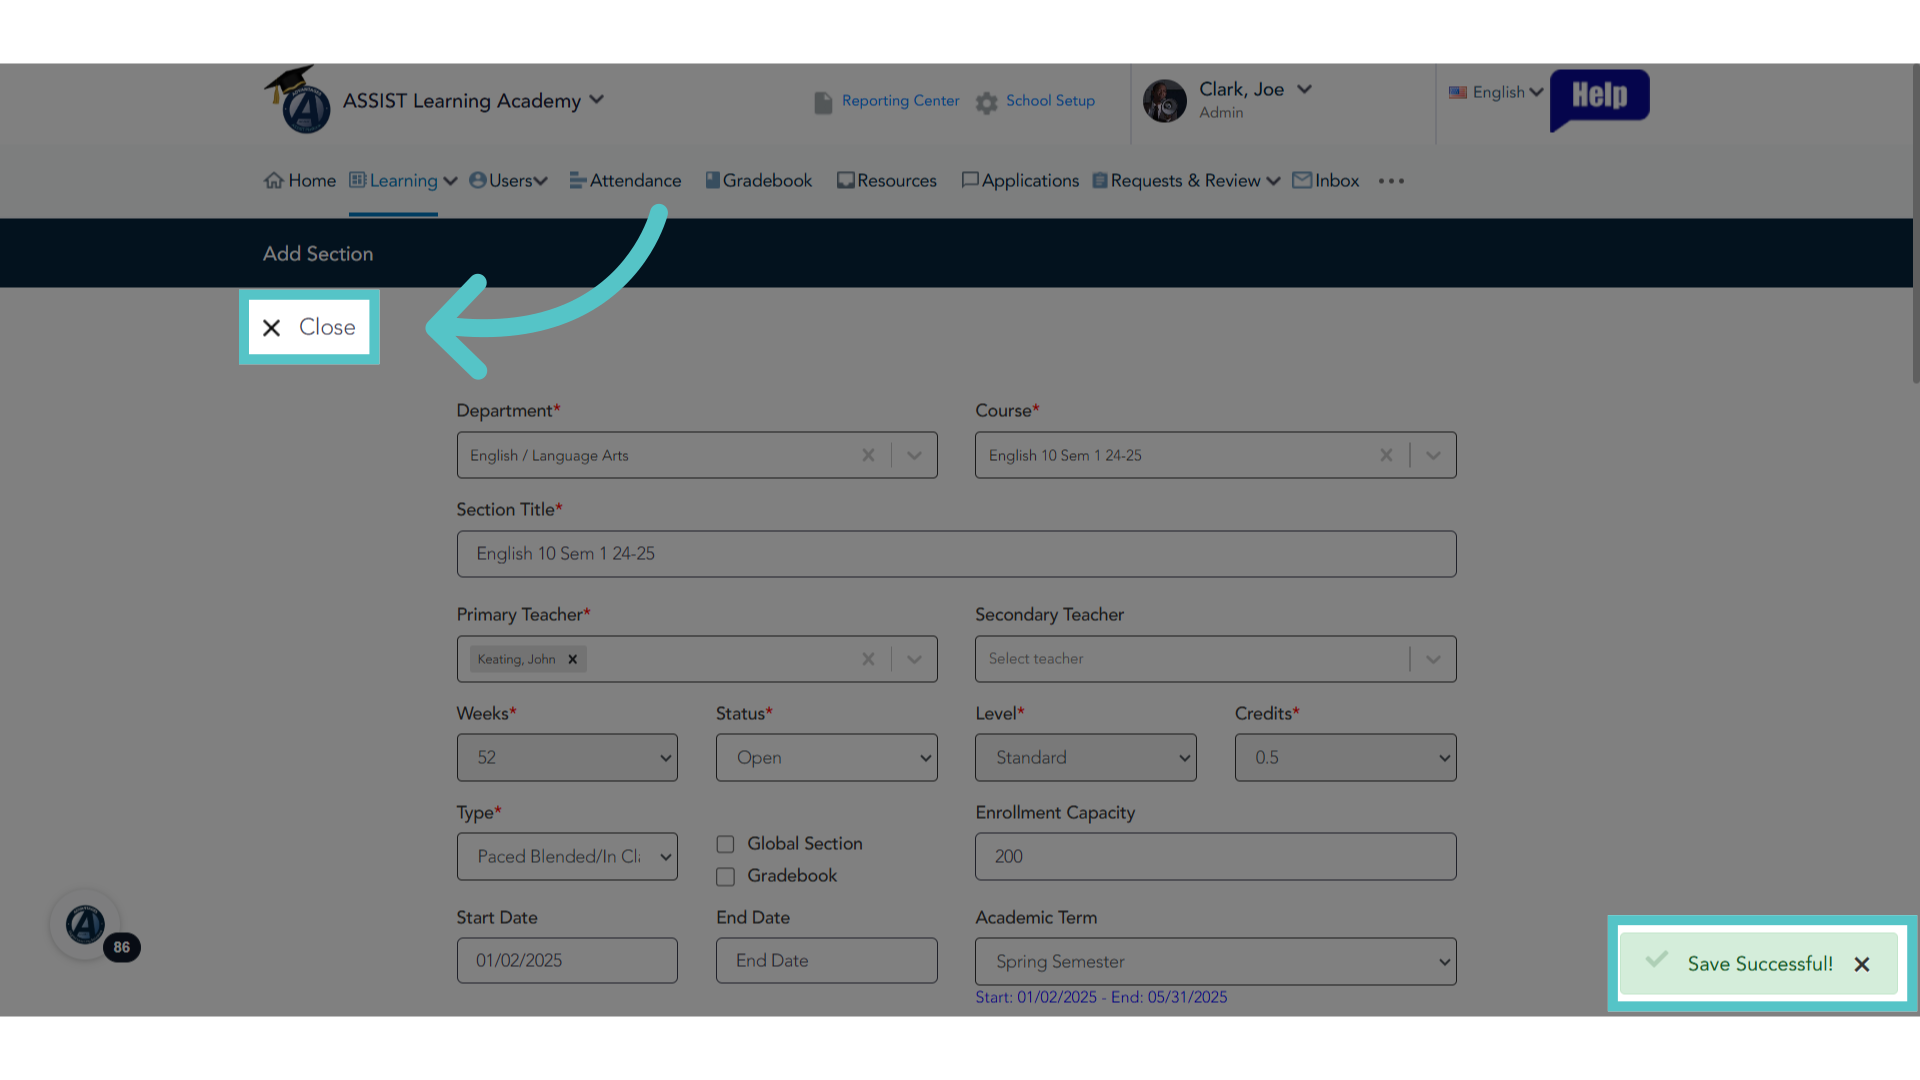
46. Click "Close"
When the section has saved successfully, close the window.
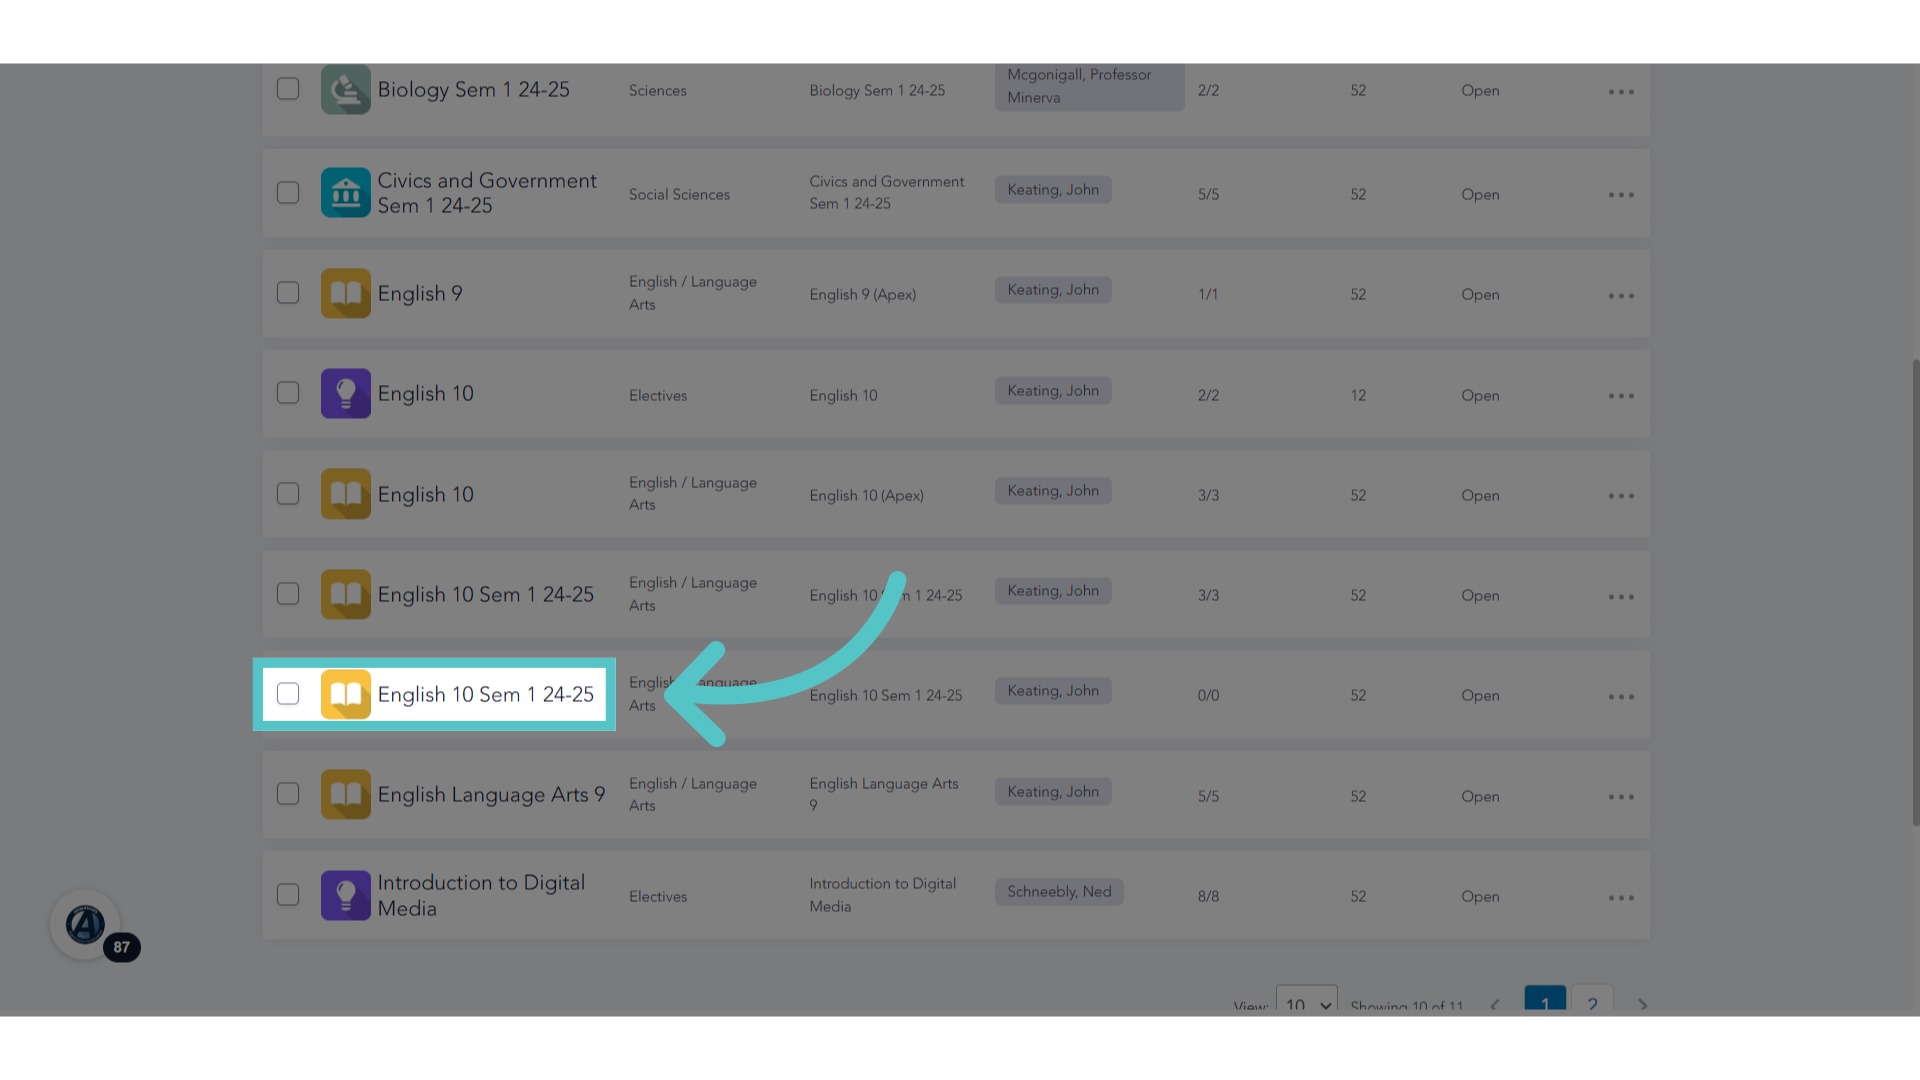
47. Active Section
The section will now appear in theActive Sections List.
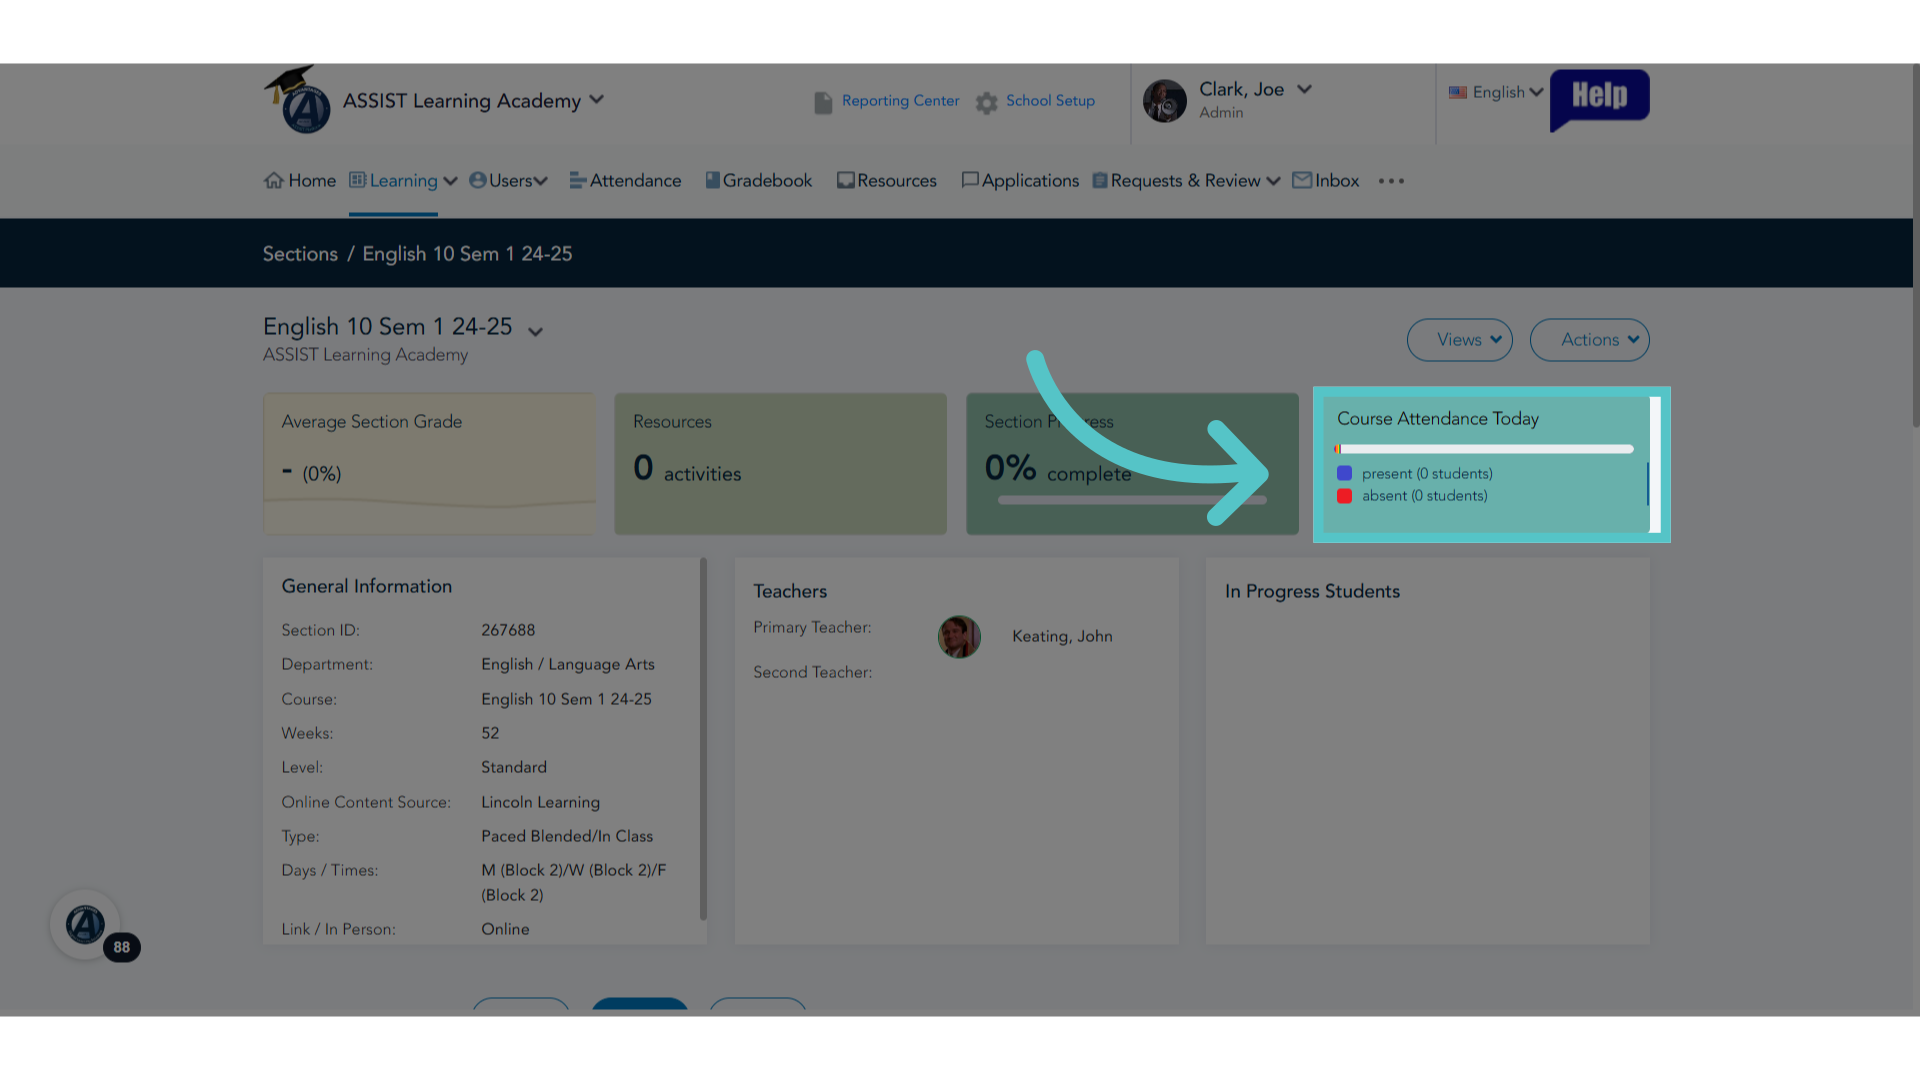
48. Attendance
Opening the Section Page will show a clickable tile for the attendance record.
If you have any questions about the information in this tutorial, please click "Contact Support" to submit a help request. Contact Support