fdfdfdfdfdfdfdfdfdf
Expand to Full Screen for best viewing.
Adding, Hiding, and Moving Learning Objects in Lincoln Learning.
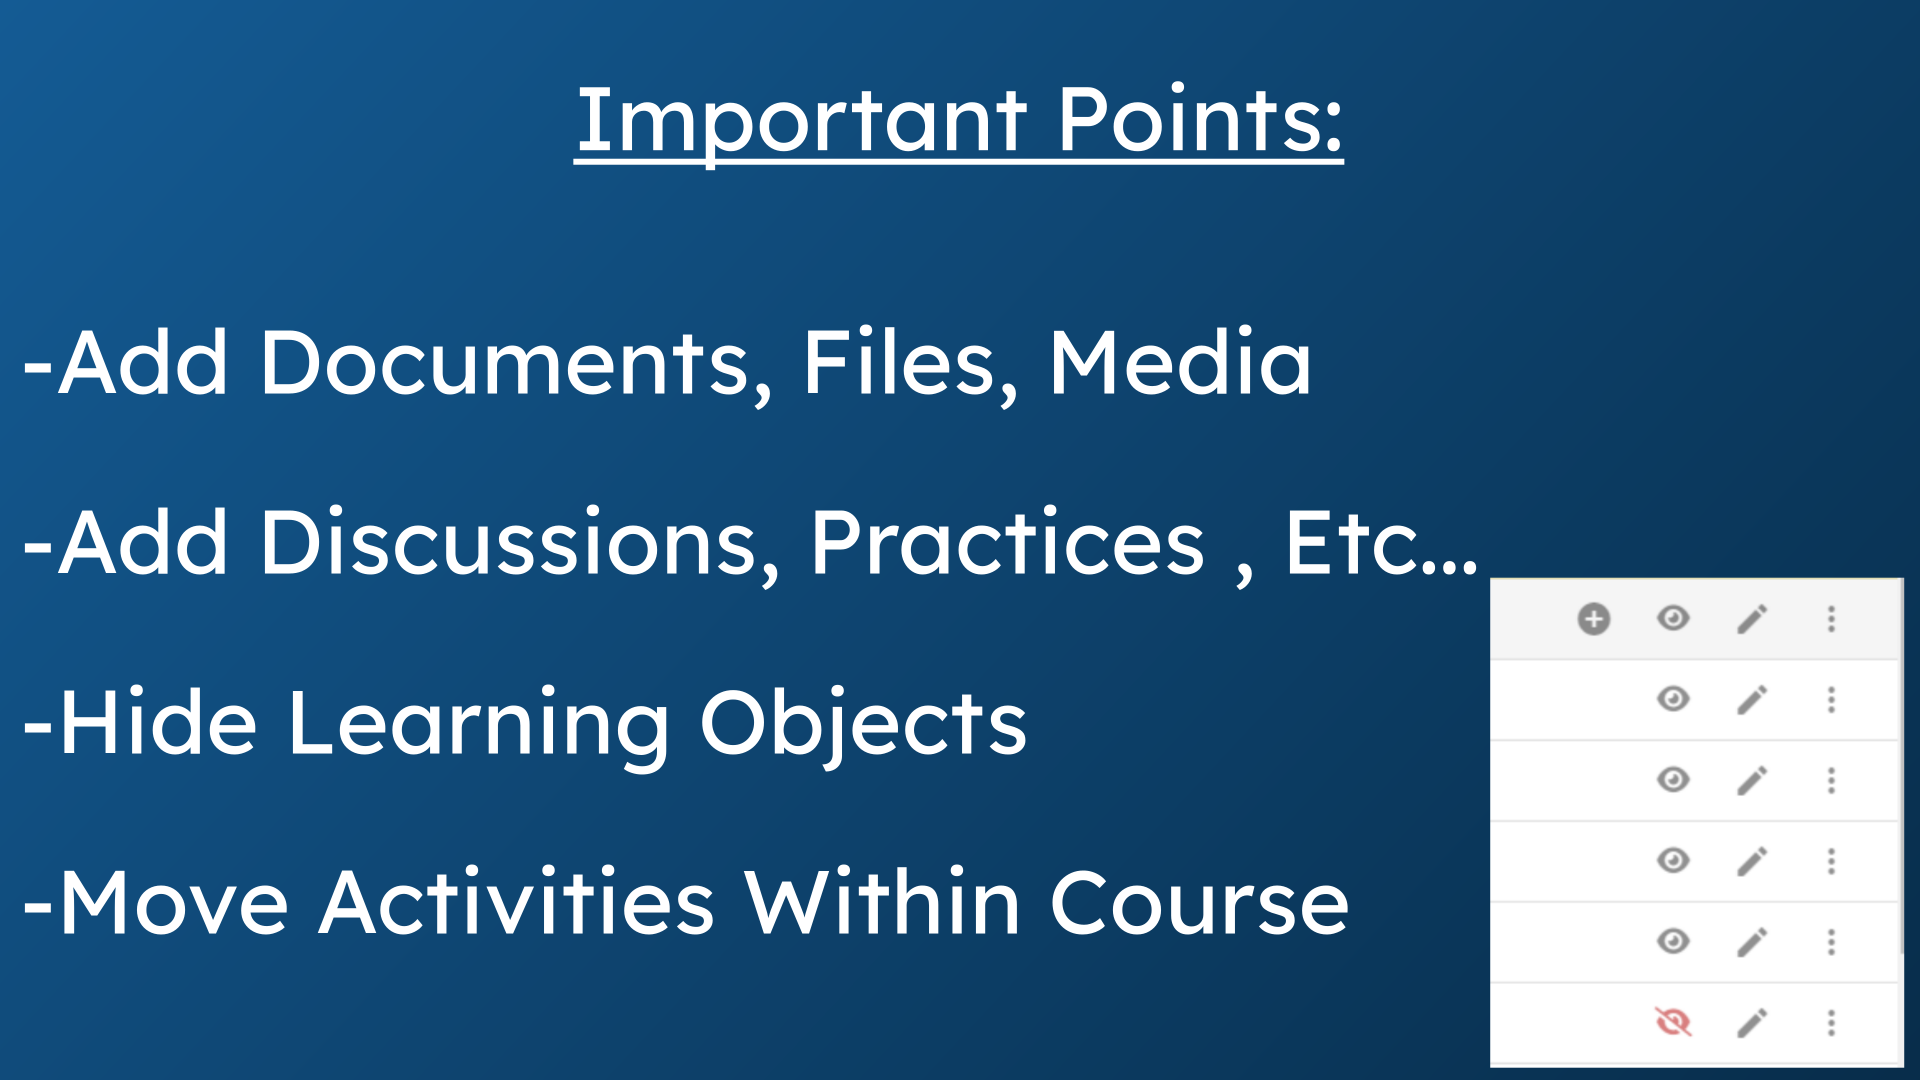
1. Important Points:
This guide will walk you through the process of adding content to your Lincoln Learning course. Using the Editor feature, teachers can upload documents or files, or link media to create additional learning activities. Teachers can also hide content from student view. The sequence of activities can be reorganized by moving learning objects within the course.
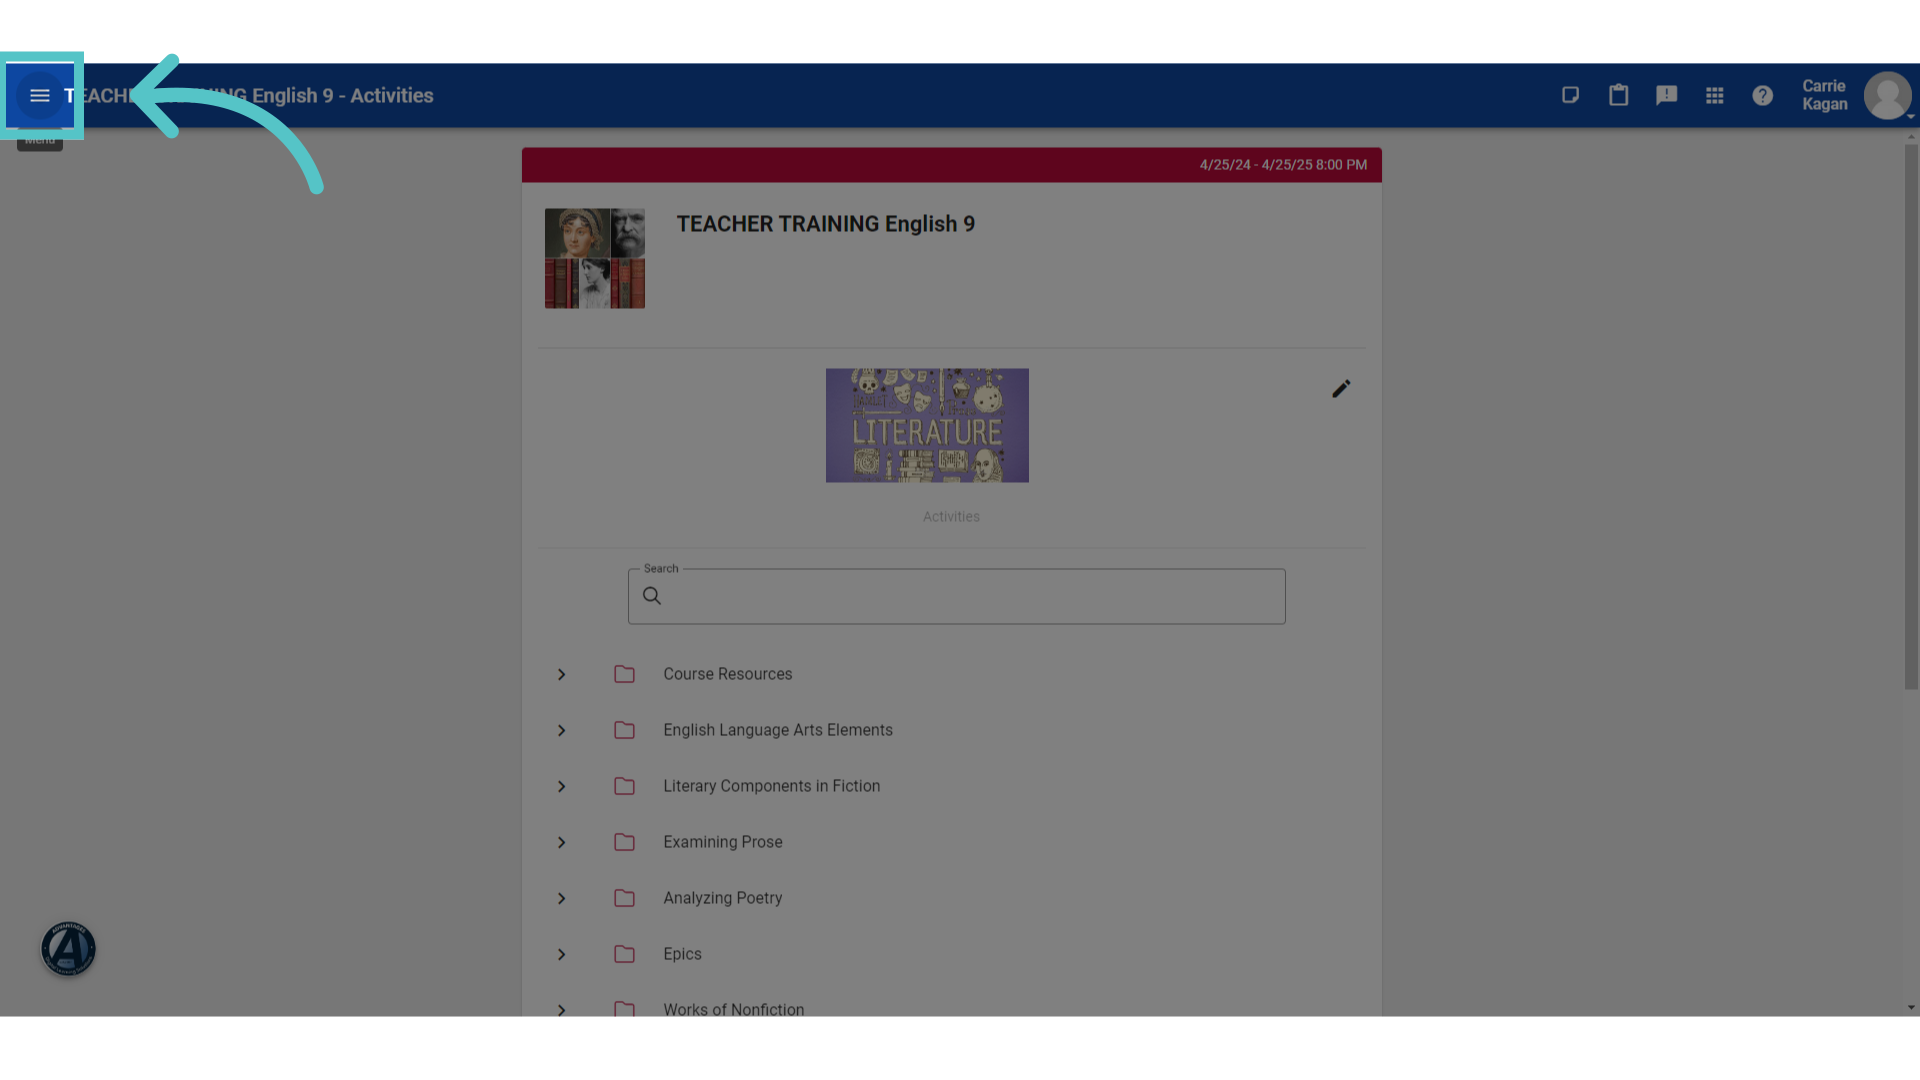
2. Click to Expand Menu
To access the course editor, click to open the top left corner menu.
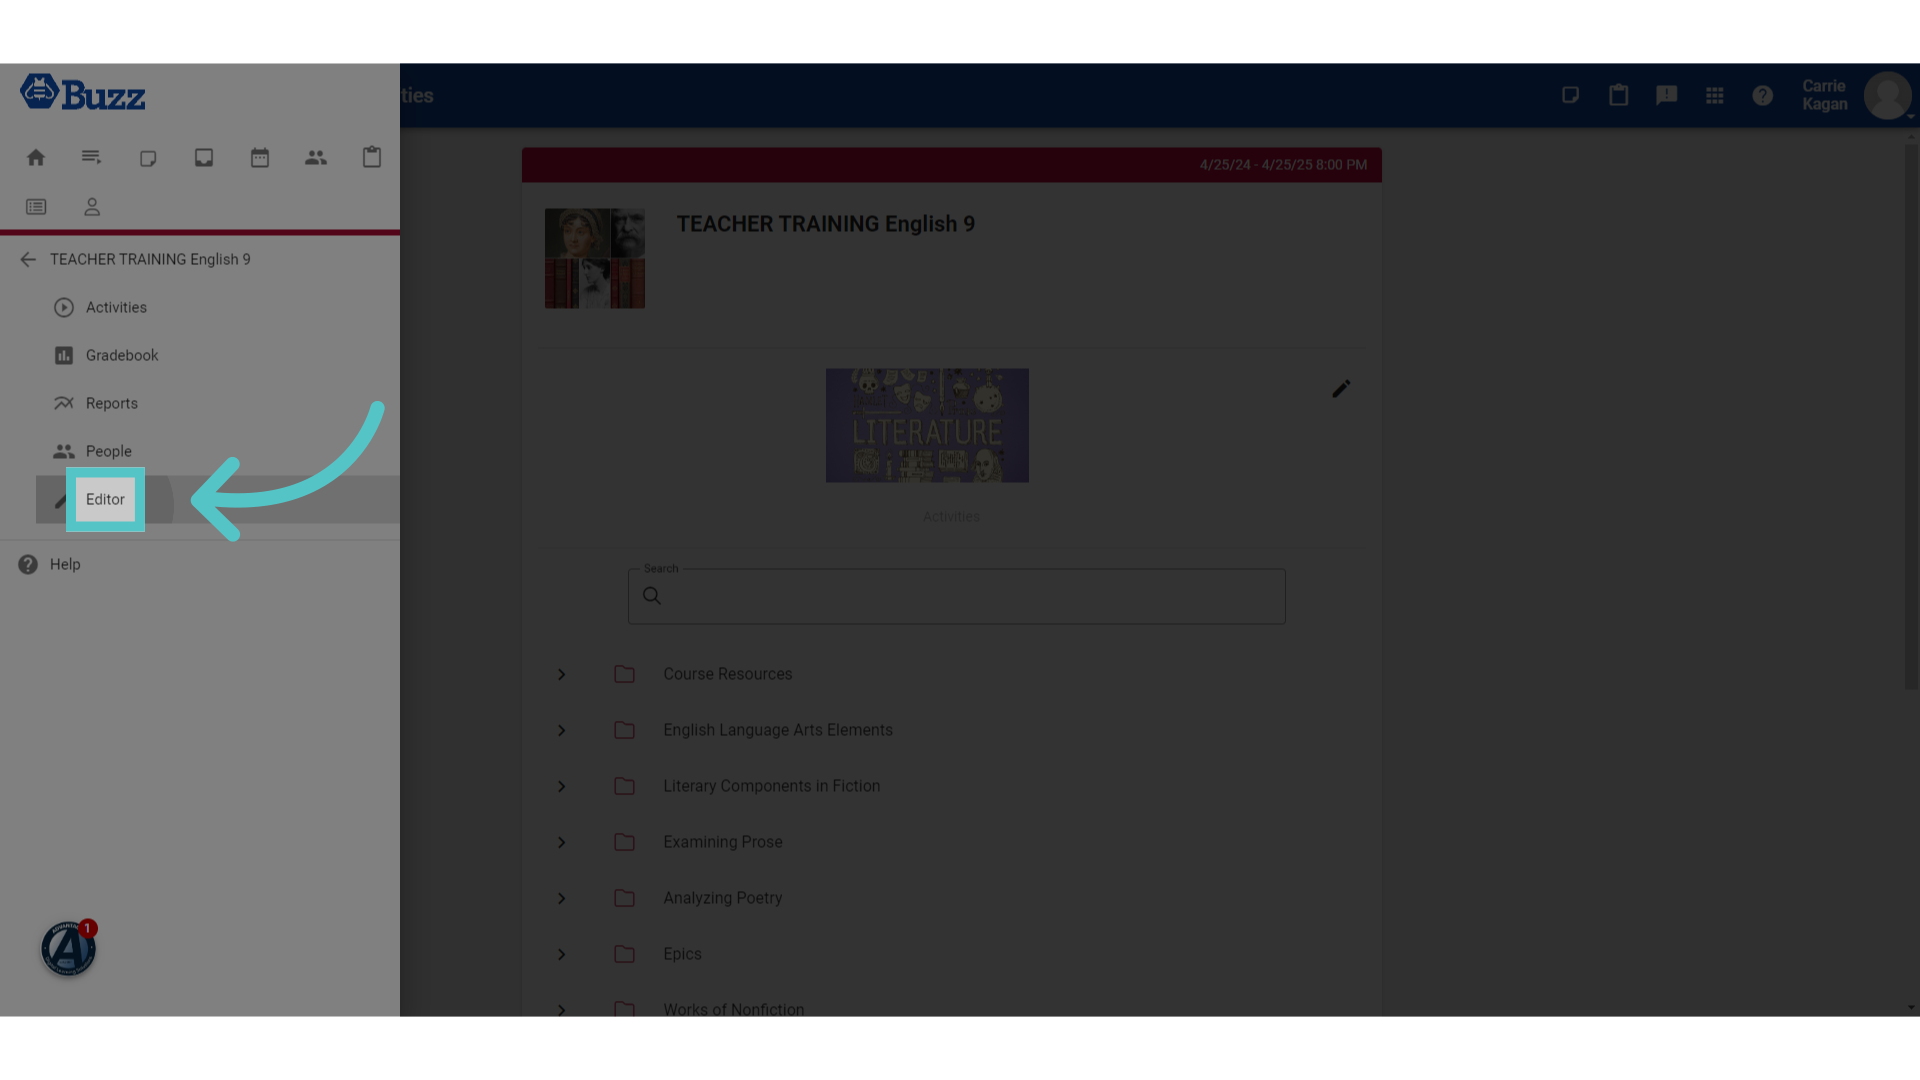
3. Click "Editor"
Under your course name, select "Editor" from the menu.
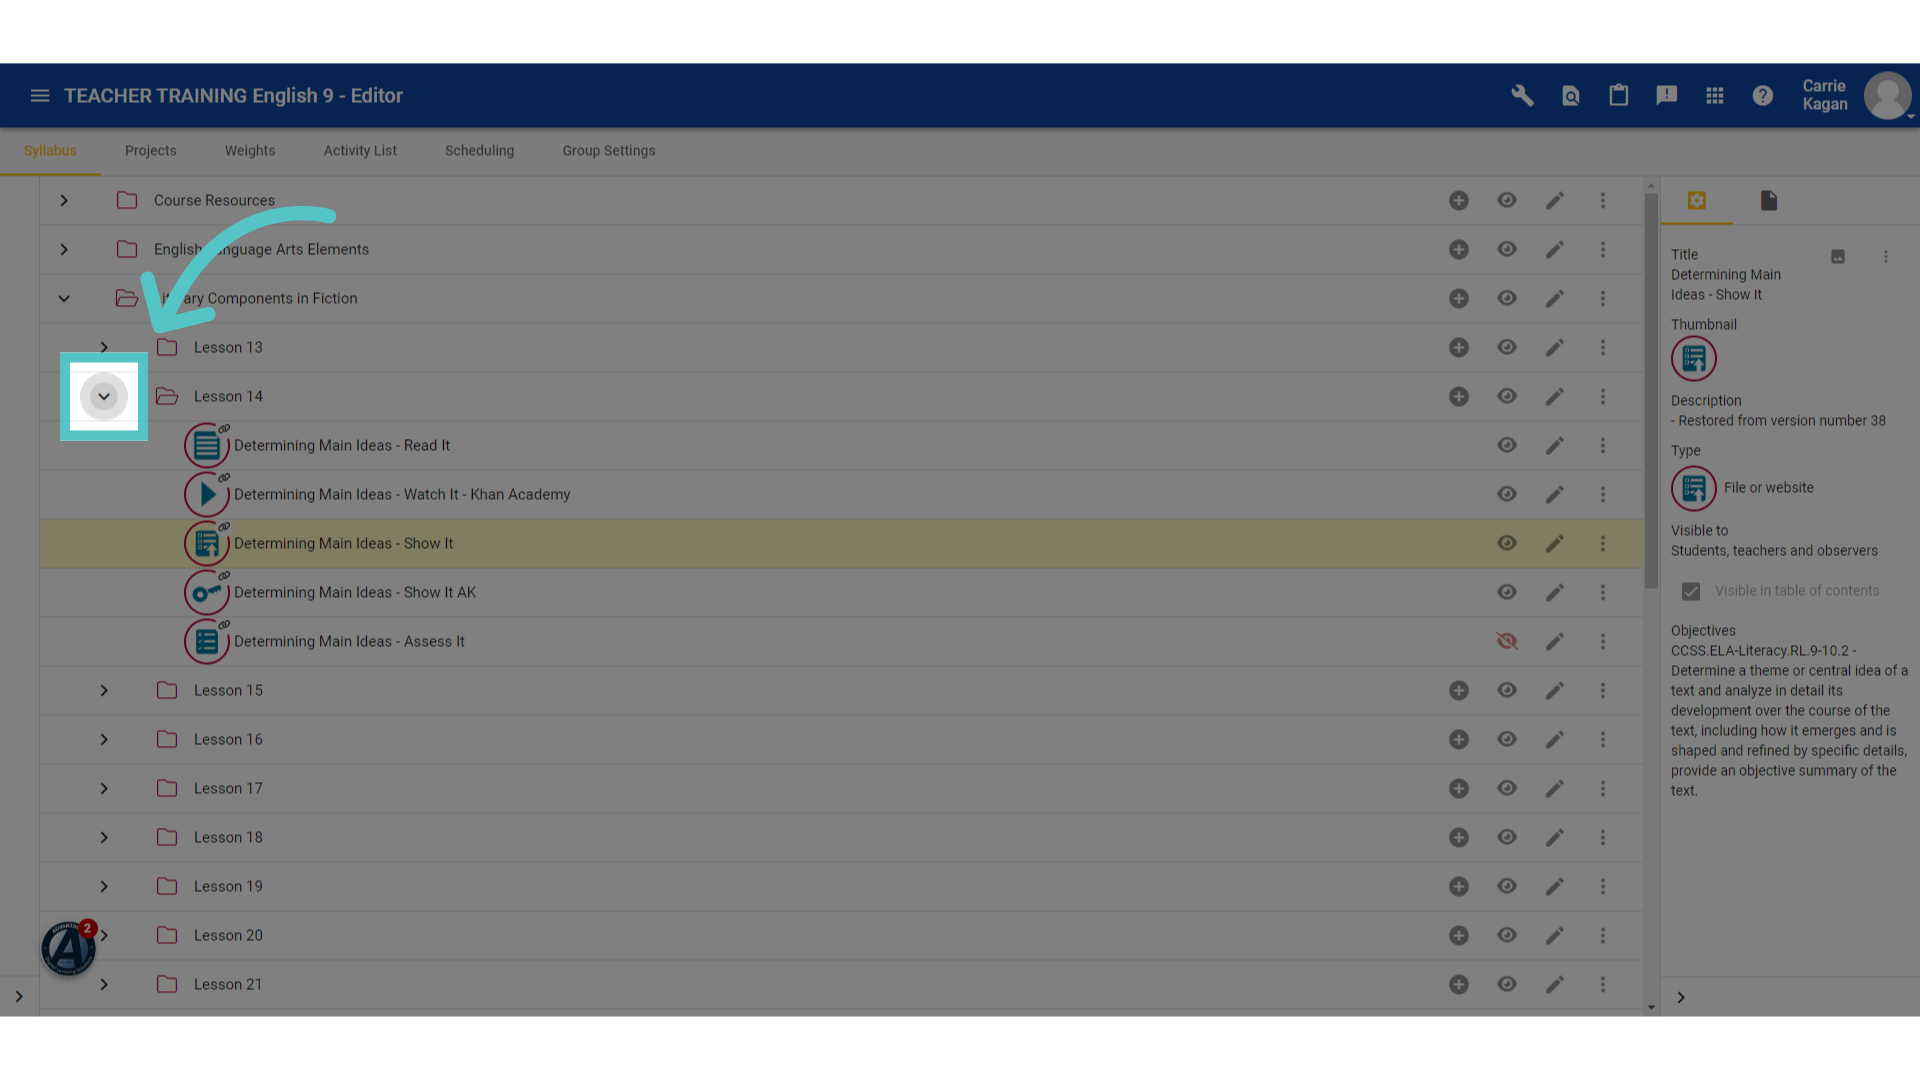
4. Expand Menu
Expand a lesson menu to see the learning objects assigned.
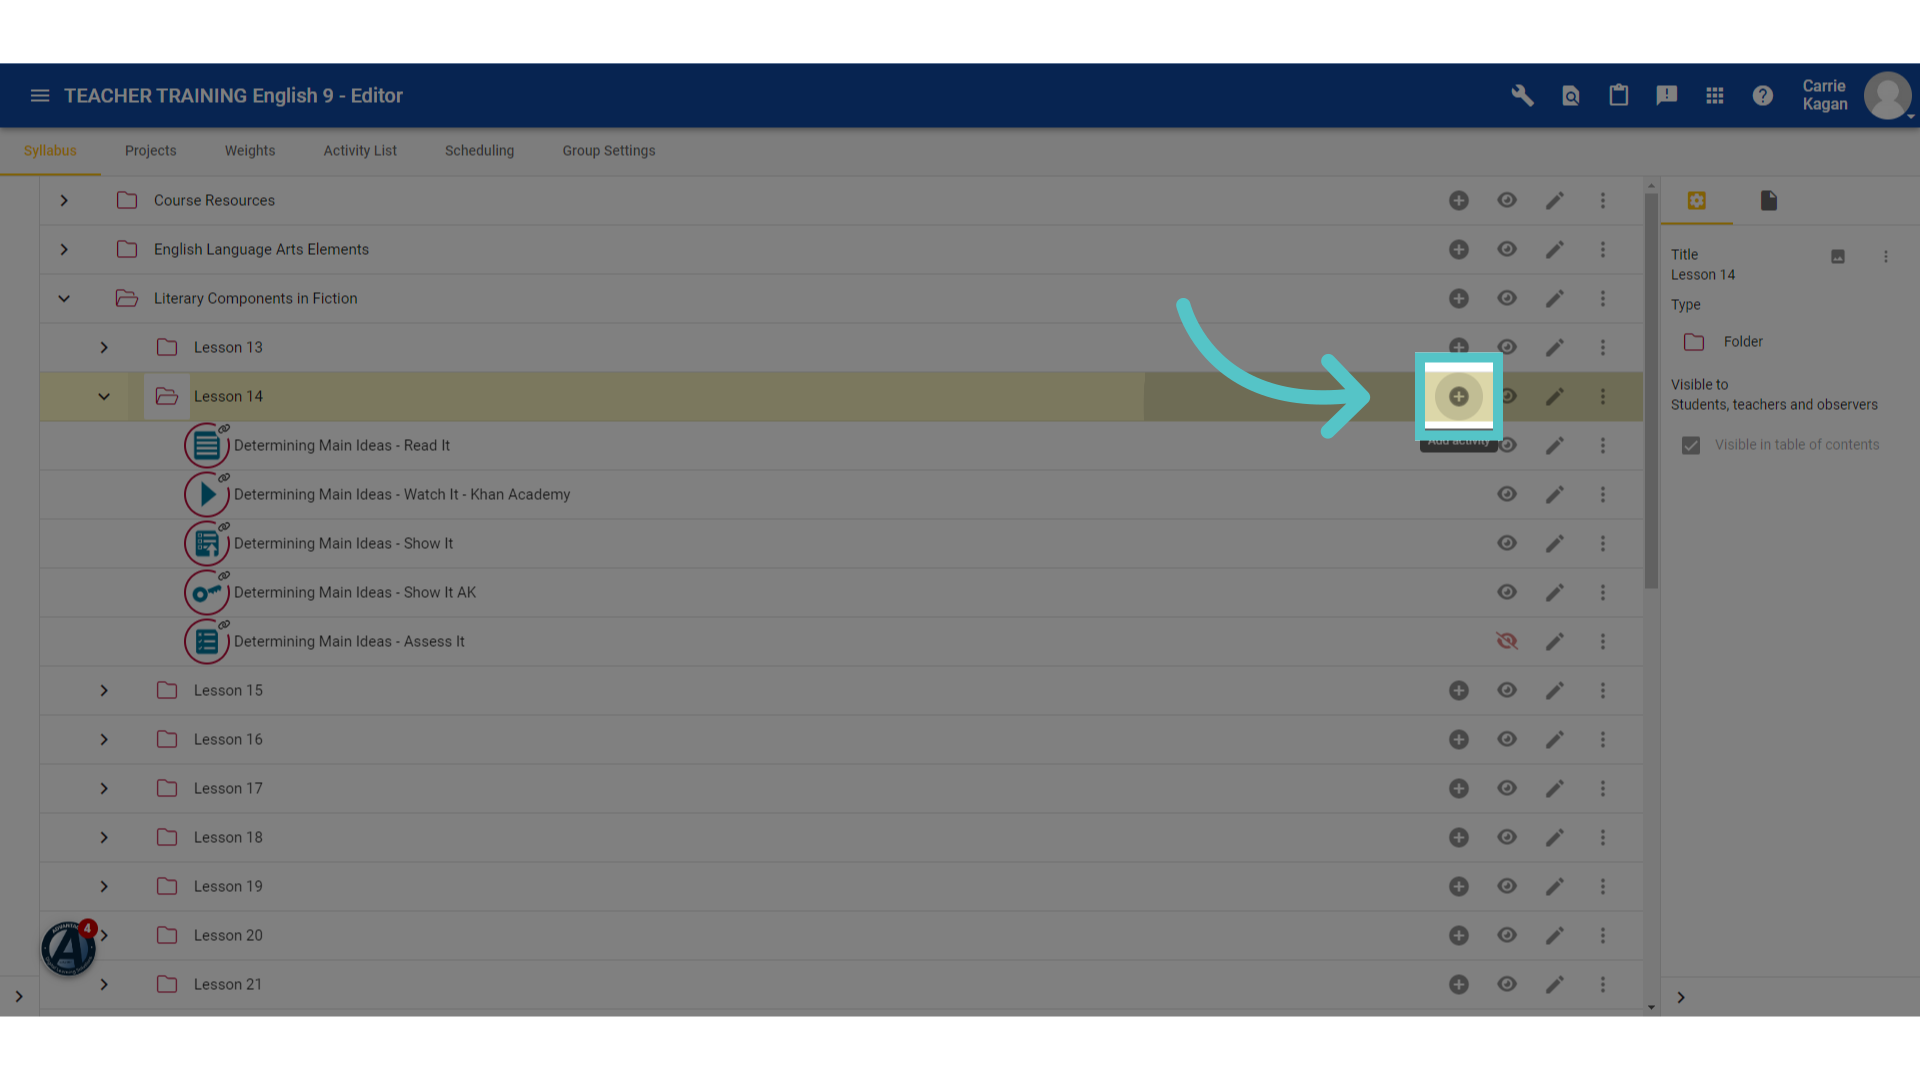
5. Add Content
Click the plus icon to add content to this lesson.
6. Select format
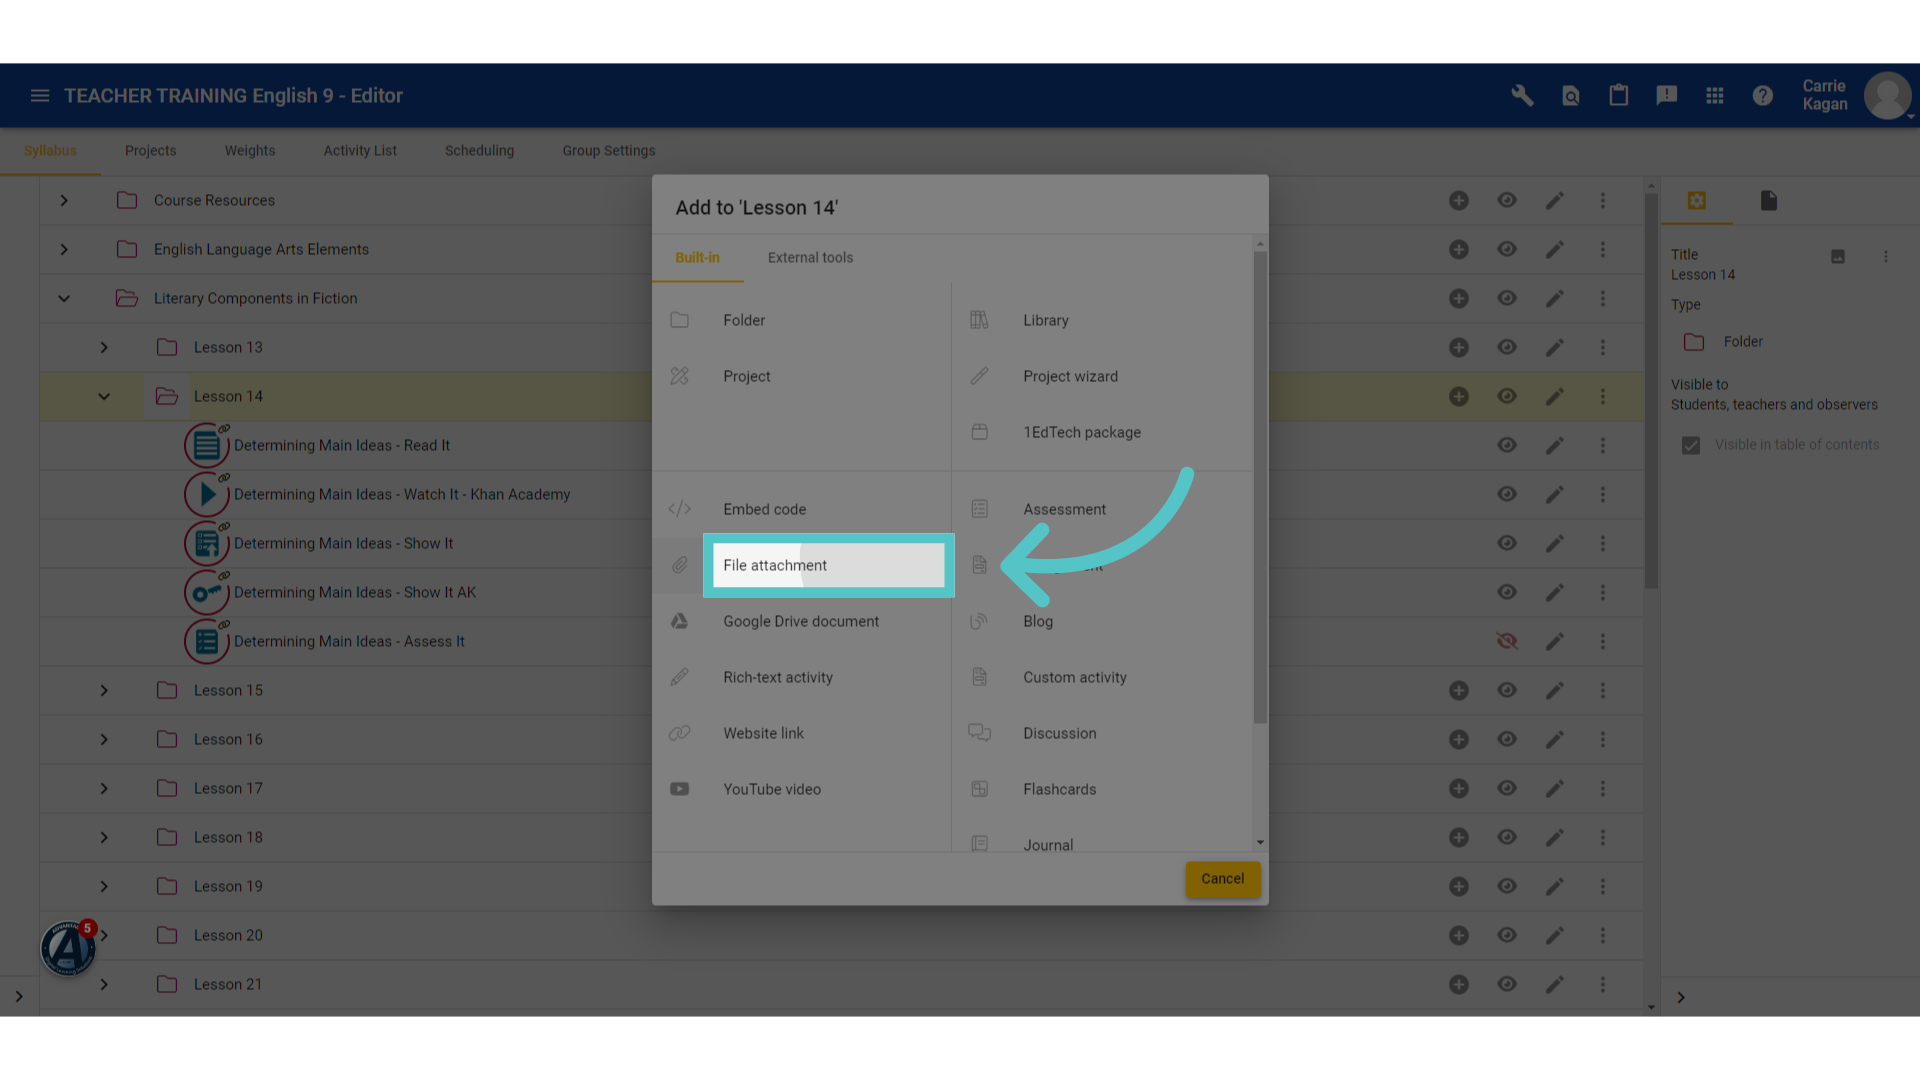
There are many options for adding content to a lesson. You can embed from another source, attach files, add from your Google Drive, type information right into the content, or link a website or YouTube video.
7. Add Activity
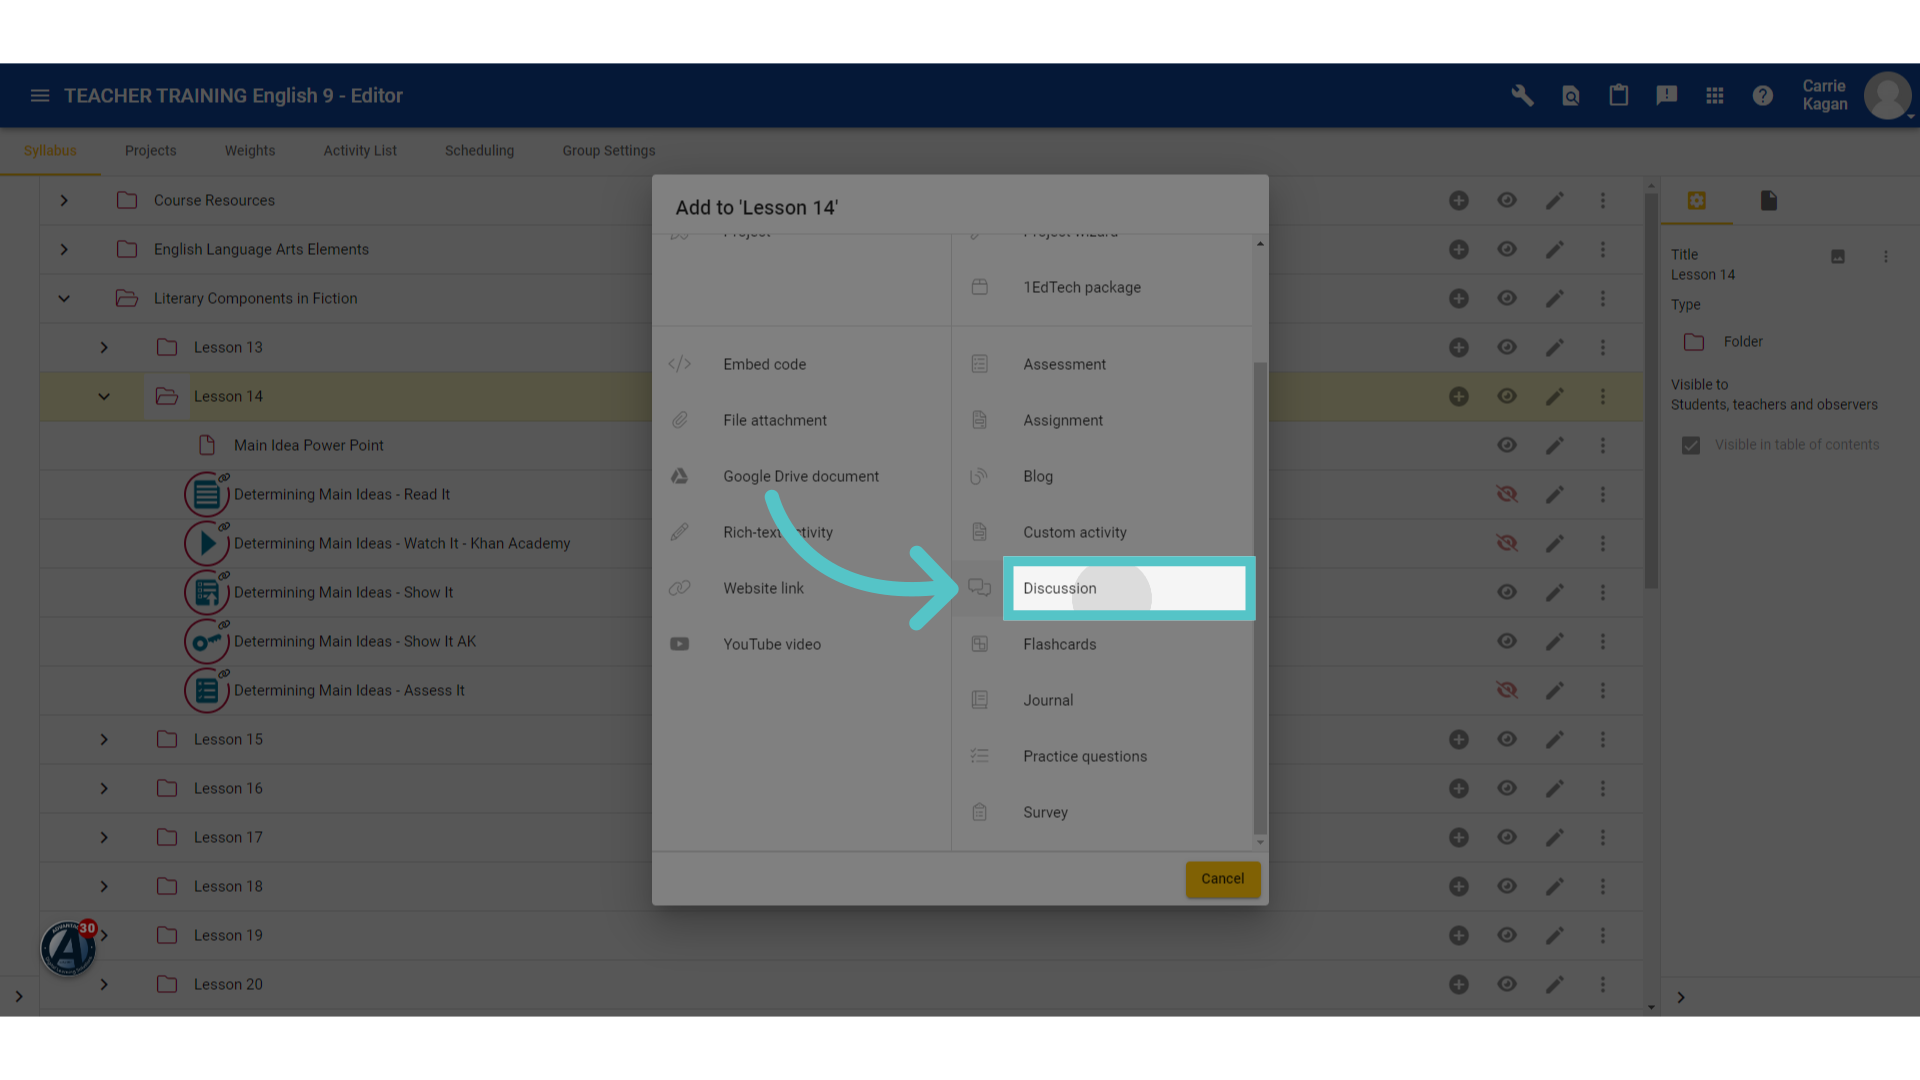
You can also add interactive activities in Lincoln Learning, such as a discussion prompt, practice questions, or flashcards.
8. Create Activity
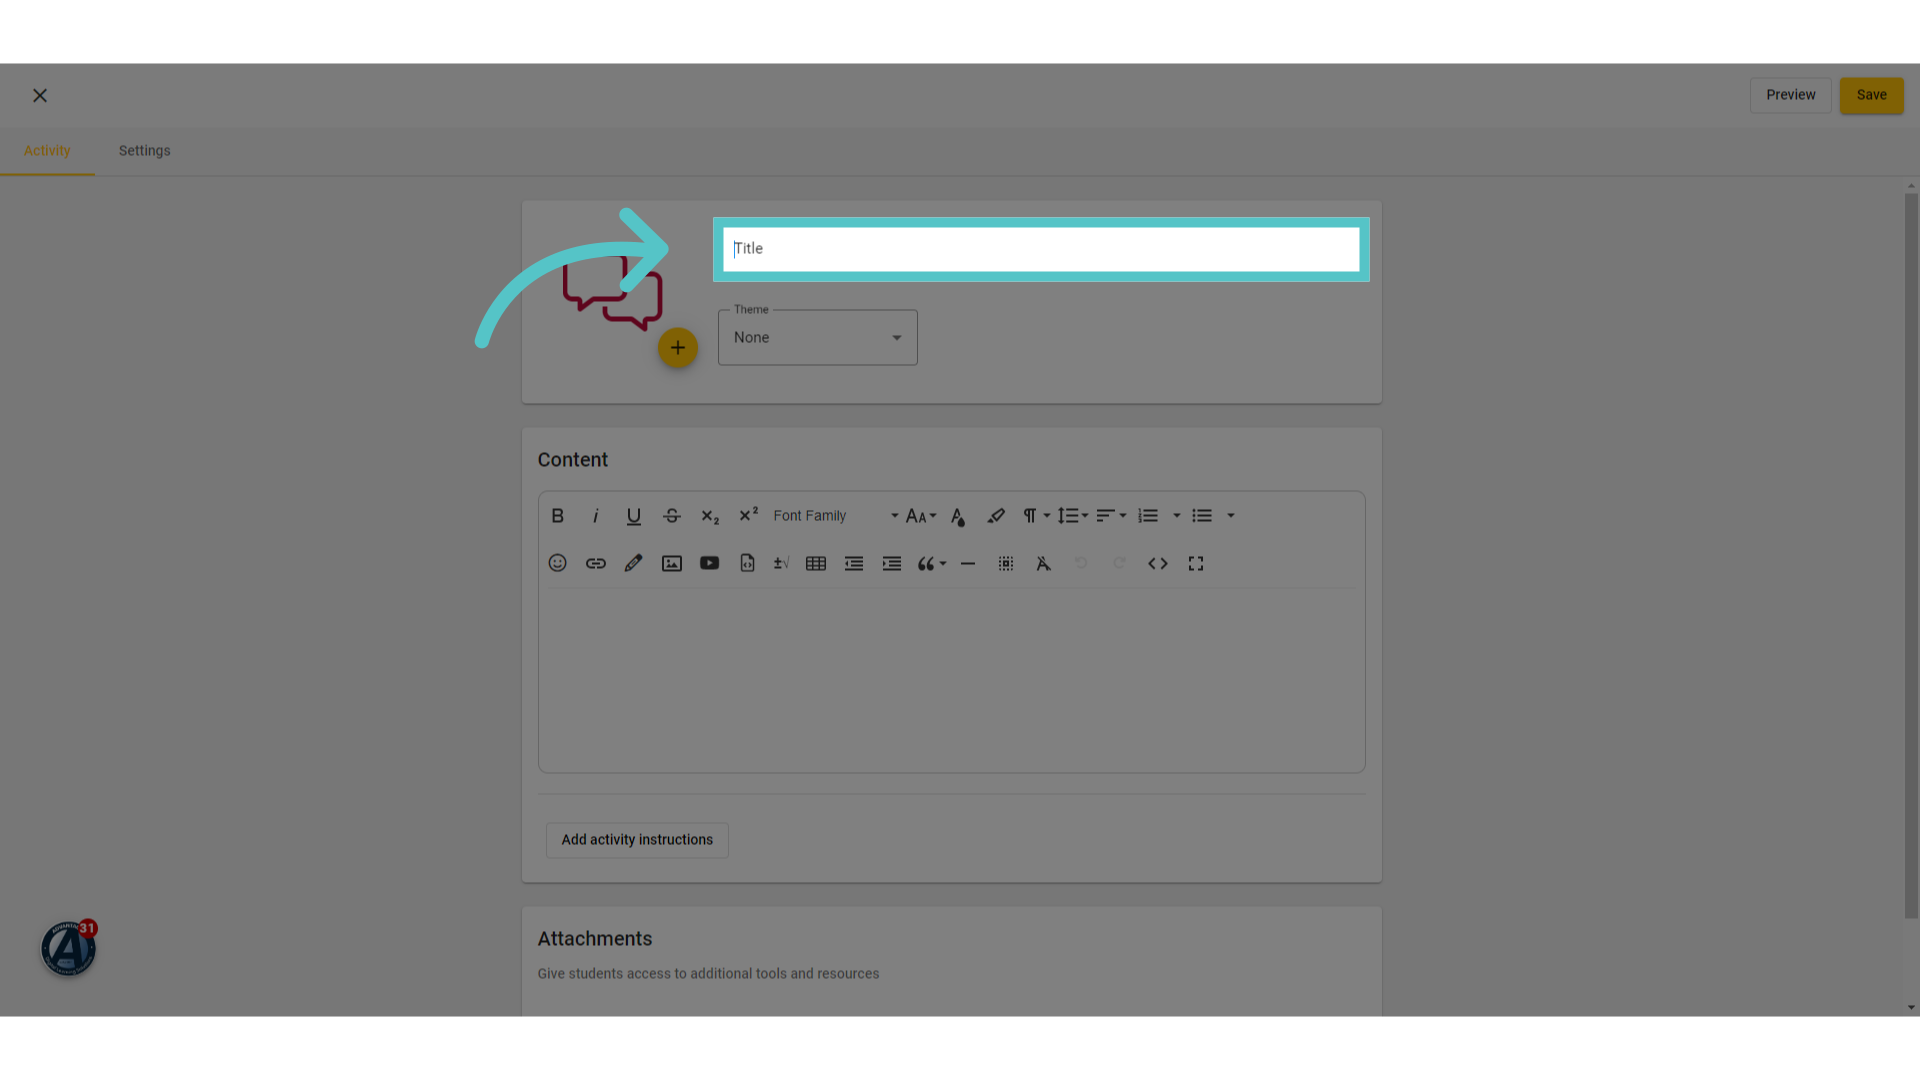
Lincoln Learning will provide fields for activity information, such as title, prompt, questions or answers, attachments, and instructions. Design your activity and an students will be able to interact with it in the content by posting, selecting answer choices, or flipping flashcards.
9. Click "Save"
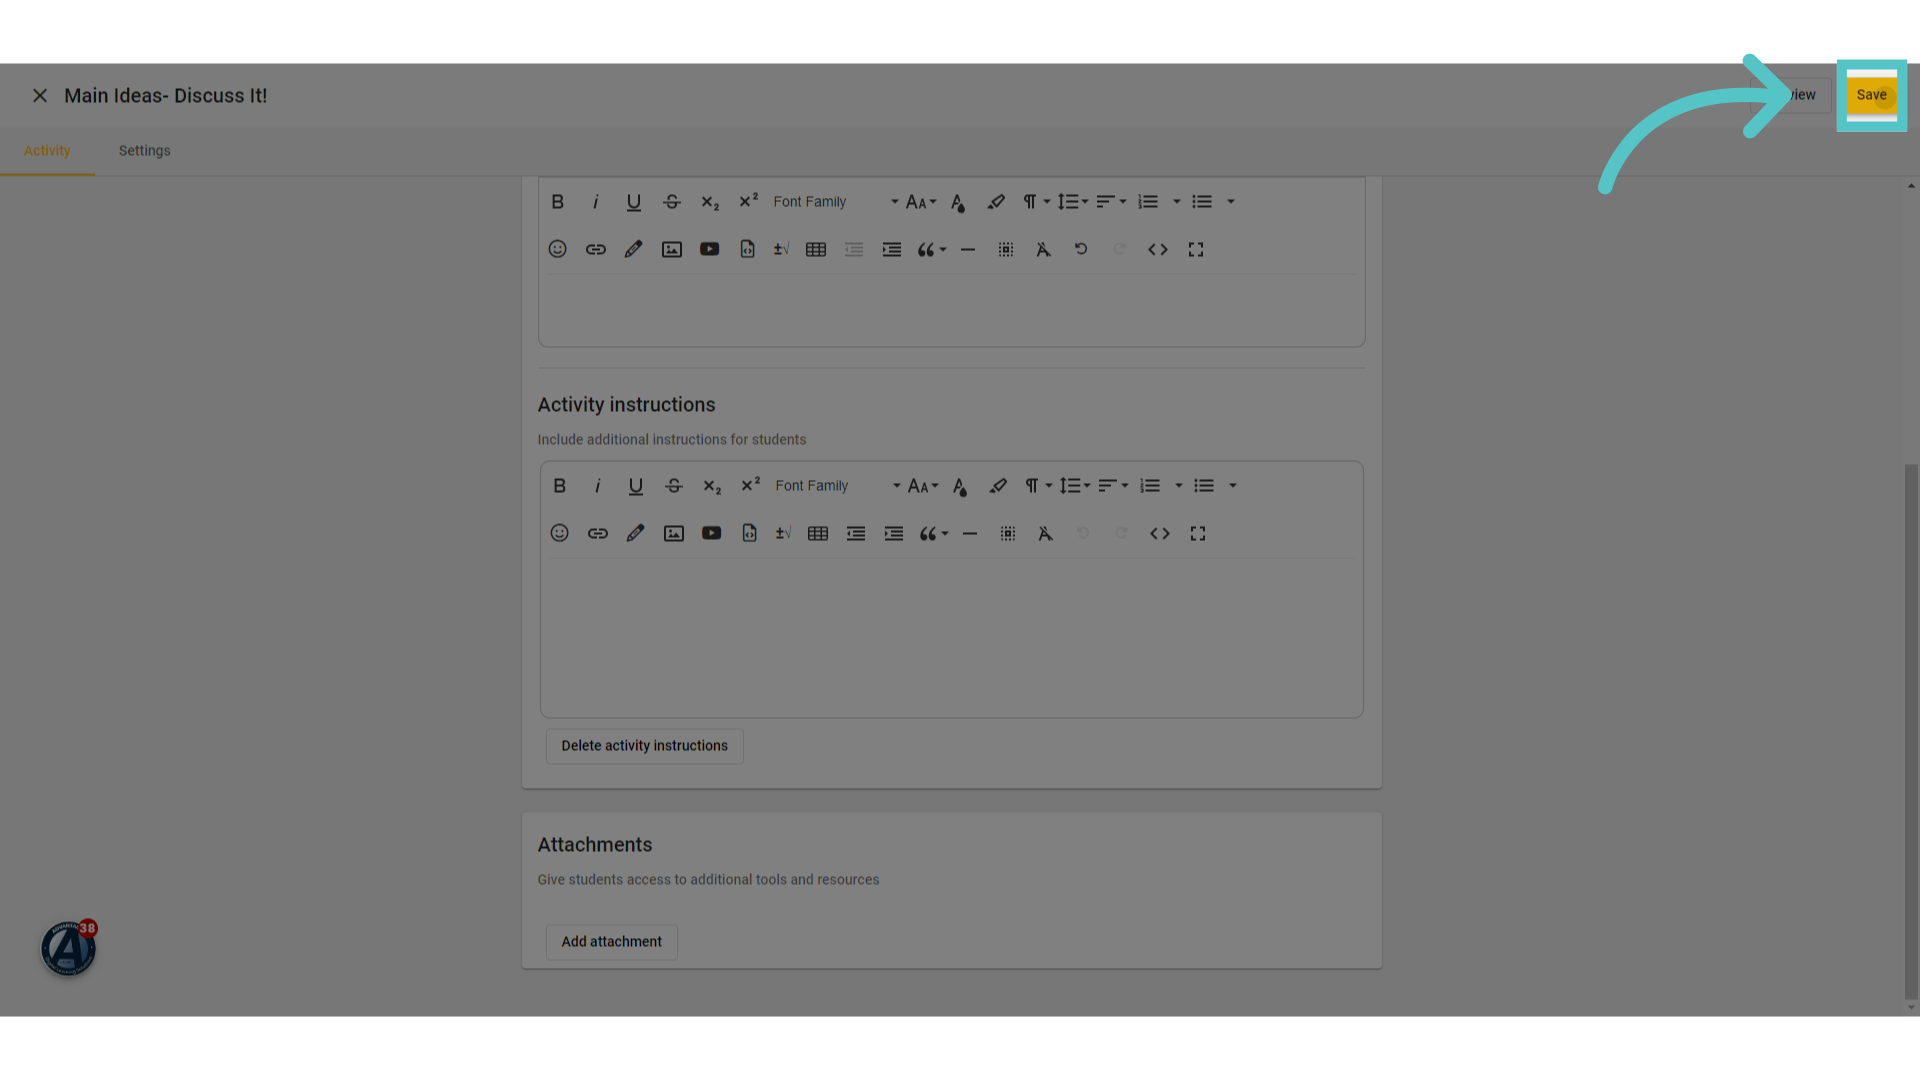
Be sure to save your activity details.
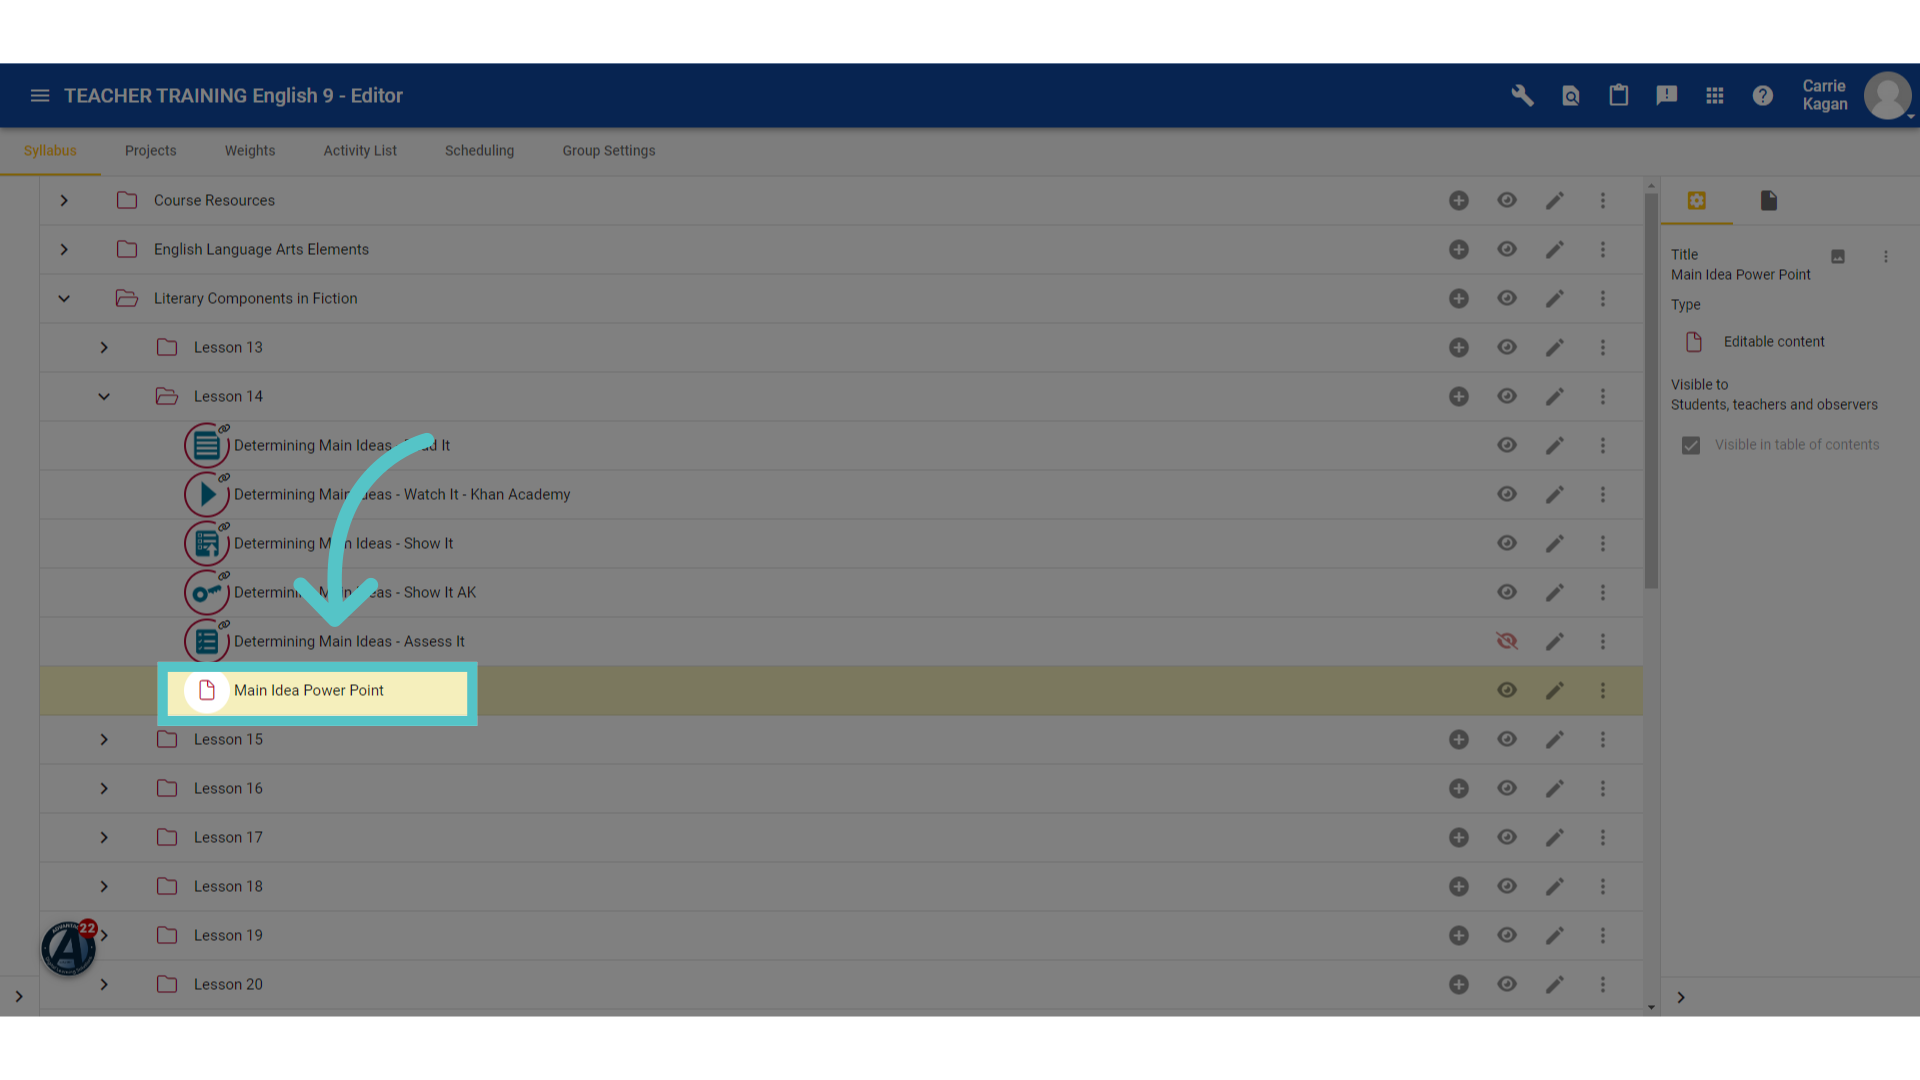
10. Added Content
Newly added content will automatically appear at the end of a lesson as the last activity.
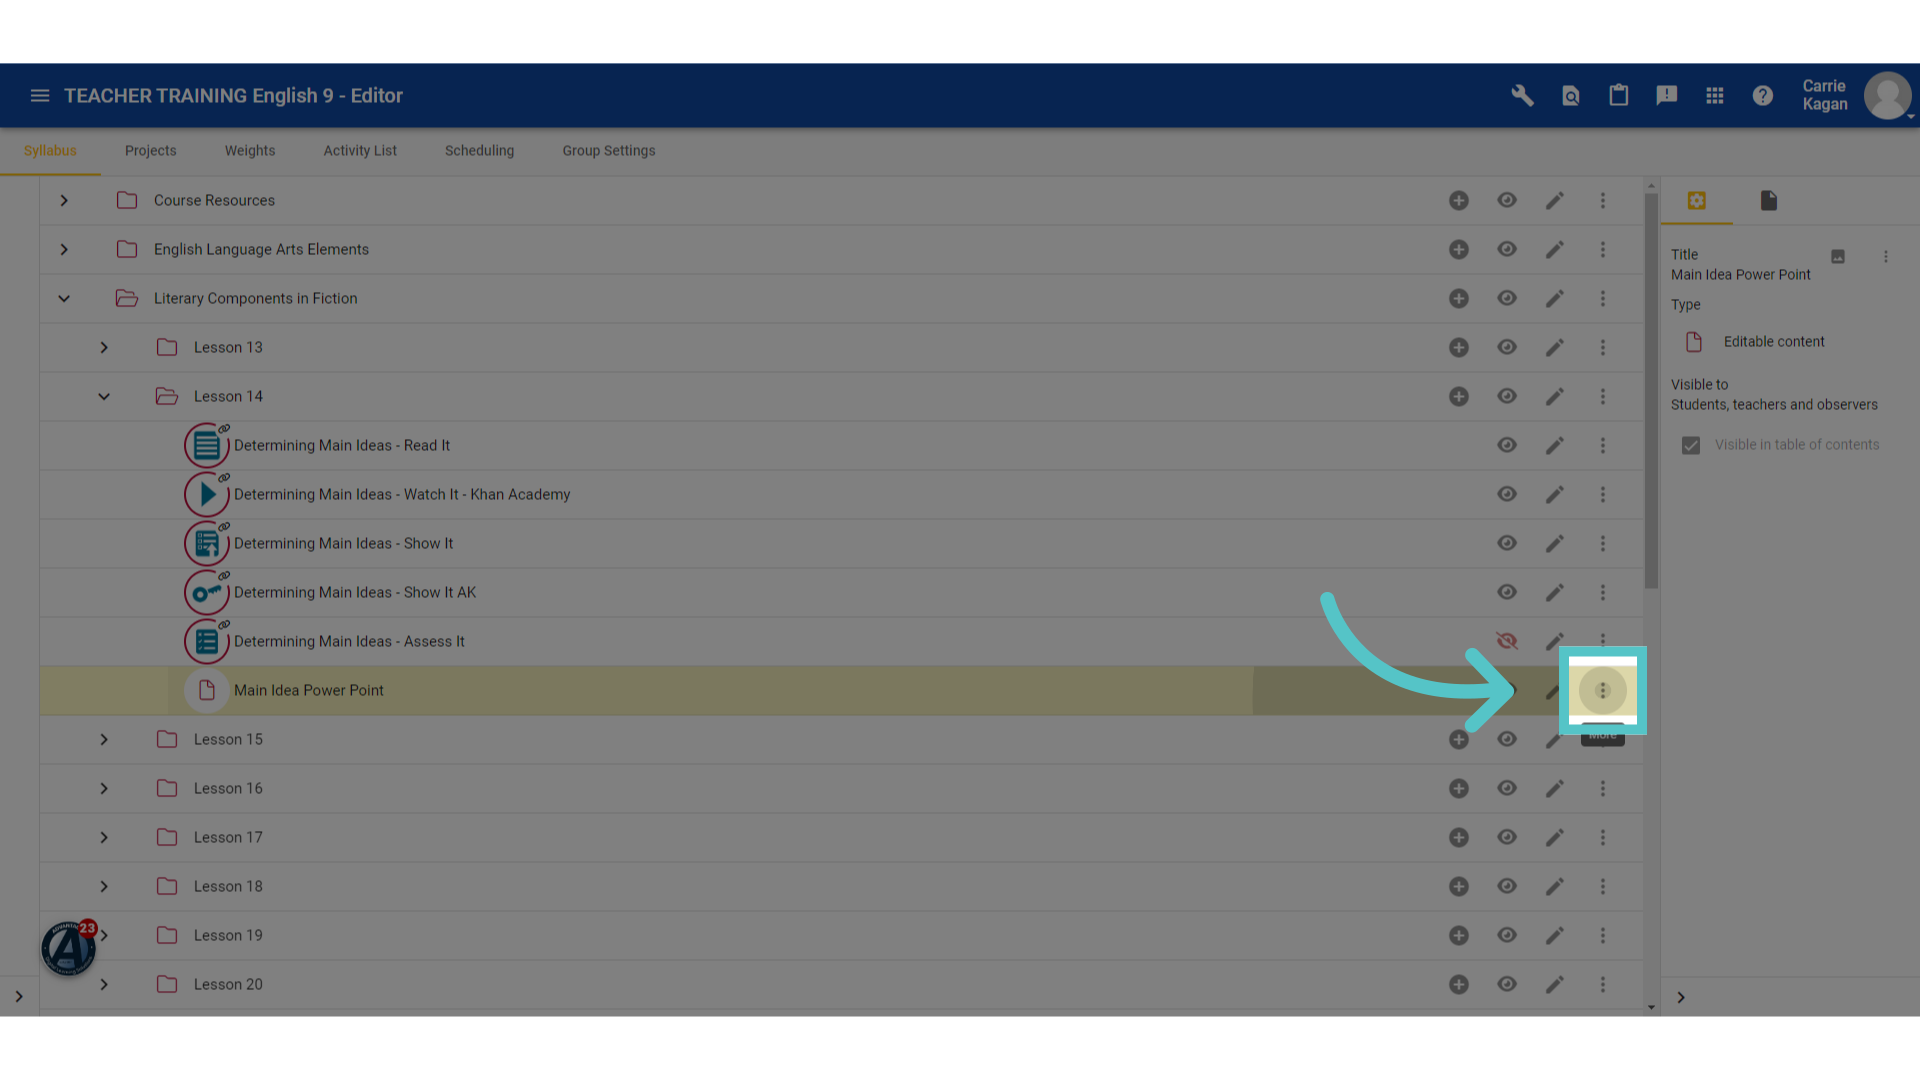
11. More Options
To the far right will be three dots, indicating more available editing options.
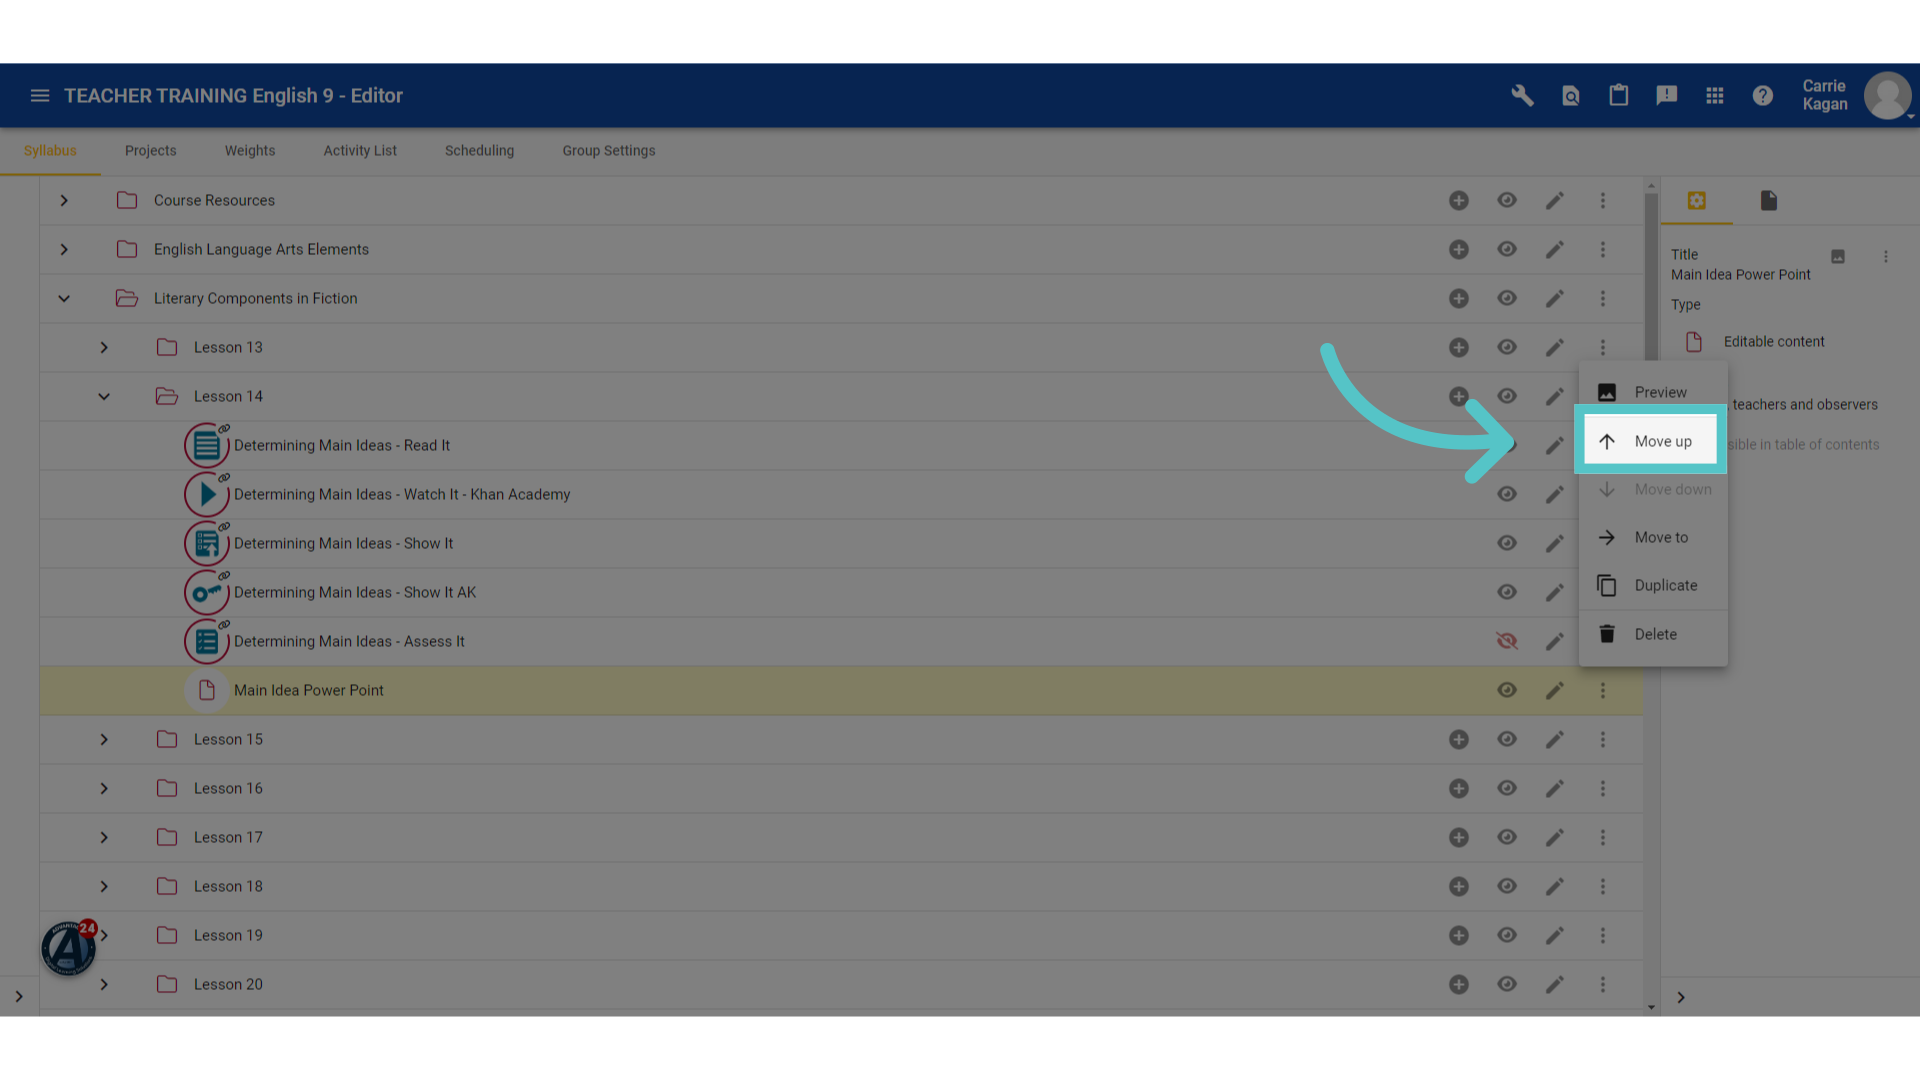
12. Move, Duplicate, Delete
Clicking the three dots will provide the options to move your activity within the lesson or to duplicate it. You can also preview it to see how it will appear to students. The activity can be deleted from here as well.
13. Drag and Drop
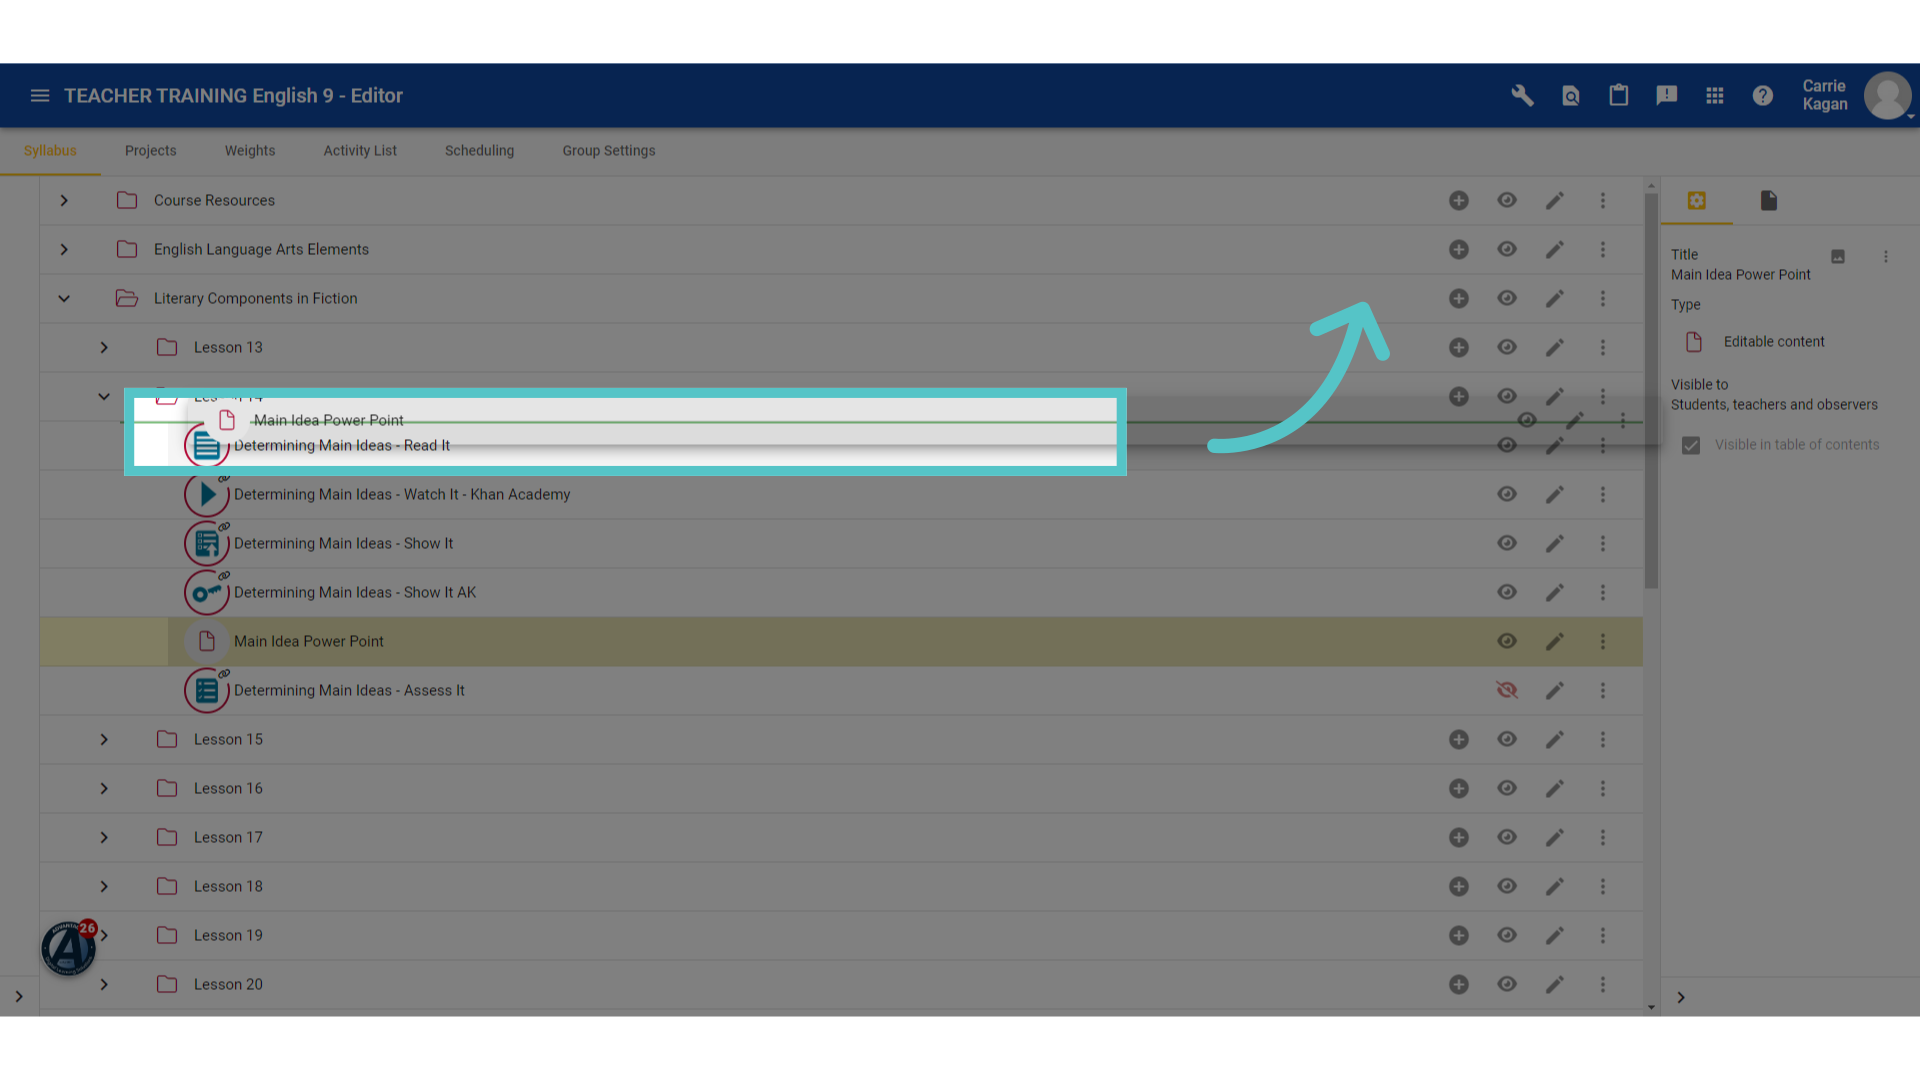
Learning Objects can also be re-ordered by dragging and dropping the object in a new place. A thin green line will indicate where the learning object is being moved to.
14. Eye Icon
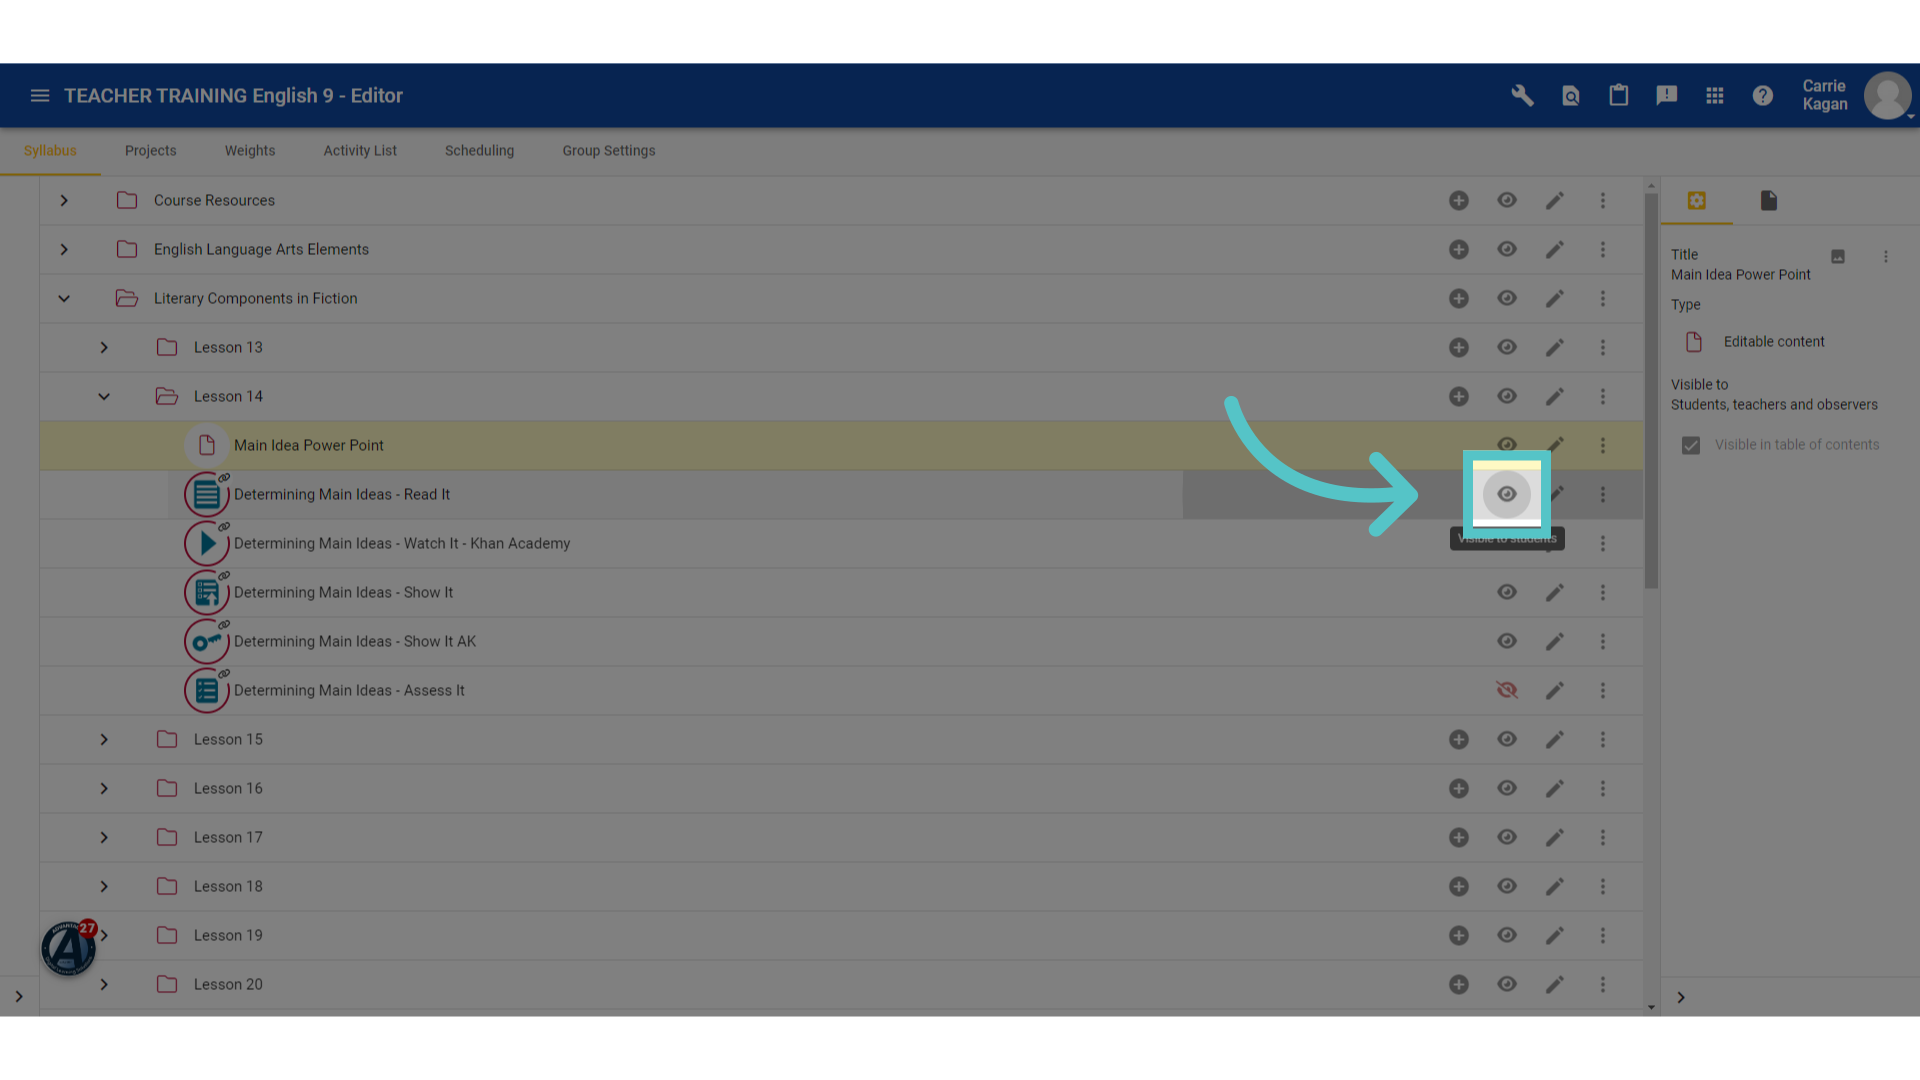
Adding content sometimes means replacing content that is already in the course. If existing learning objects are unnecessary, or replace by newly added content, you can hide them from student view by clicking the eye icon in the row.
15. Hidden
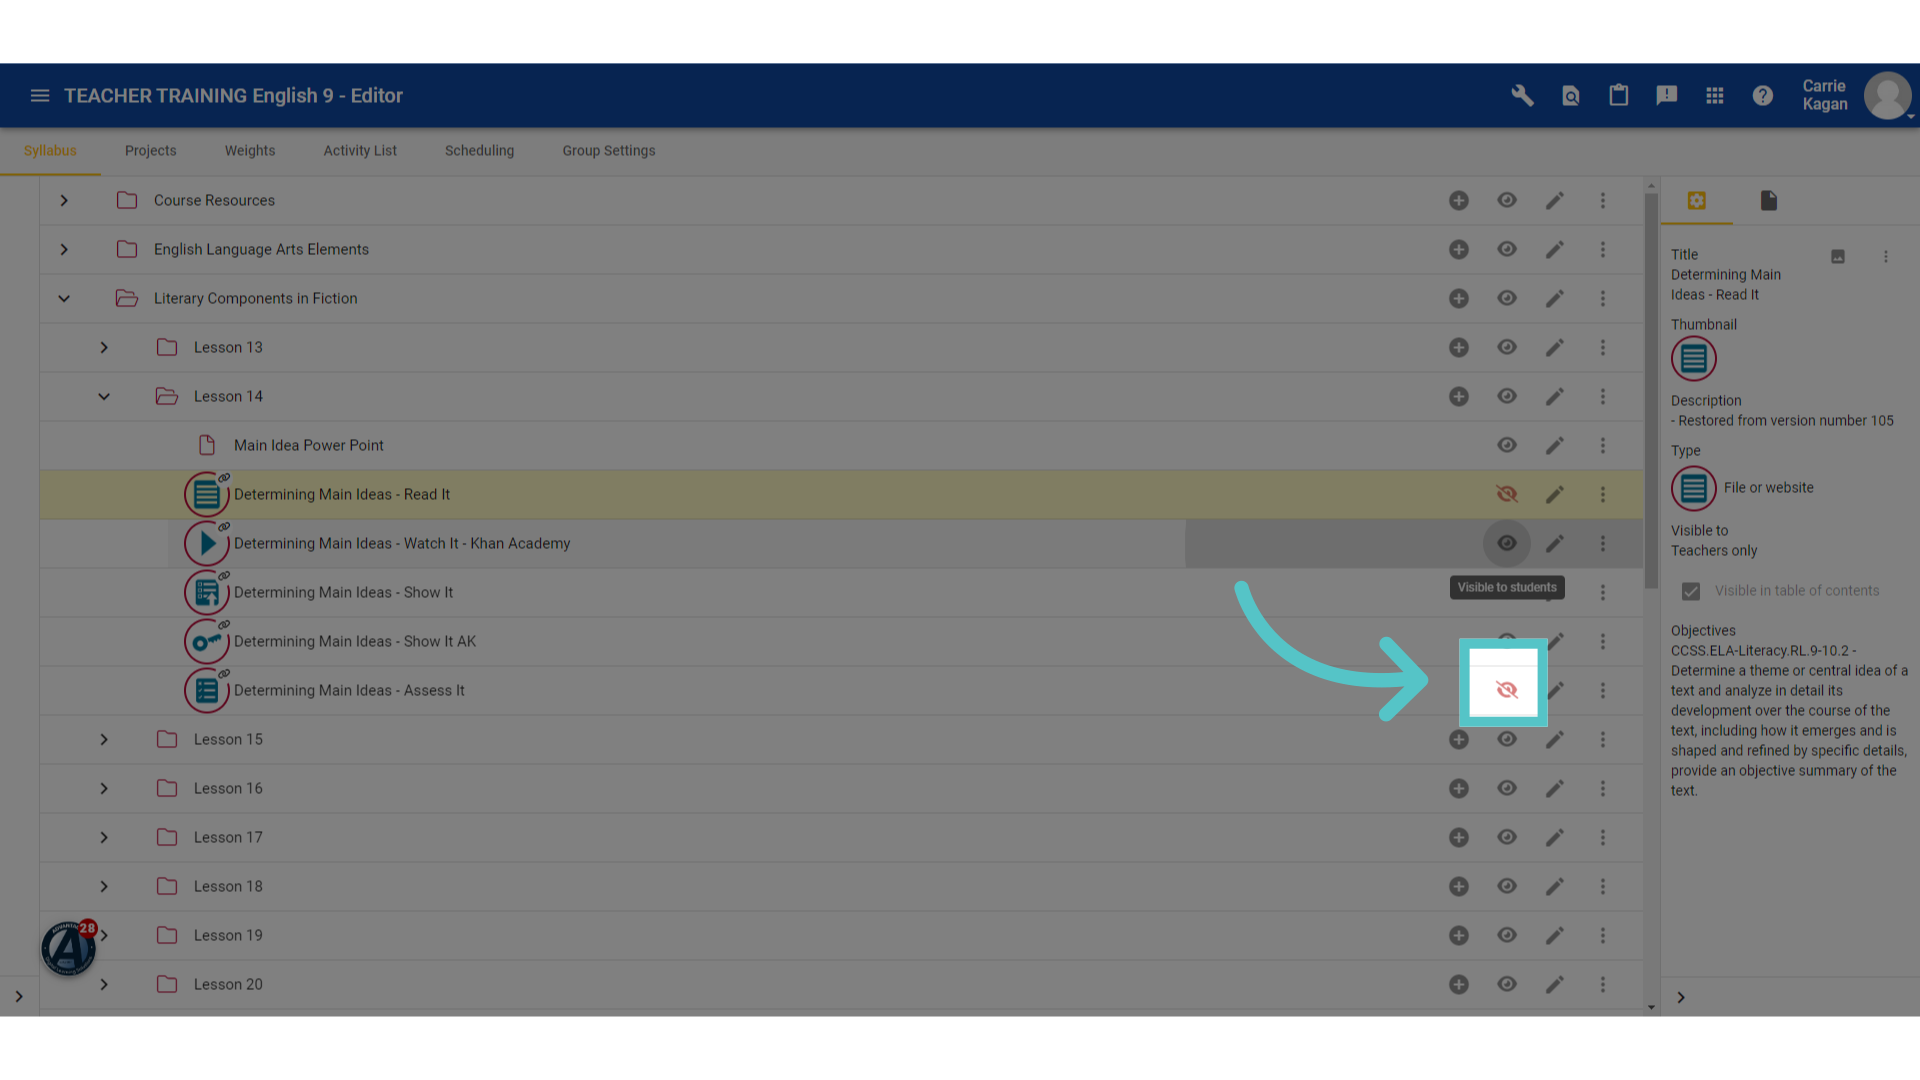
The icon will turn red with a line through it indicating that this learning object can no longer be seen by students viewing the course.
If you have any questions about the information in this tutorial, please click "Contact Support" to submit a help request.
Contact Support