Expand to Full Screen for Best Viewing
The additional fields feature allows schools to add any information to a profile in ASSIST. Label students, parents, teachers, or classes with categories for easy recognition and searching.
Go to portal.adlsassist.com
1. Customize Information
This tutorial will show how schools can customize records by creating fields for any information that is not already included in ASSIST.
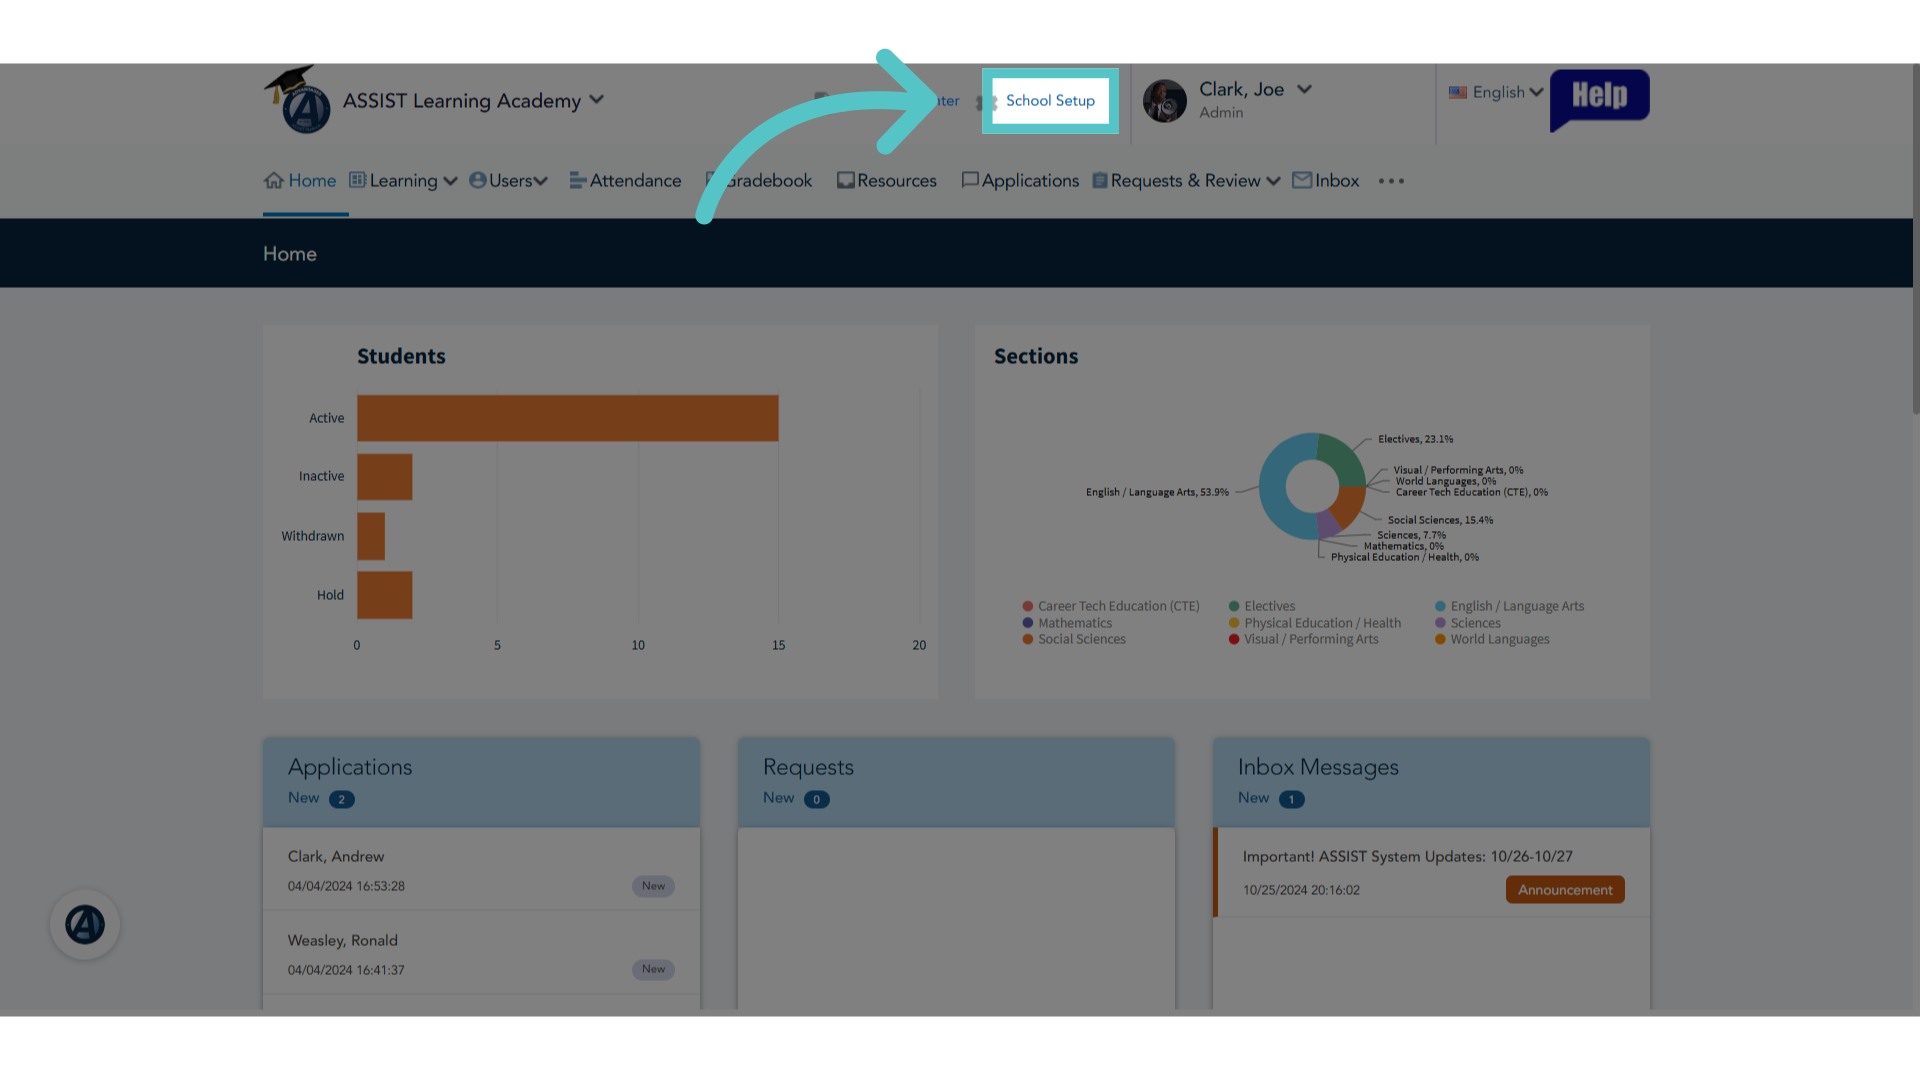
2. Click "School Setup"
To begin, login as an administrator and access the "School Setup" section.
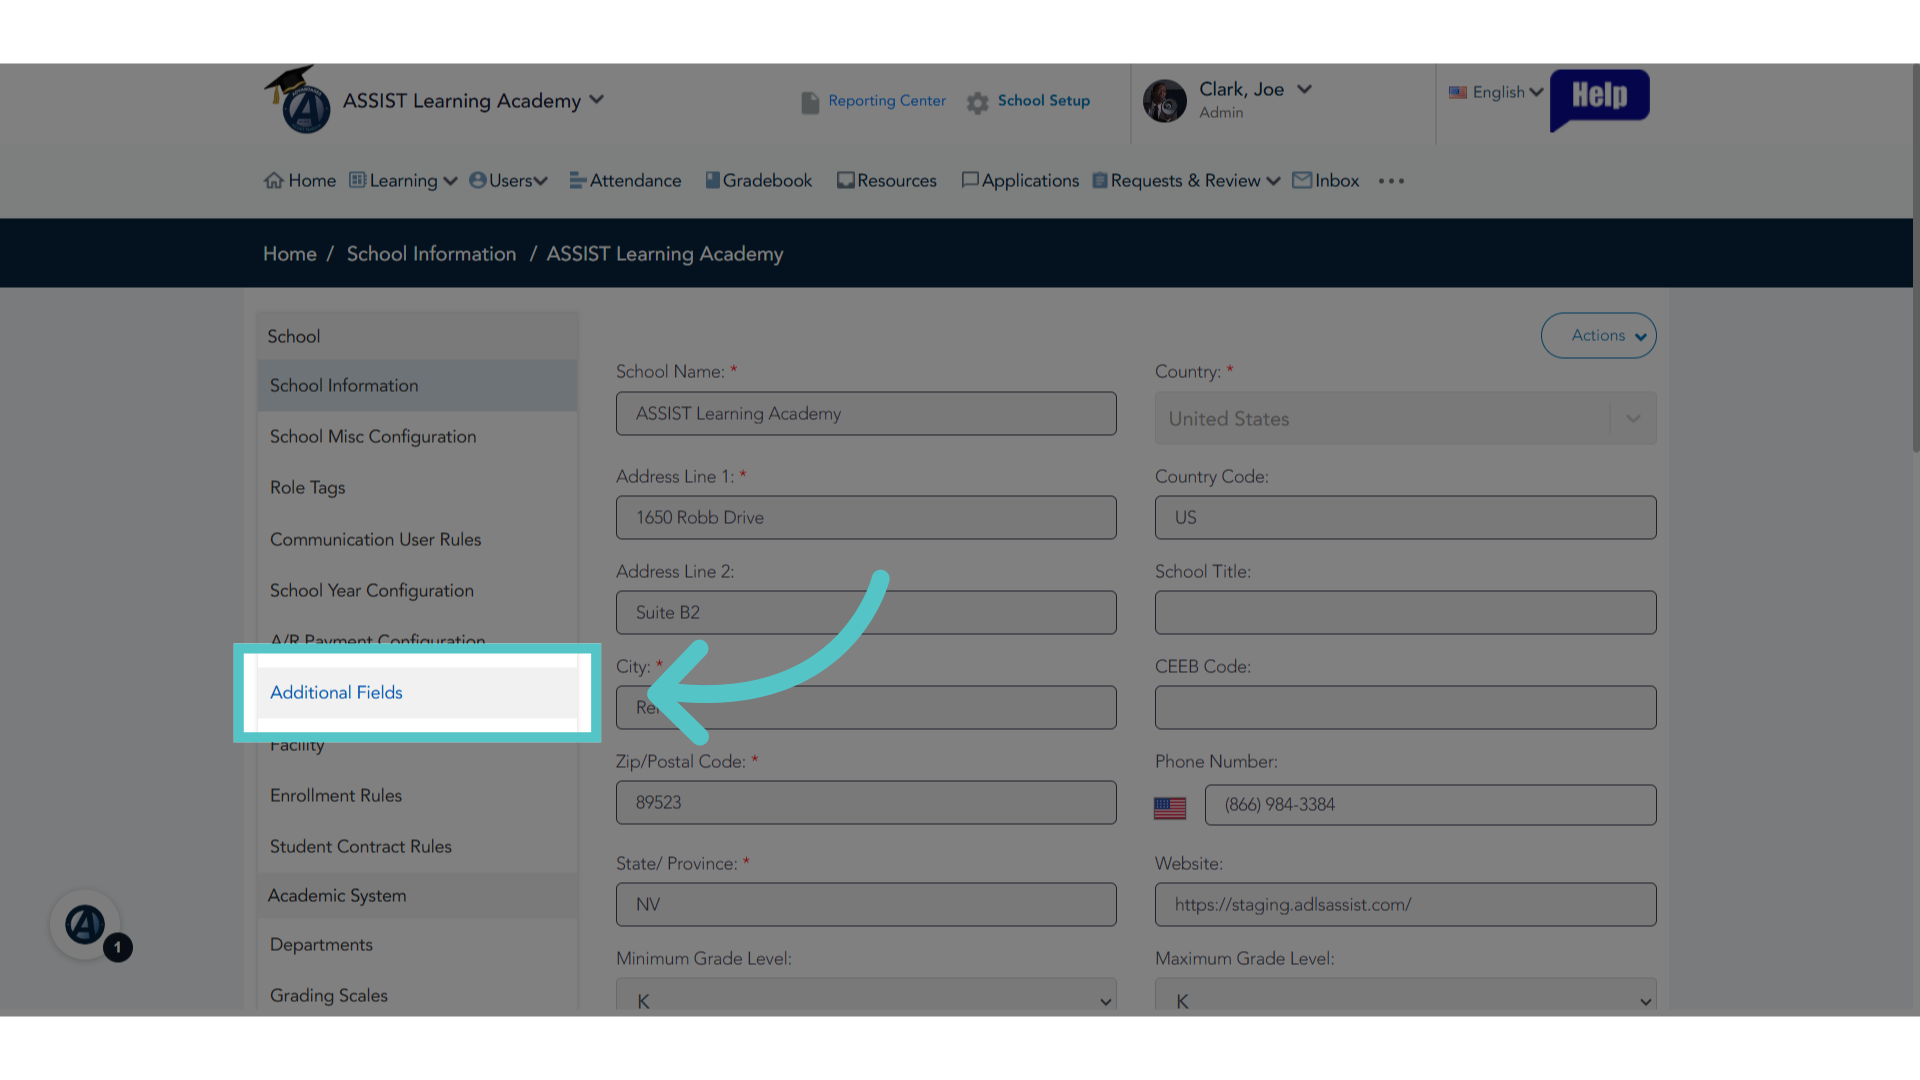
3. Click "Additional Fields"
Select "Additional Fields" from the left side menu.
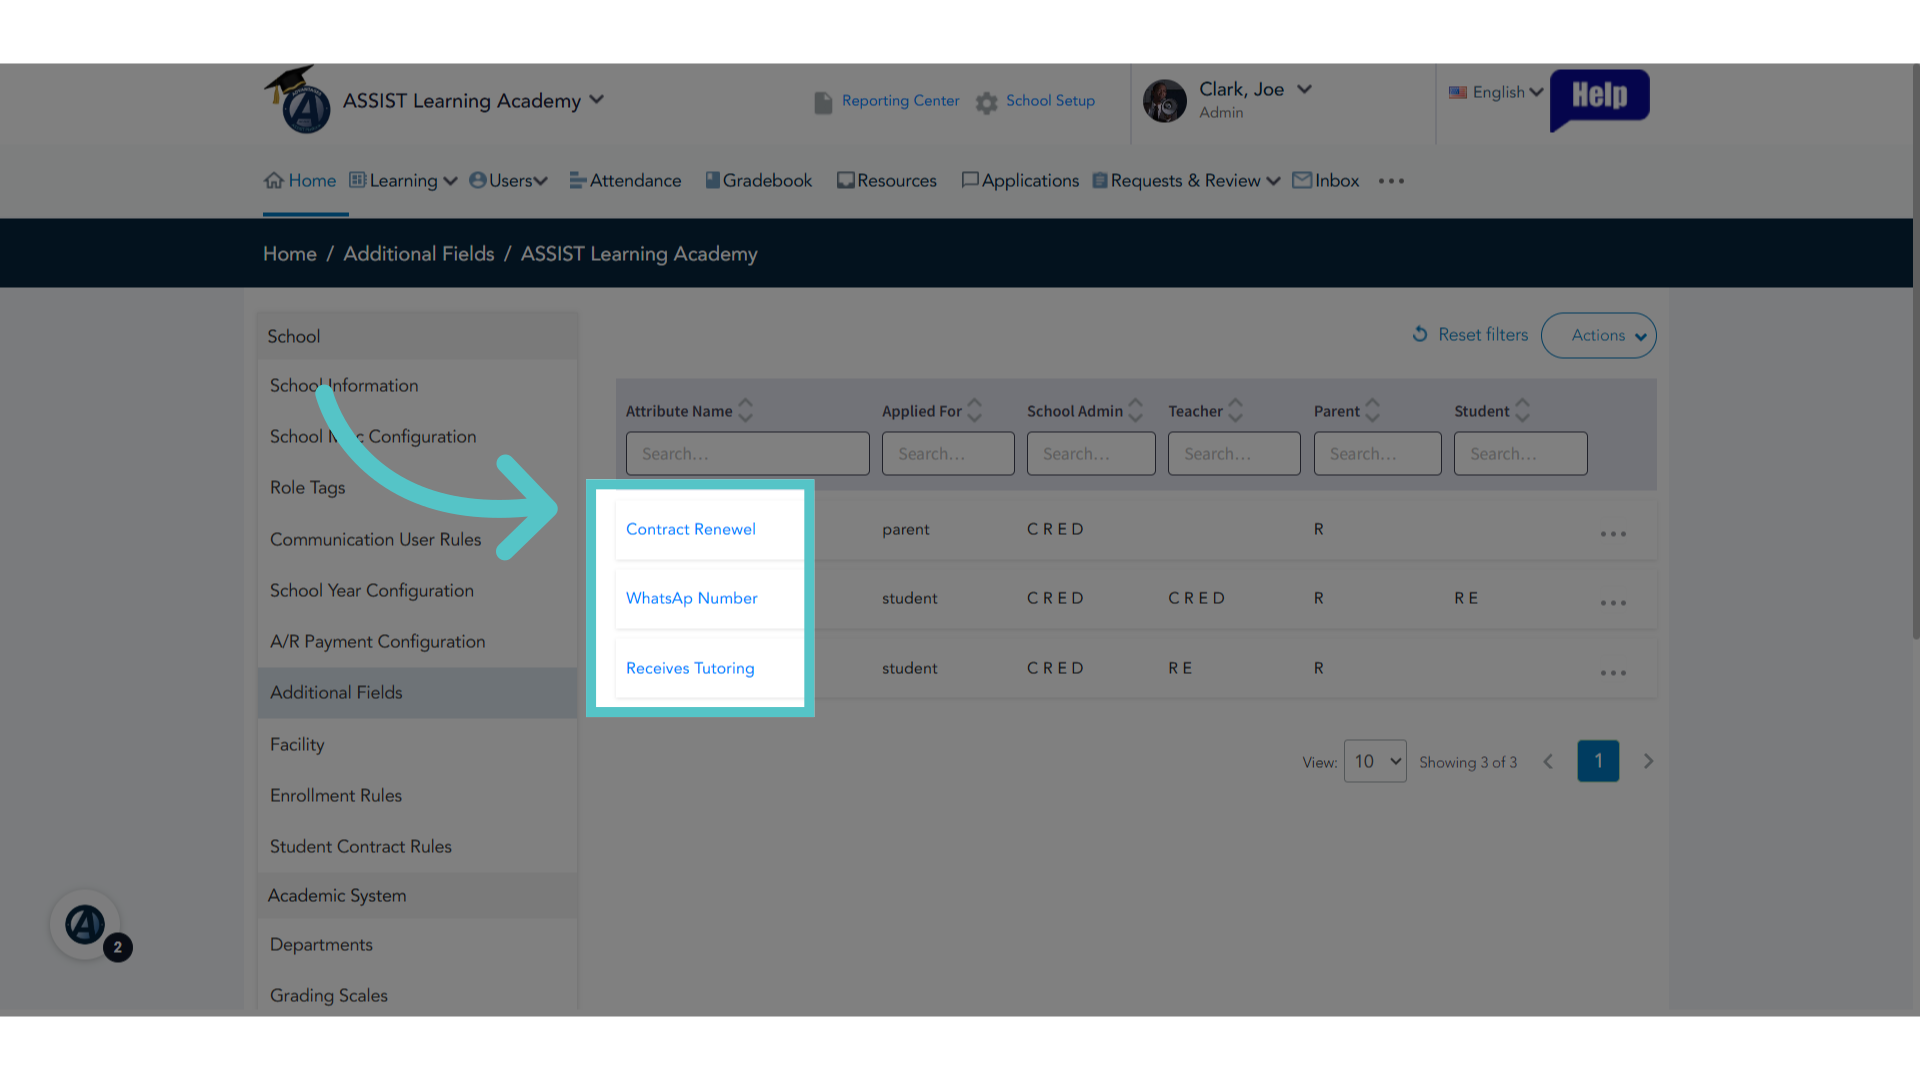
4. Current Fields
Any customized fields at the school will be listed.
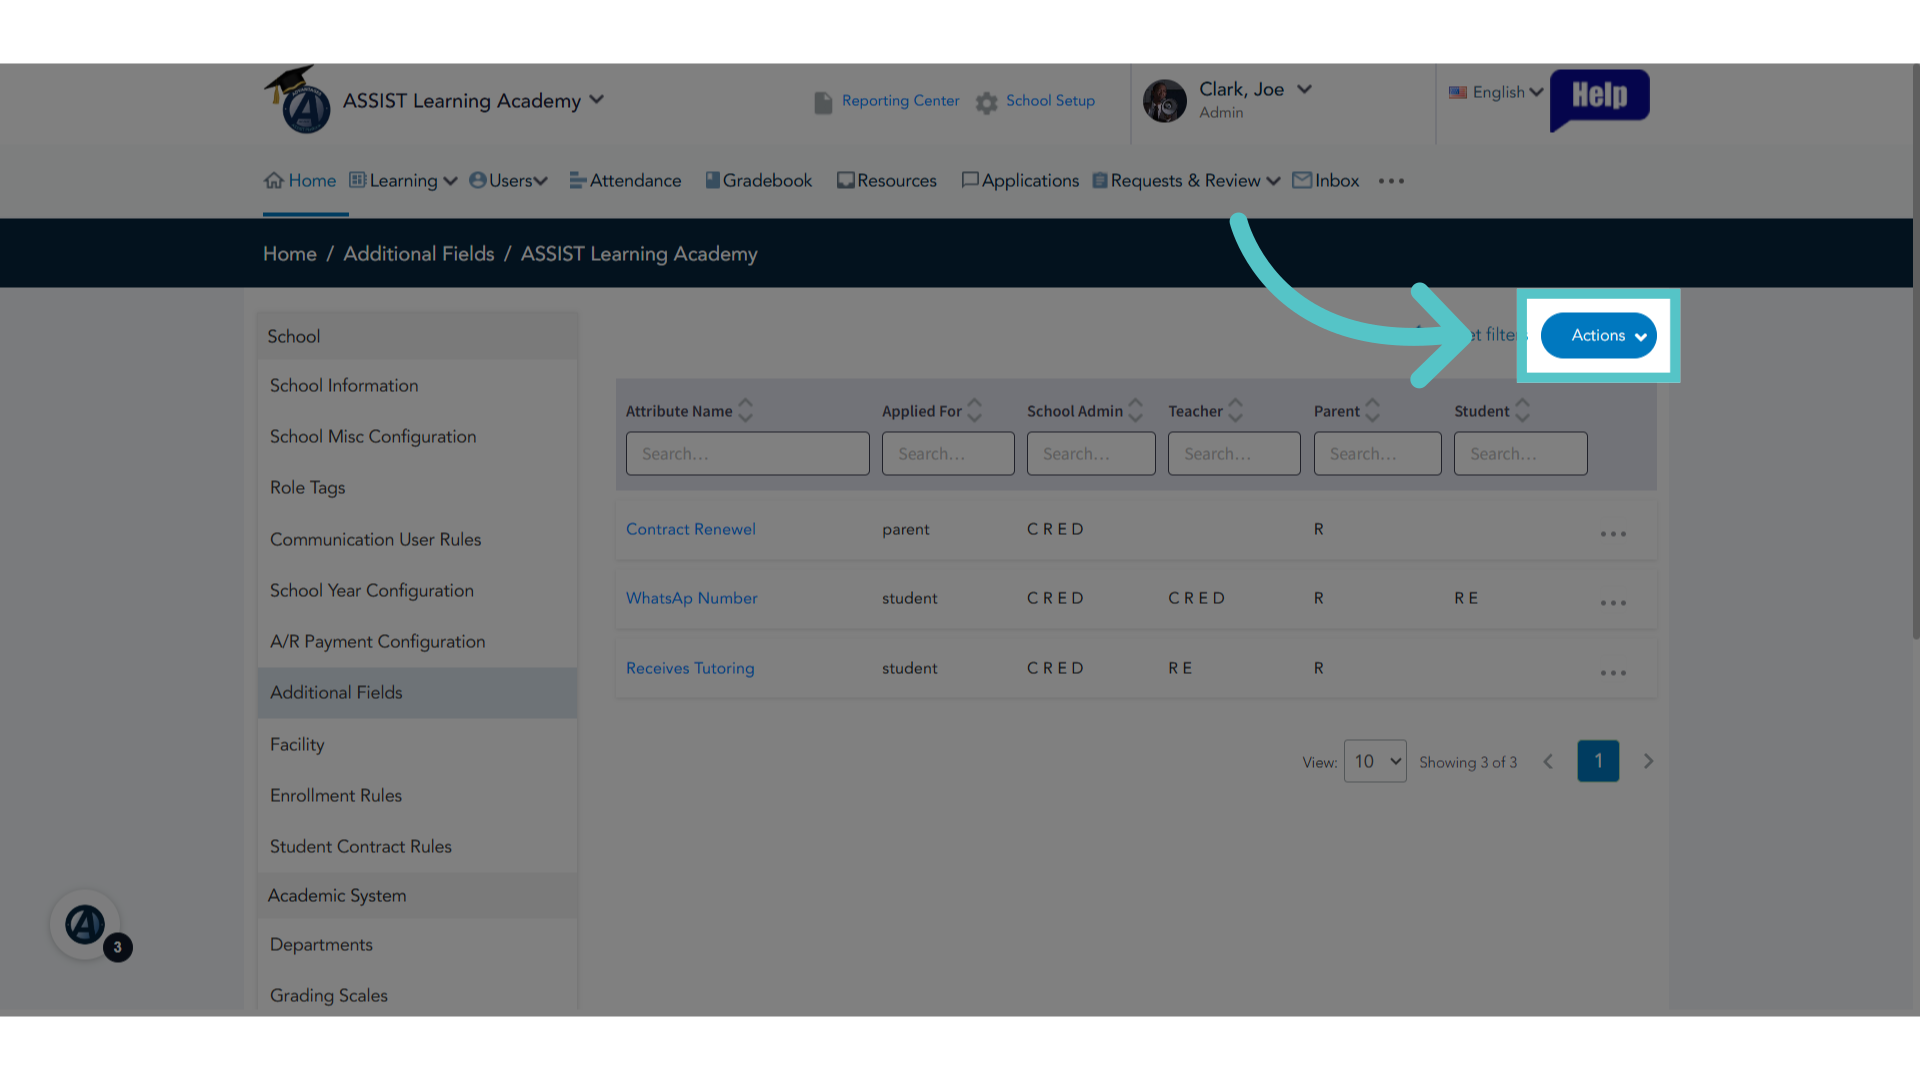
5. Click "Actions"
To create an additional field, click the "Actions" button.
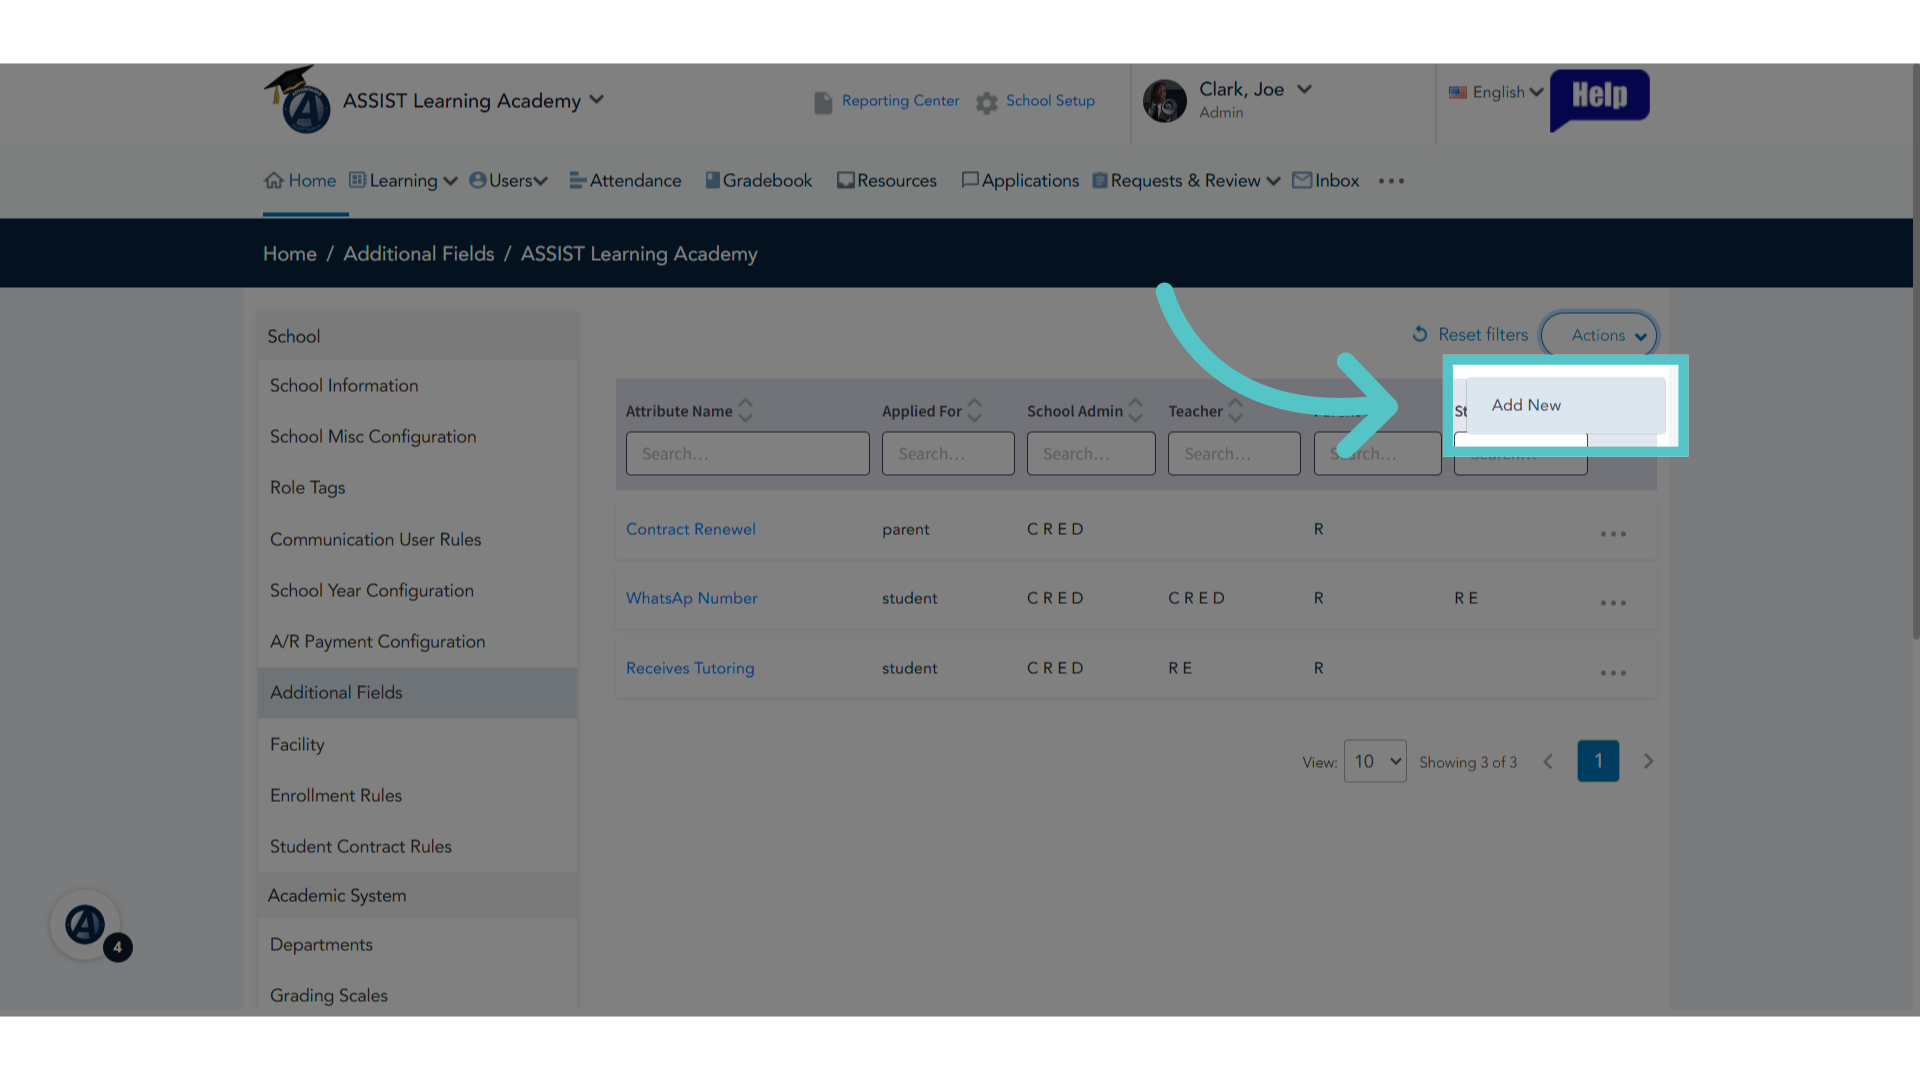
6. Click "Add New"
Select the "Add New" option.
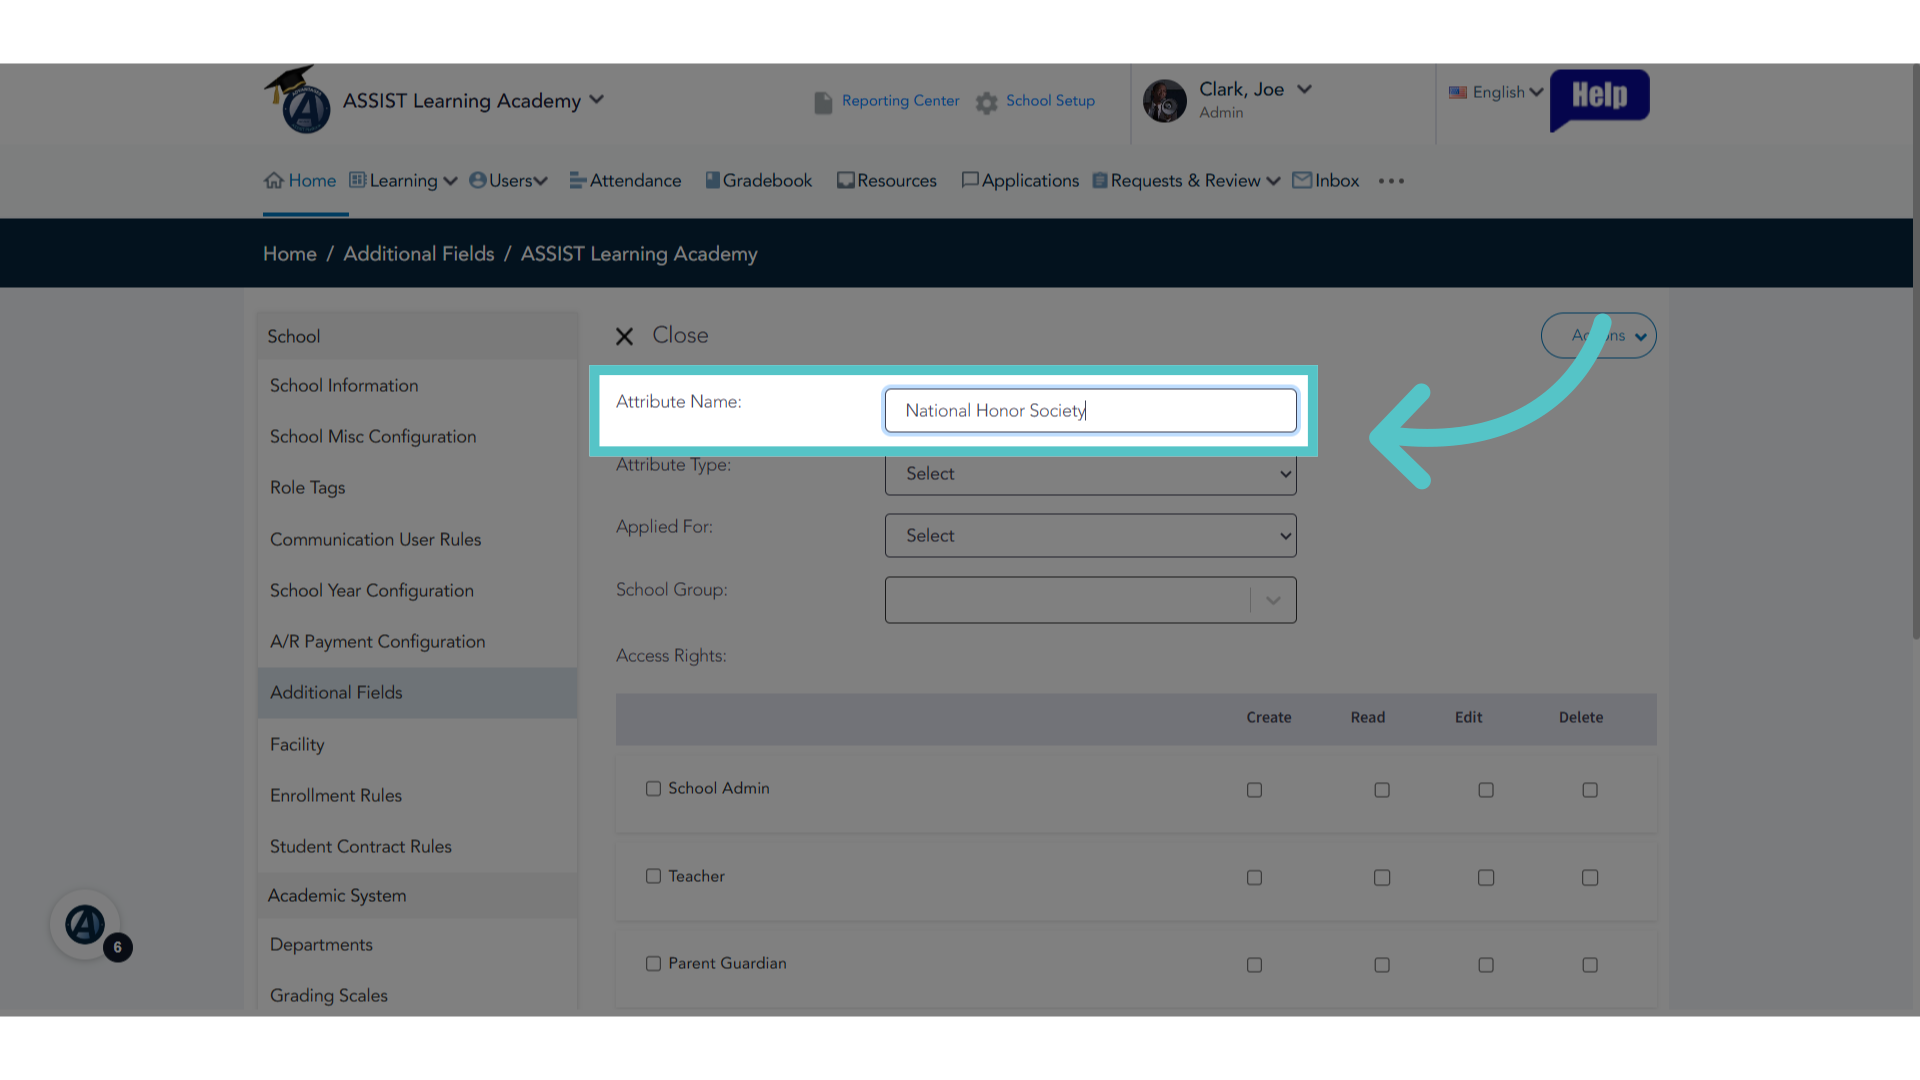
7. Enter Category
Enter the category to be added to the profile in the box for Attribute Name. This school is adding an additional field to categorize for the National Honor Society.
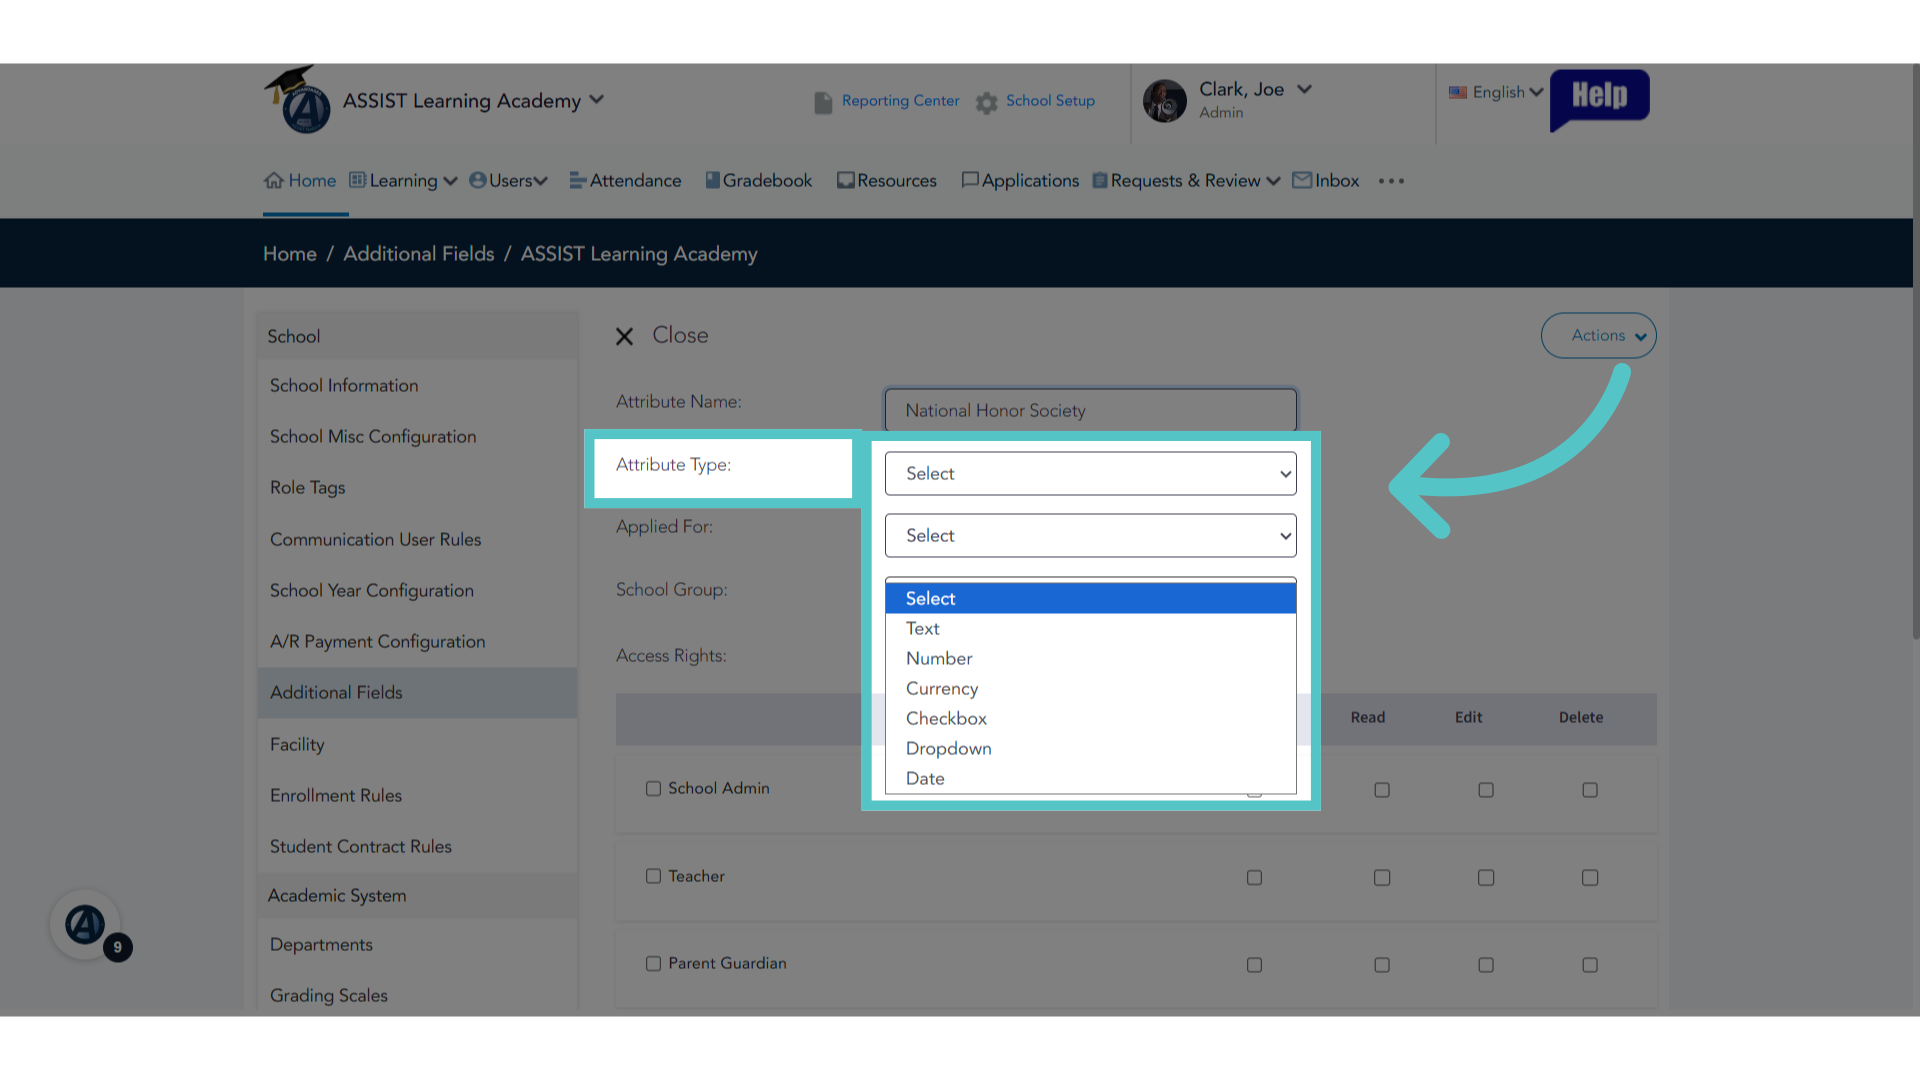
8. Select Type
Choose the type of field for this information to be recorded. For example, information can be entered into a text box, a simple checkbox, or as a date. For National Honor Society, this school will just check a box if the category applies.
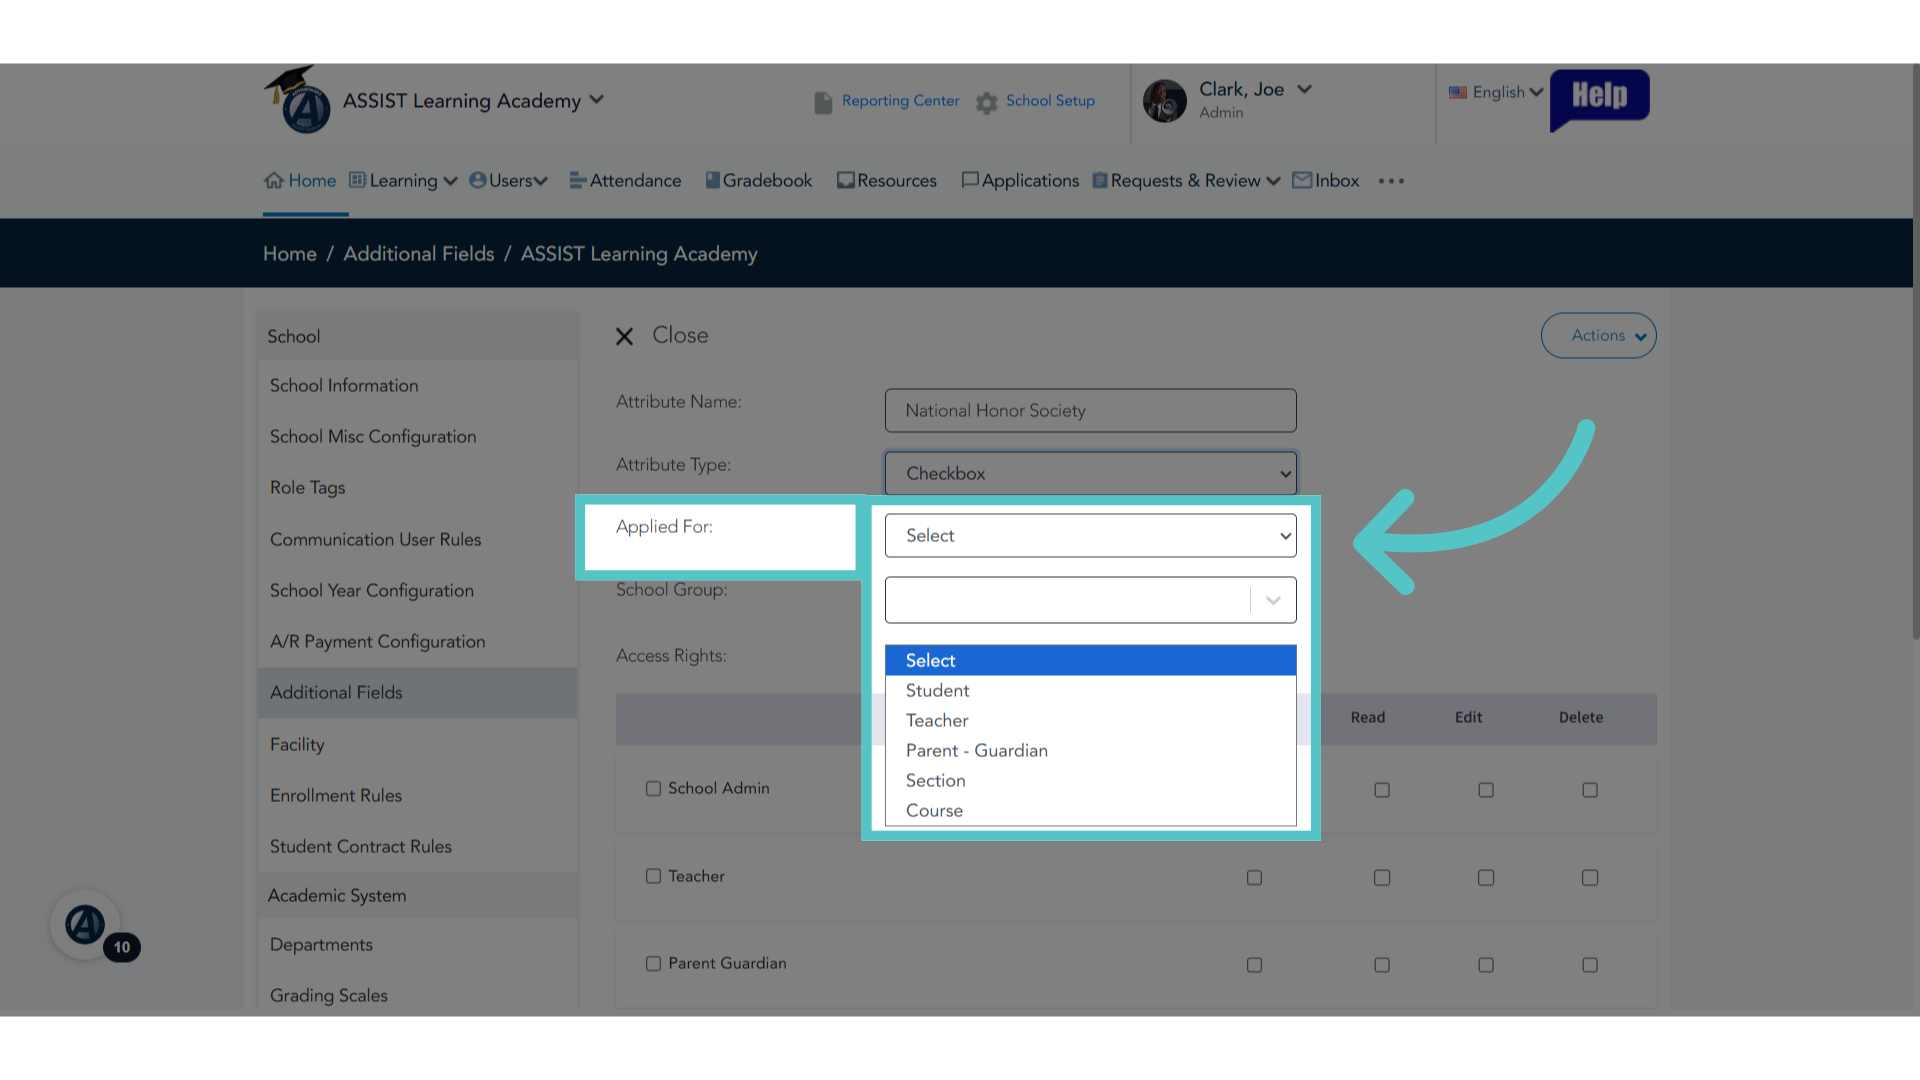
9. Applied For
Next, select the profile where this field should appear. Additional fields can appear on profiles for teachers, or parents, or sections of courses. Most often, fields are applied to student profiles. National Honor Society will apply to student profiles.
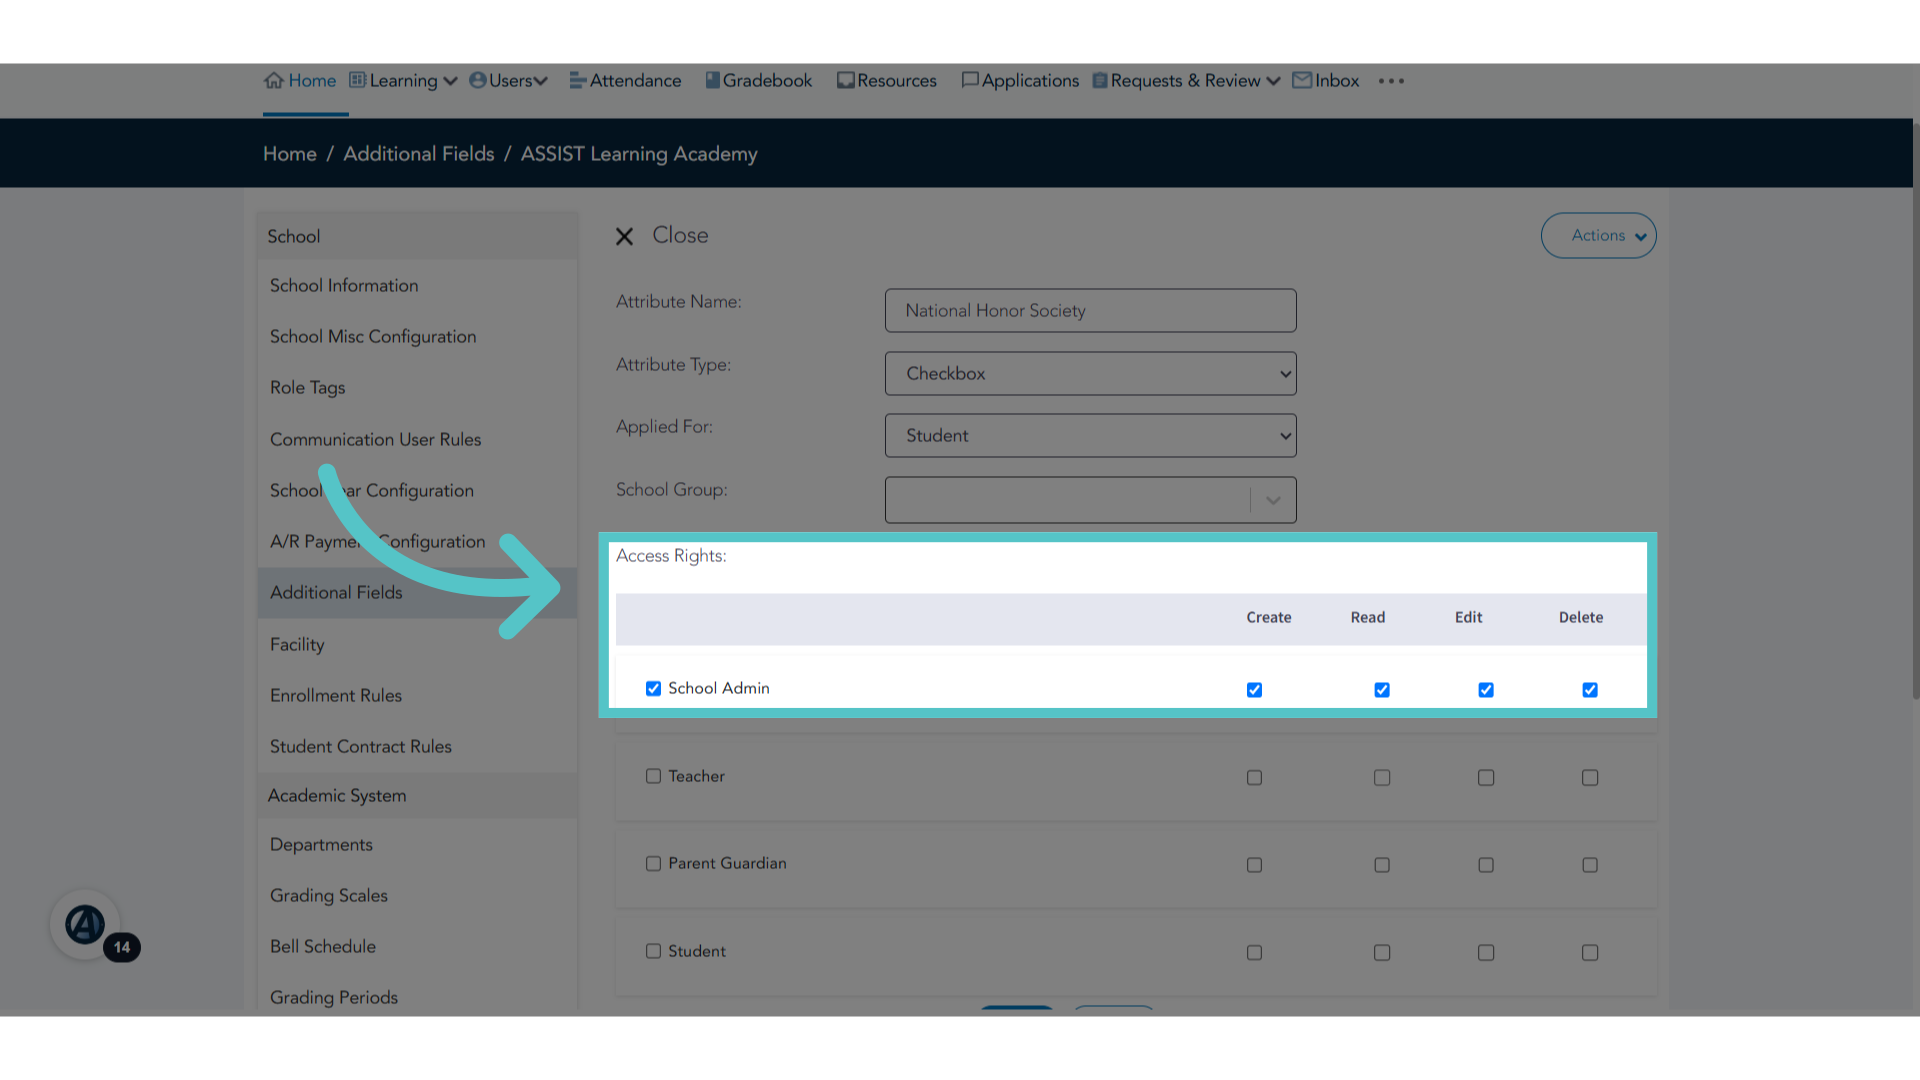
10. Access Rights
Next, determine access rights for school users. School administrators usually have the access to create, read, edit, and delete all additional fields. So all of the boxes are checked.
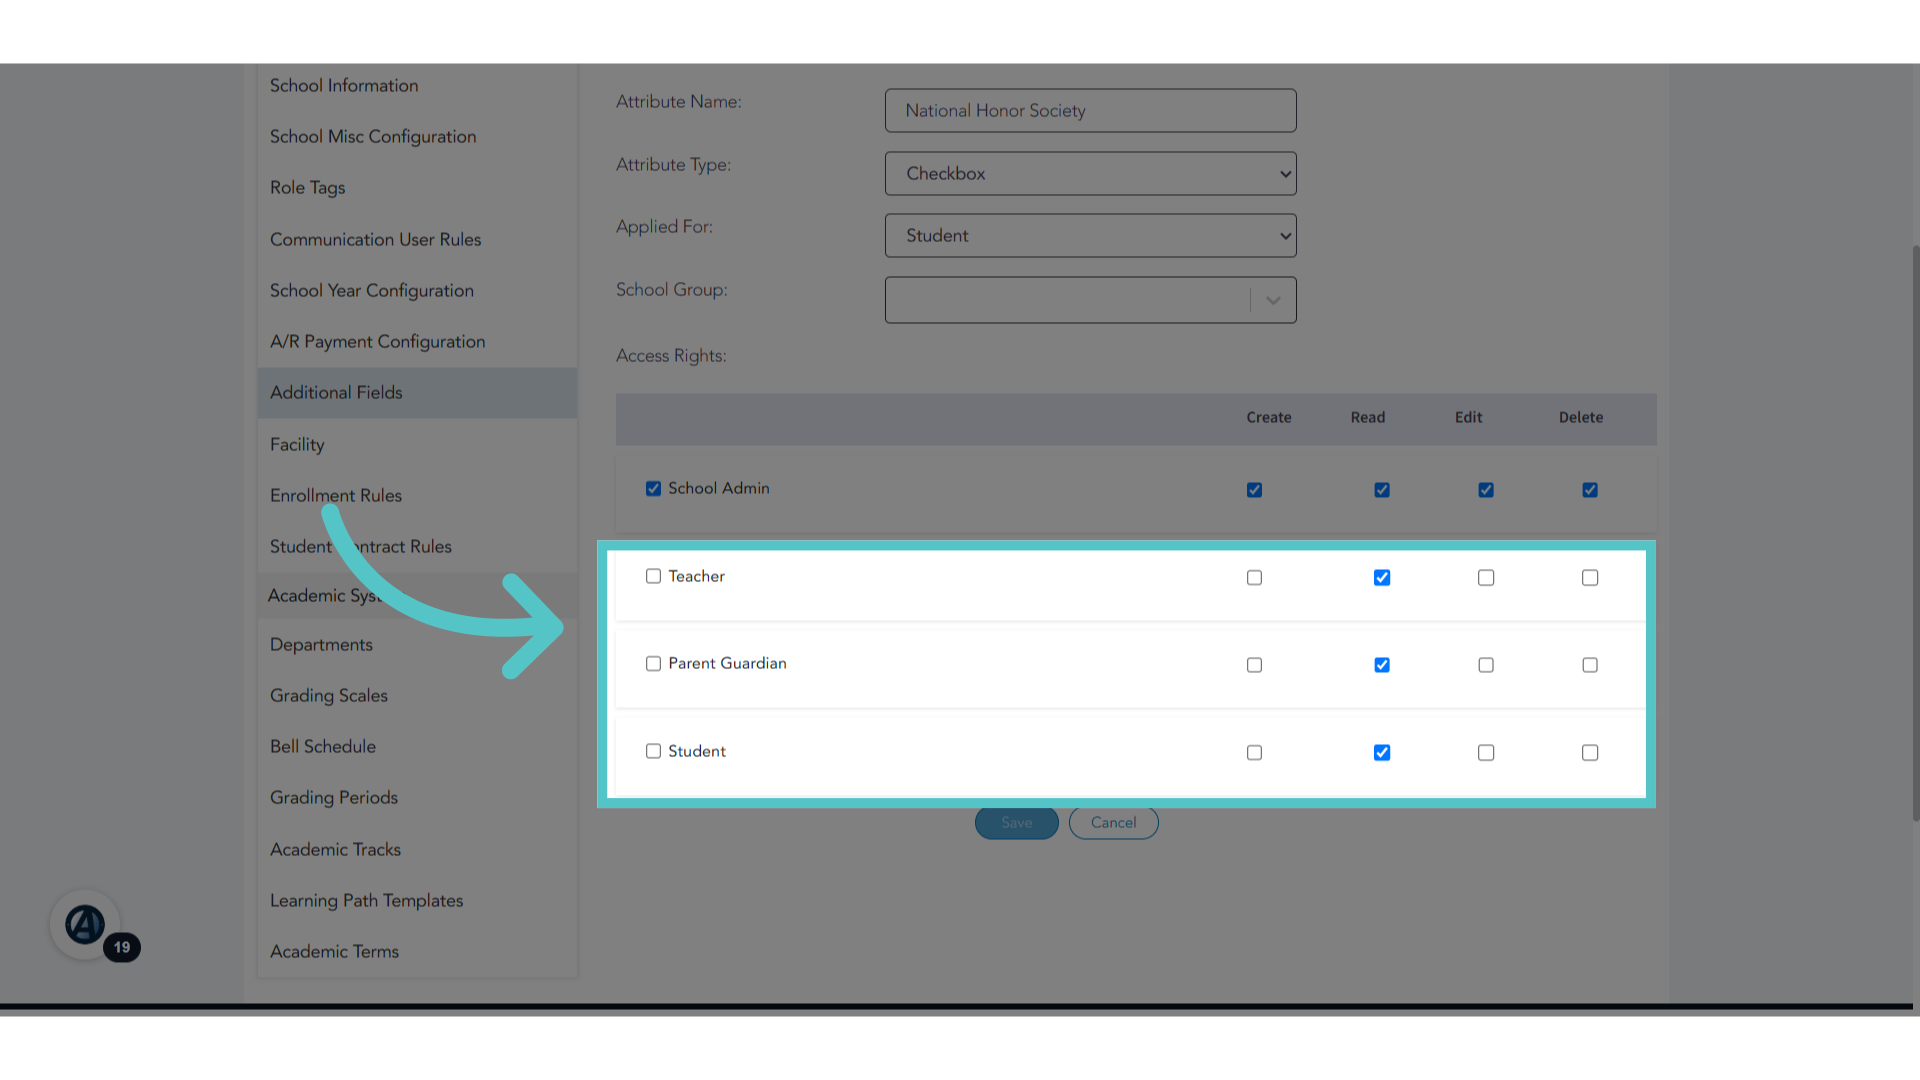
11. Limited Access
Schools may want to limit the access of other users. In this view, teachers, parents, and students will be able to read, meaning see, if the National Honor Society Box is checked on a student profile. However, they will not be able to create this field for themselves. They will not be able to edit or delete the checkbox.
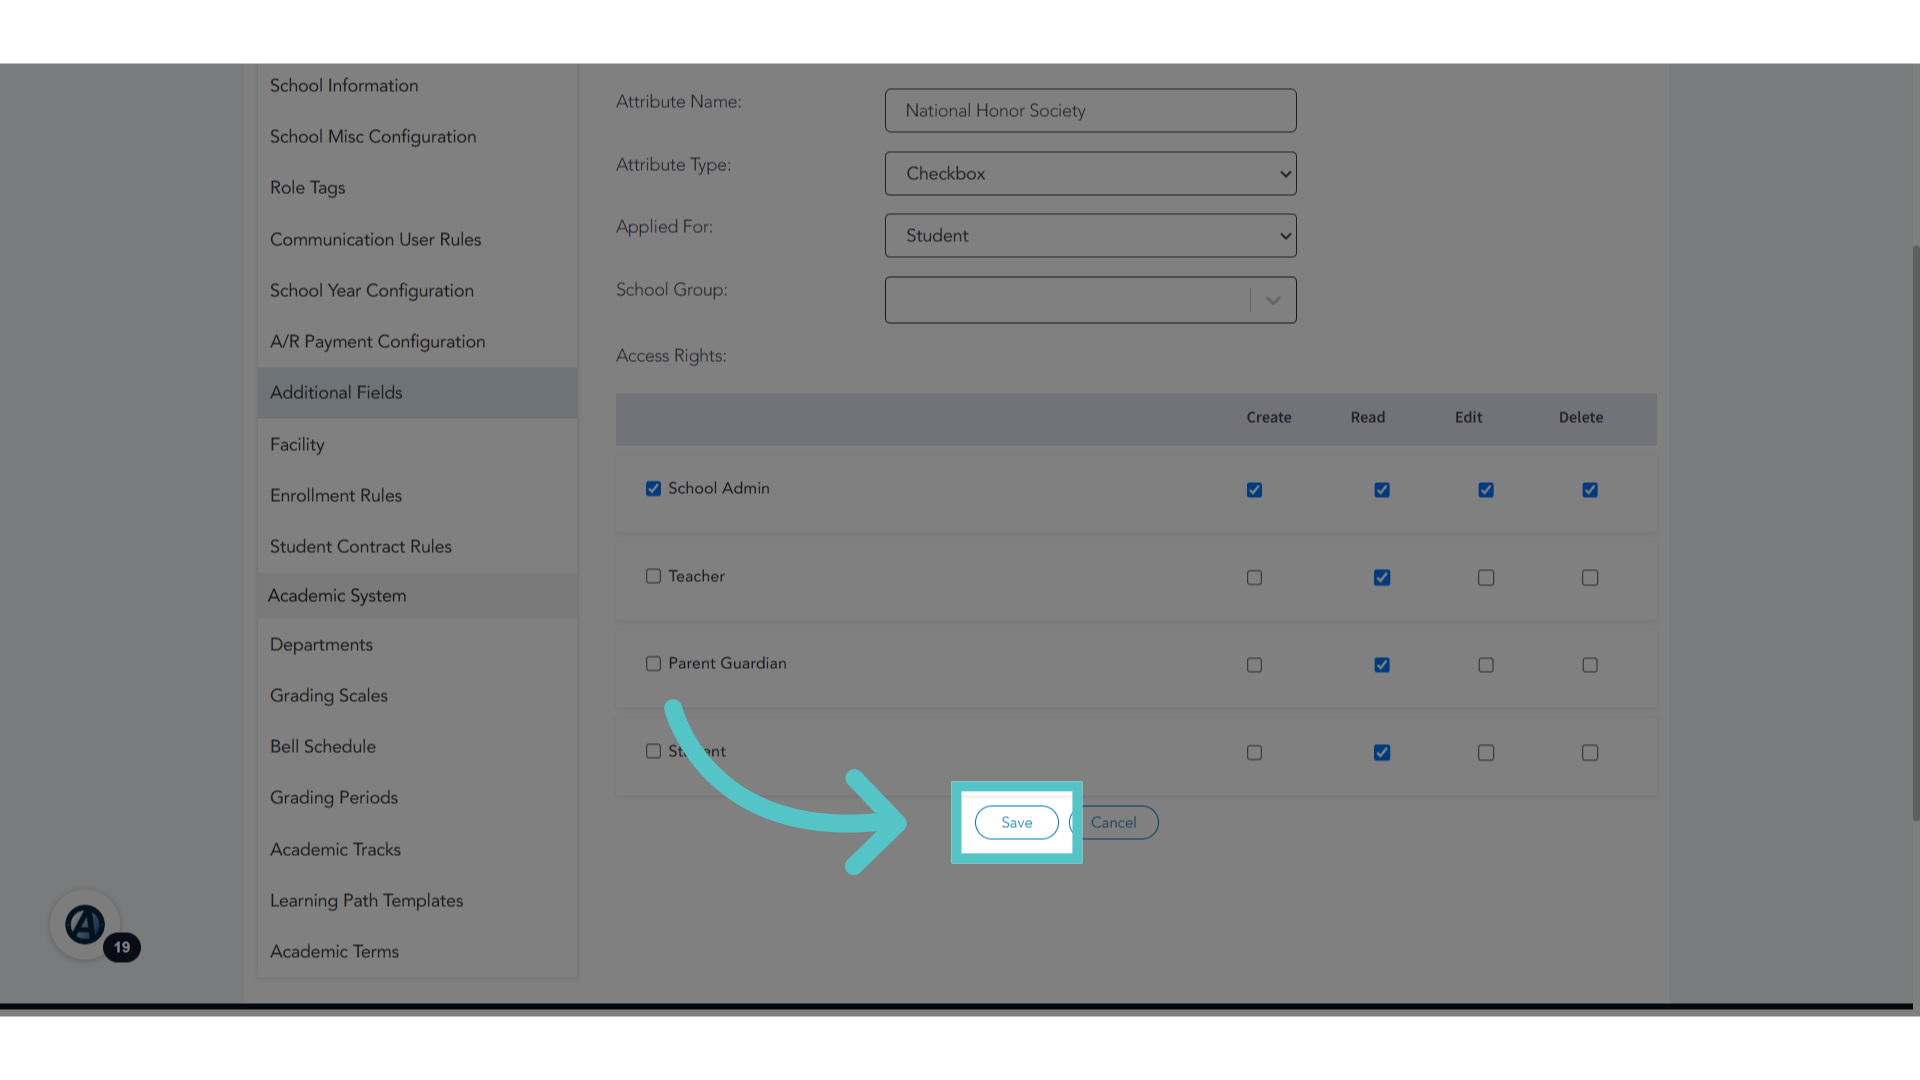
12. Click "Save"
Save the changes.
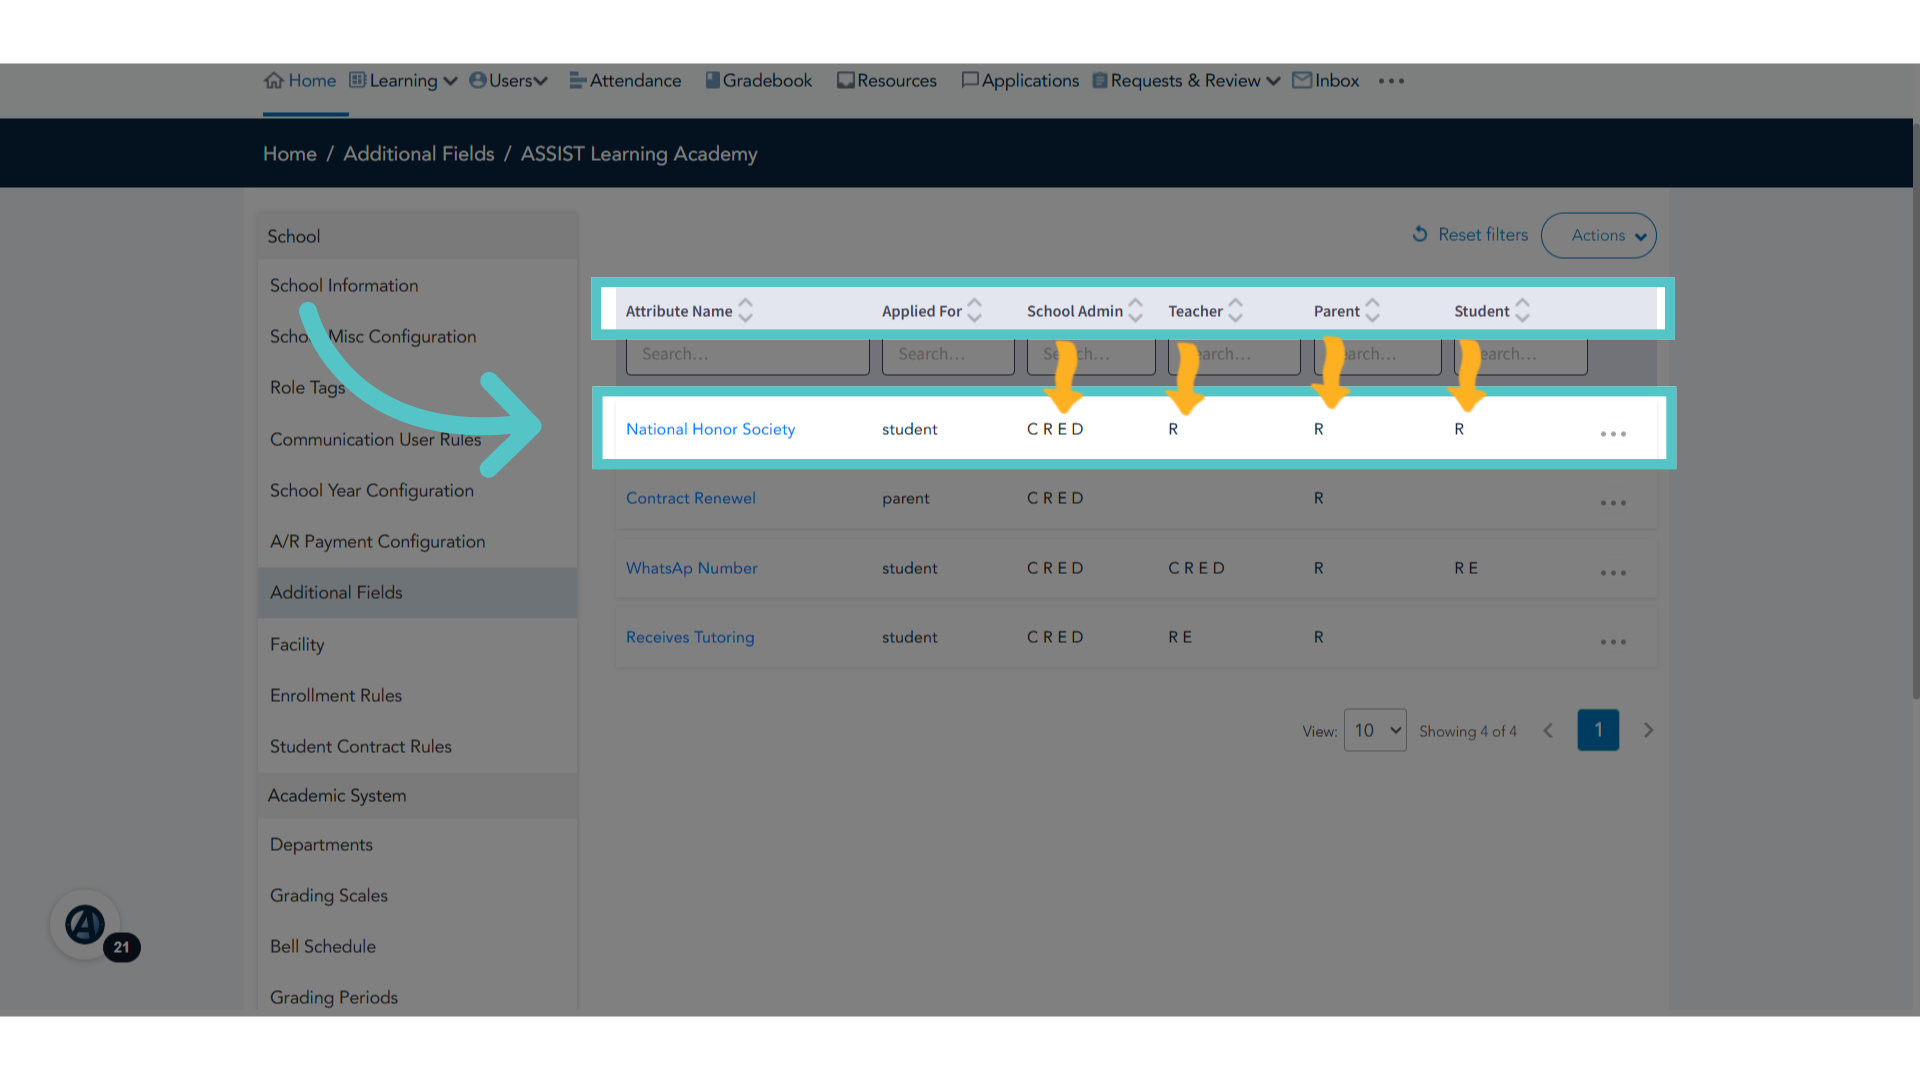
13. New
The new additional field will appear at the top of the list. The letters C-R-E-D stand for create, read, edit, and delete. They will appear under user roles to indicate their permitted access.
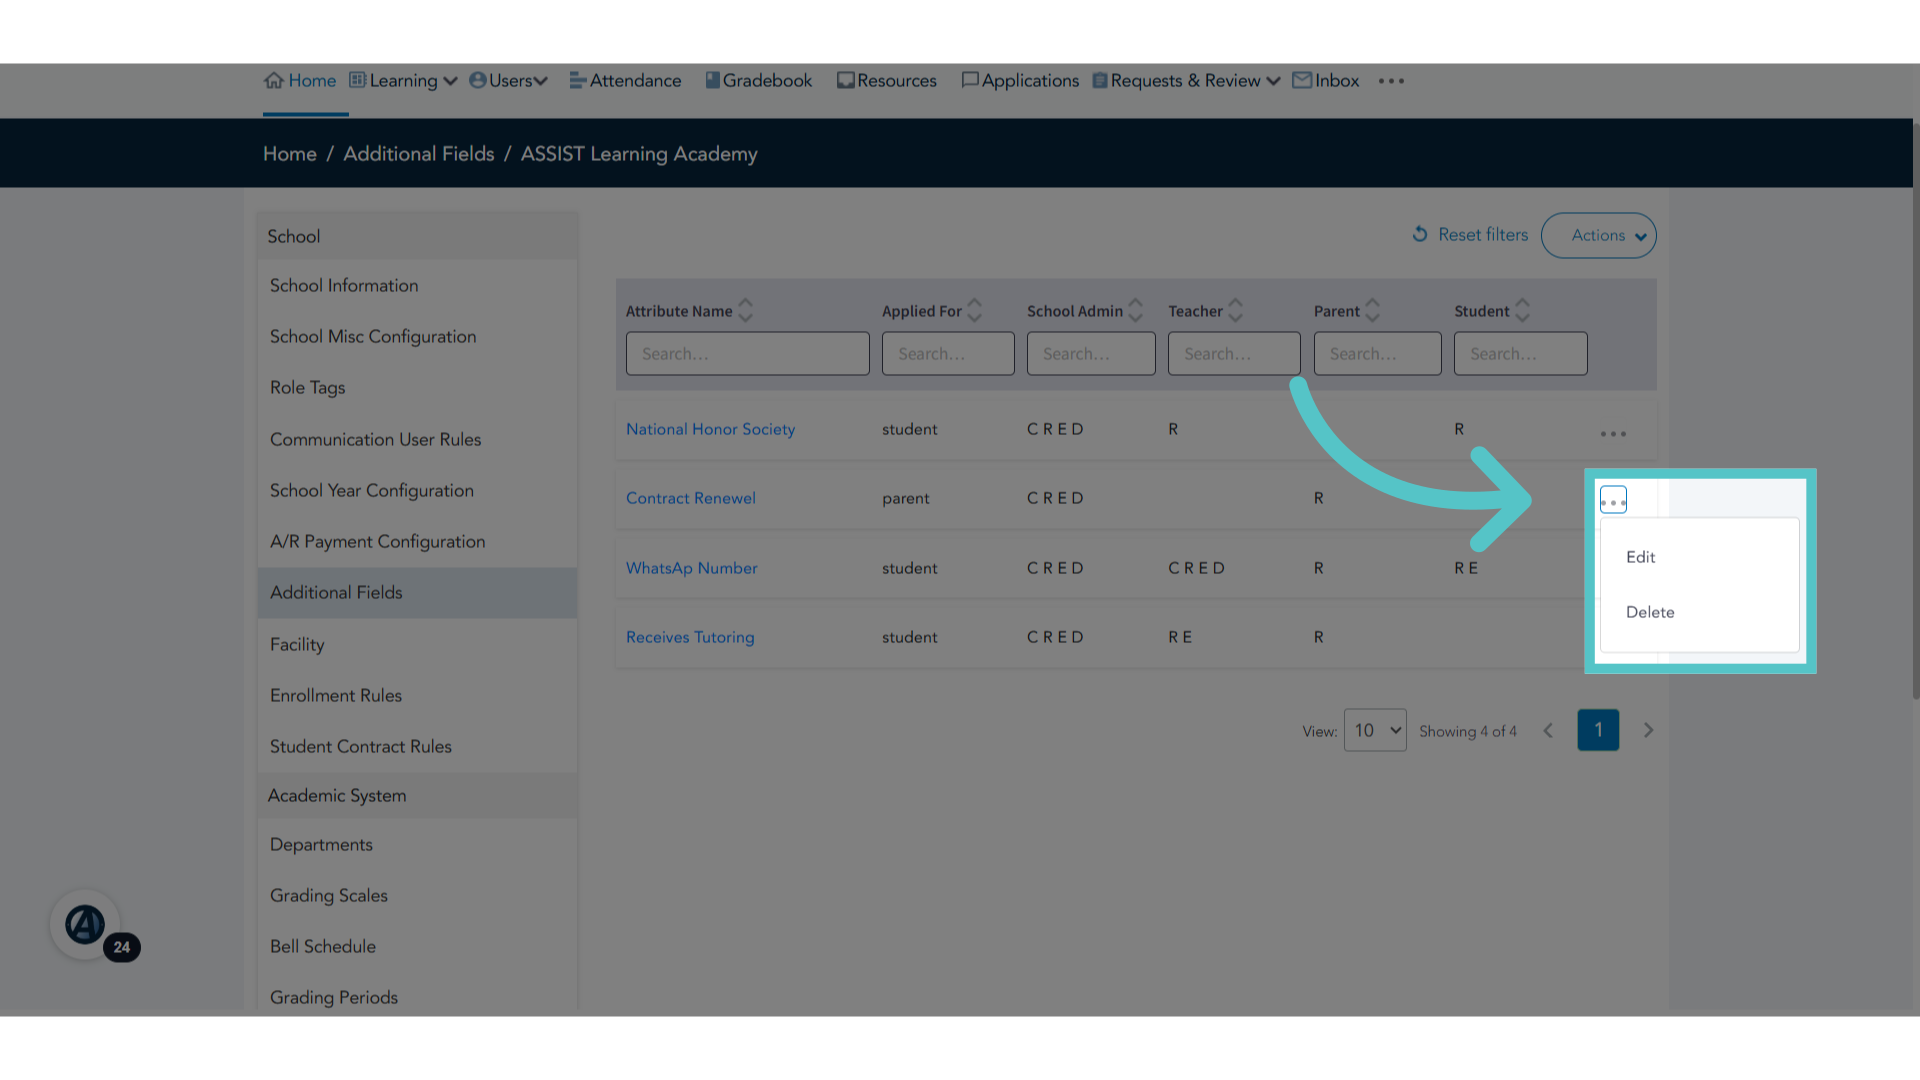
14. Edit/Delete
Additional fields can be edited or deleted by clicking the three dots to the far right.
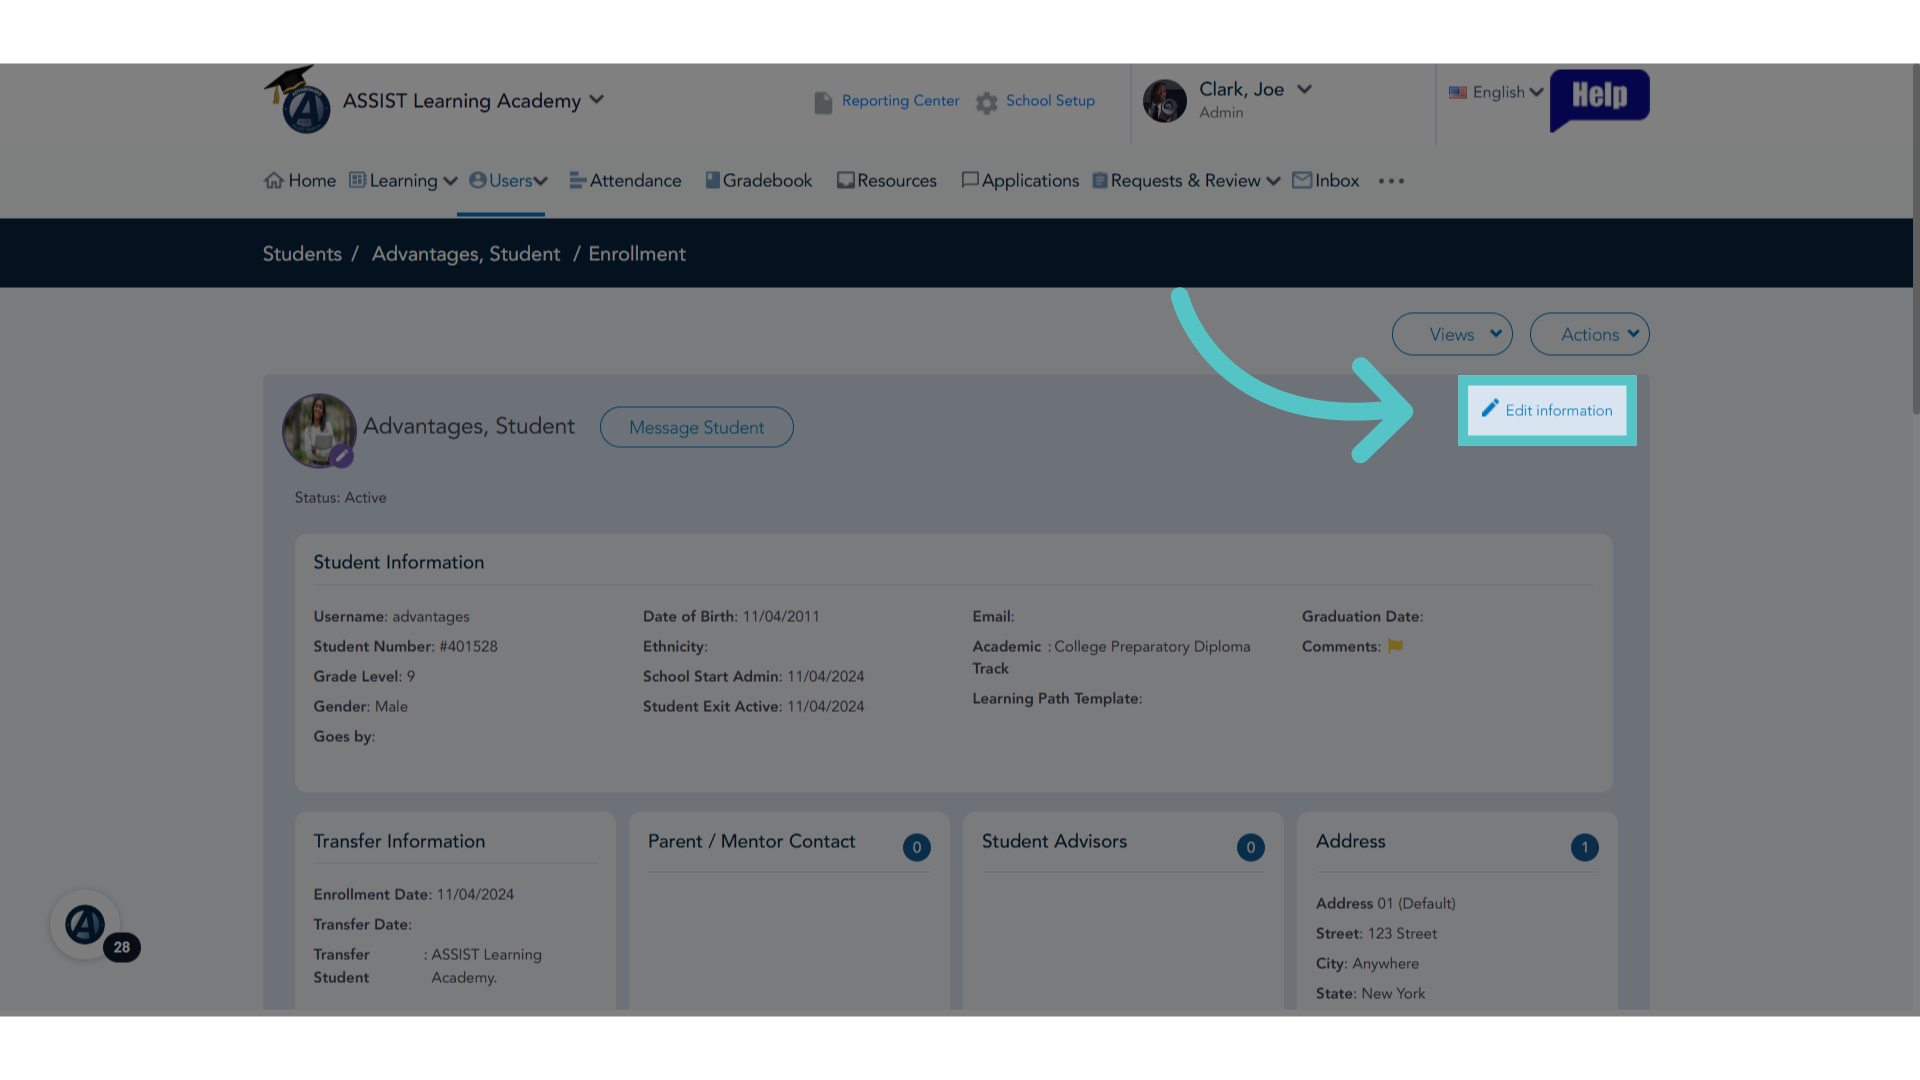
15. Click "Edit information"
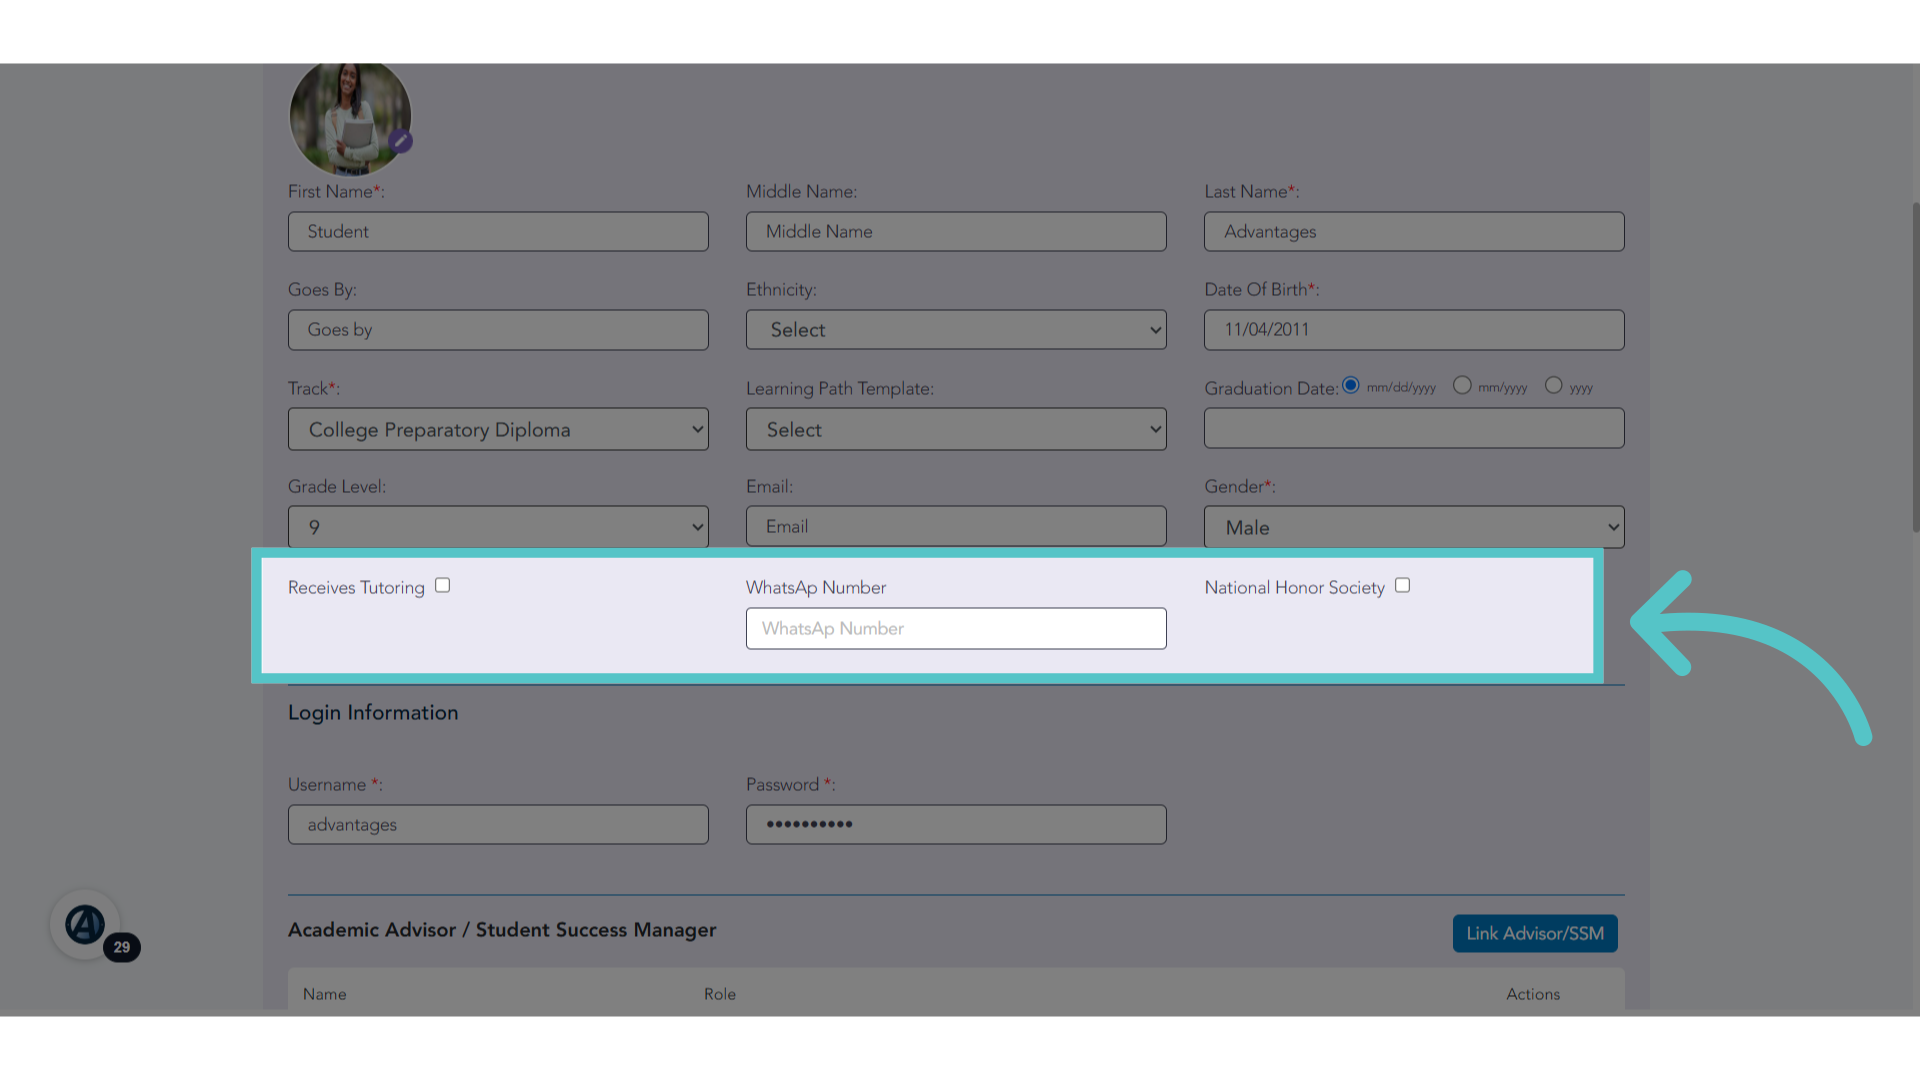
To use the additional field, access the profile it is applied for. In this case, the National Honor Society will show on the student profile. Click "Edit Information" to see it.
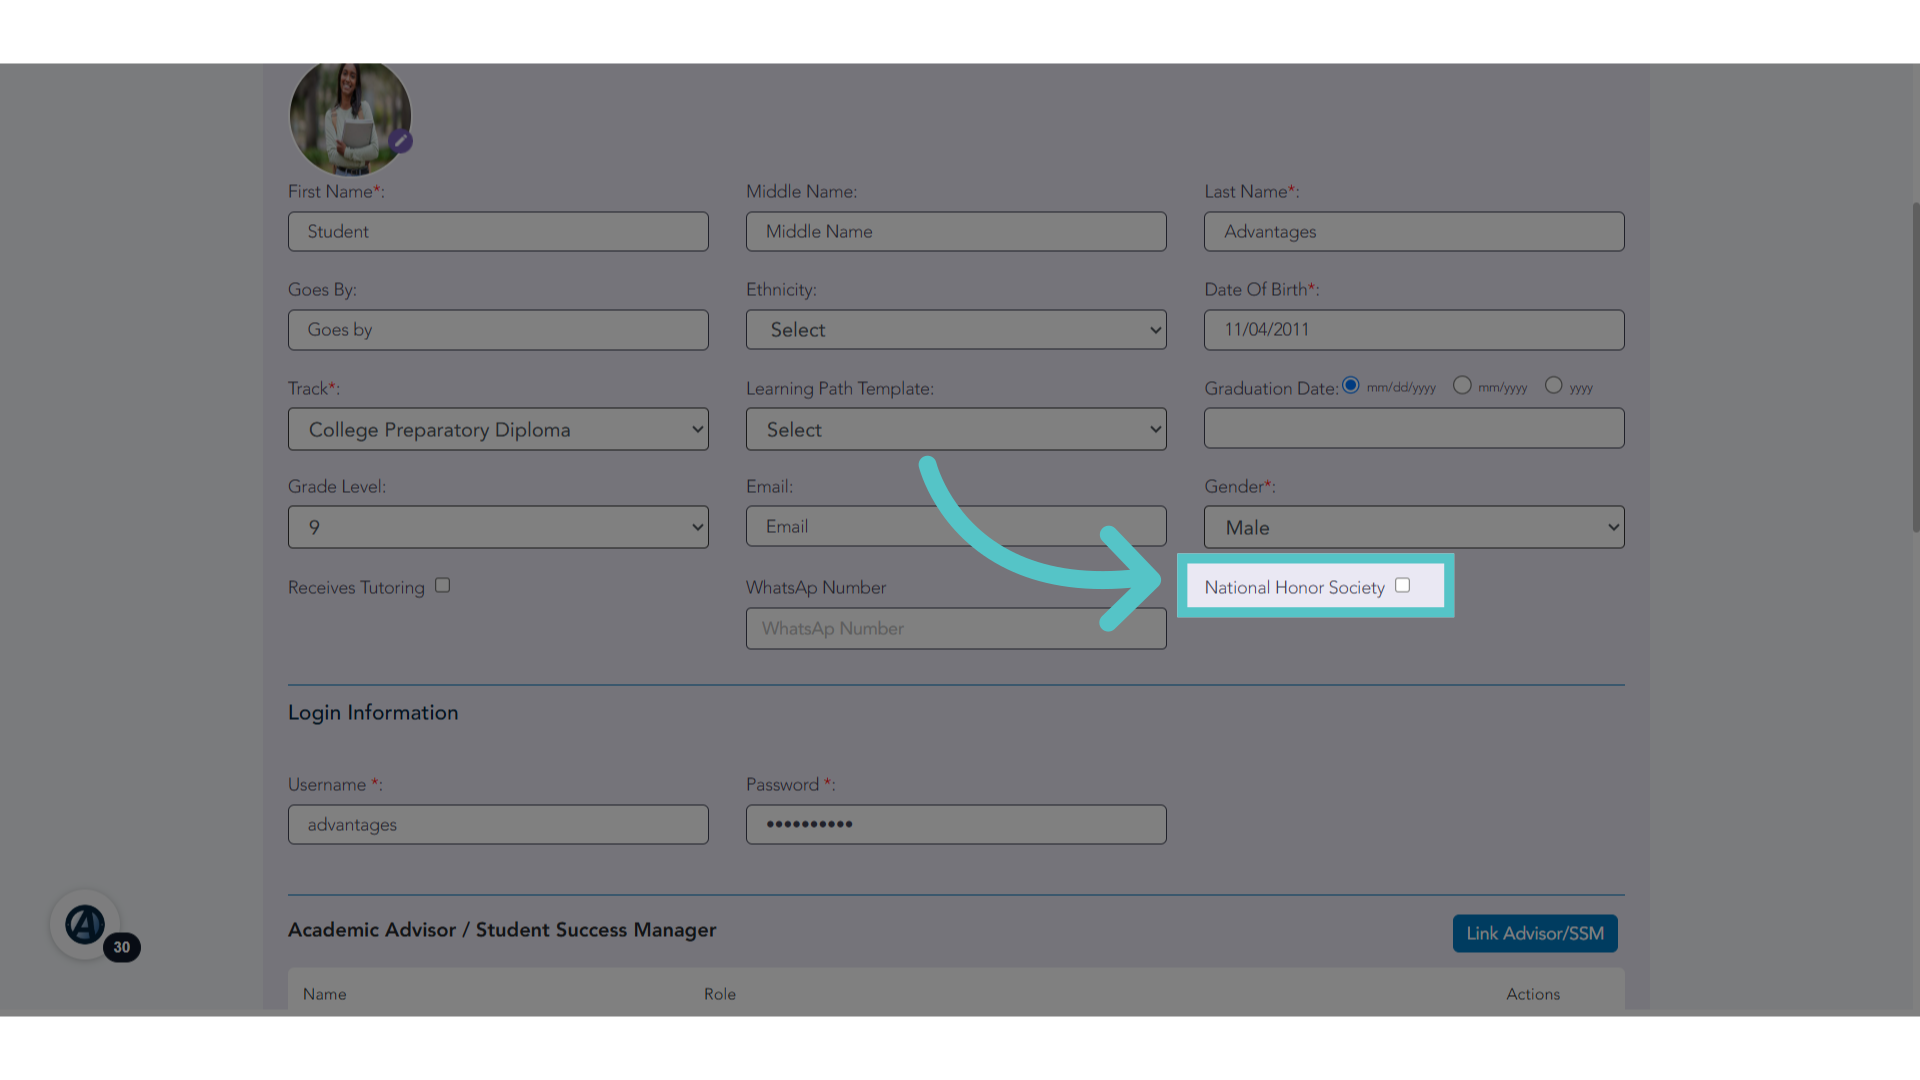
16. Checkbox
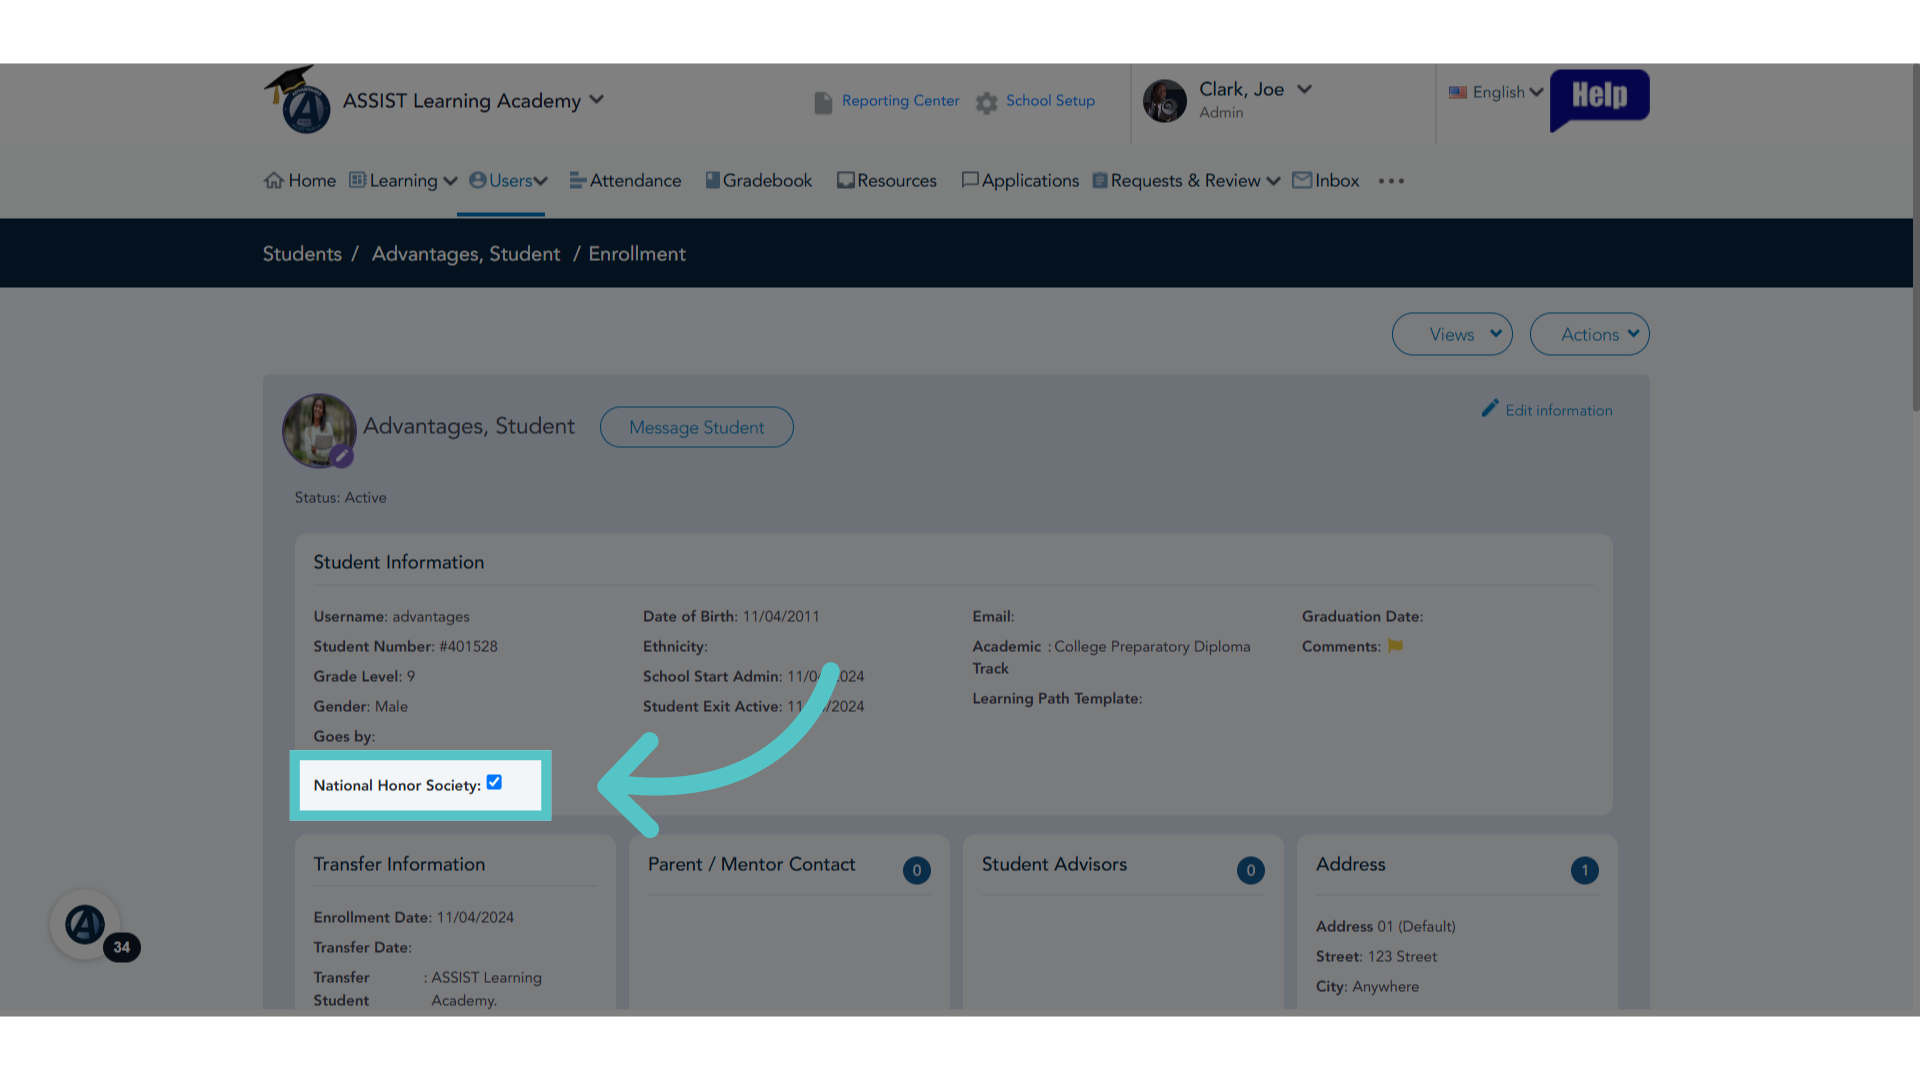
The additional field checkbox for National Honor Society is now an option on the student profile.
17. Field Applied
When the checkbox is selected, it will appear on the student profile.
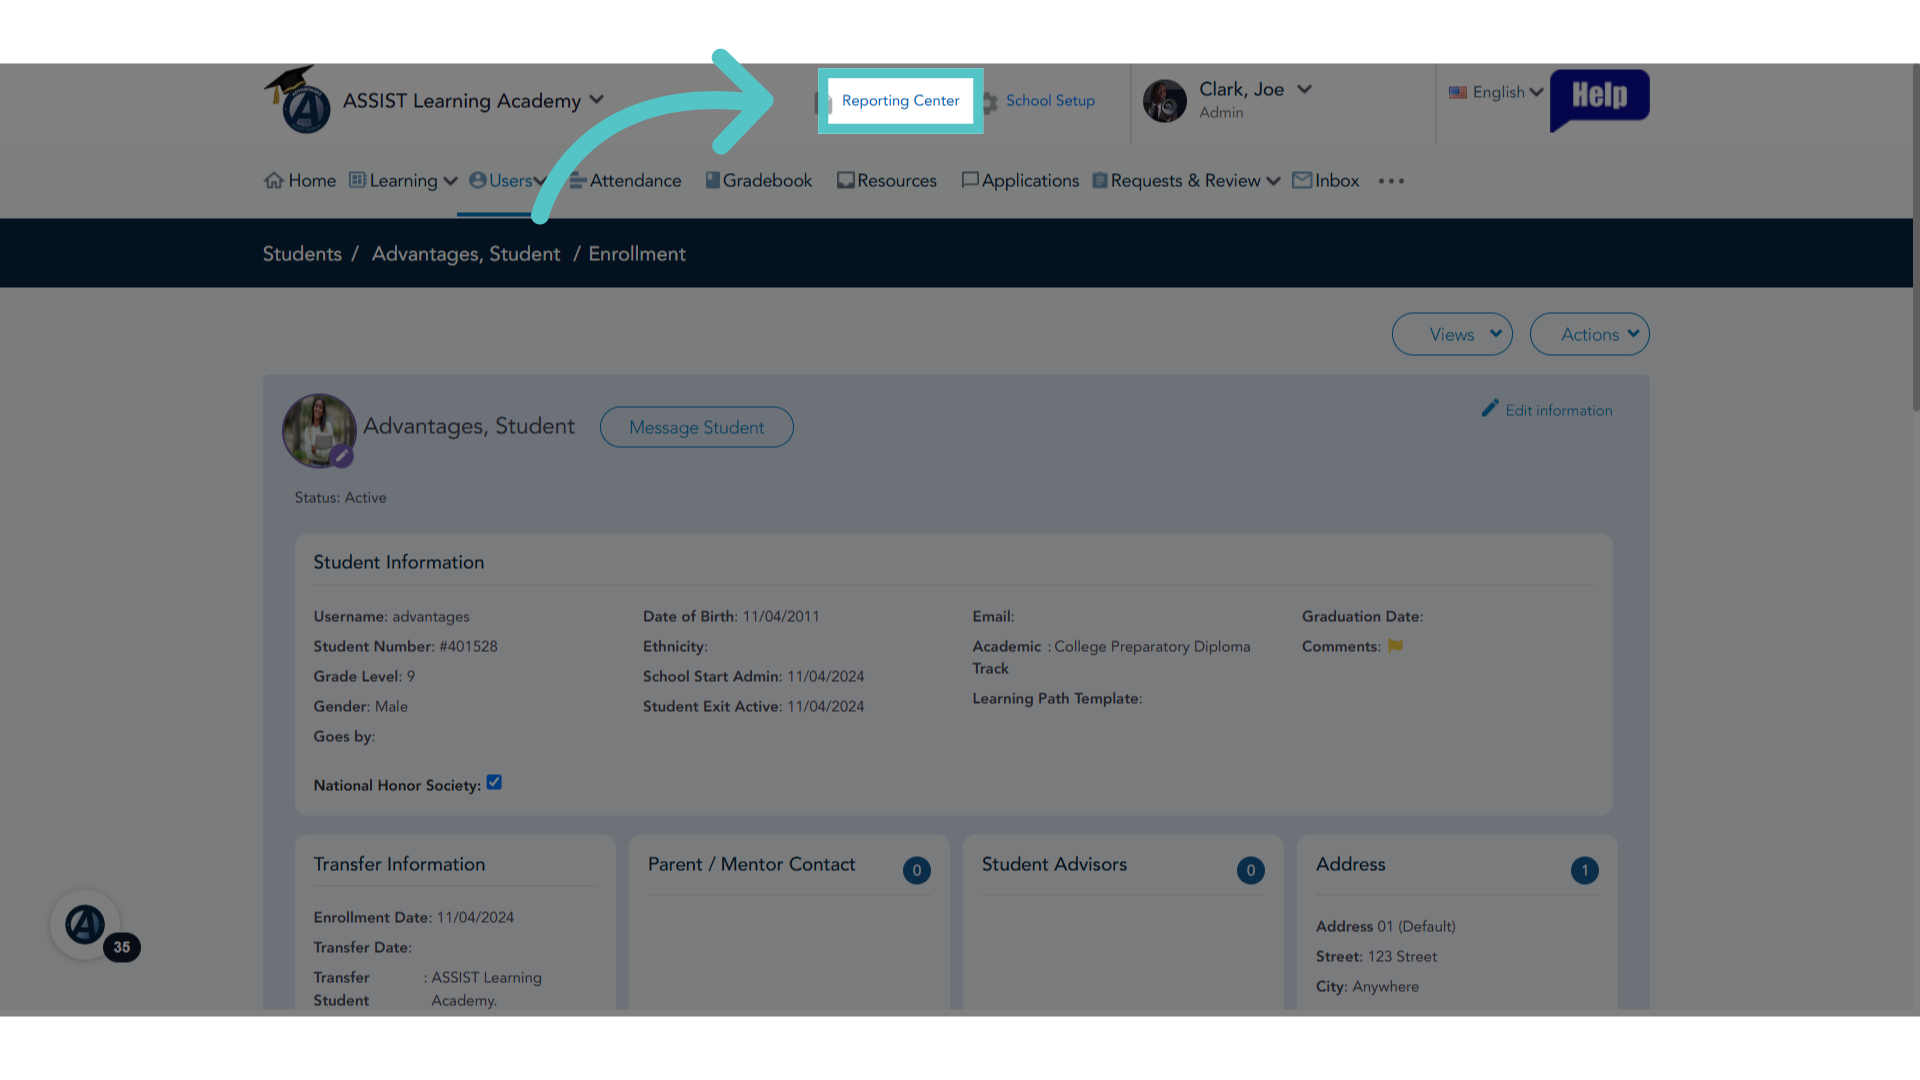
18. Click "Reporting Center"
Reports can be run from the Reporting Center to find all instances where this field is applied. Click on the Reporting Center.
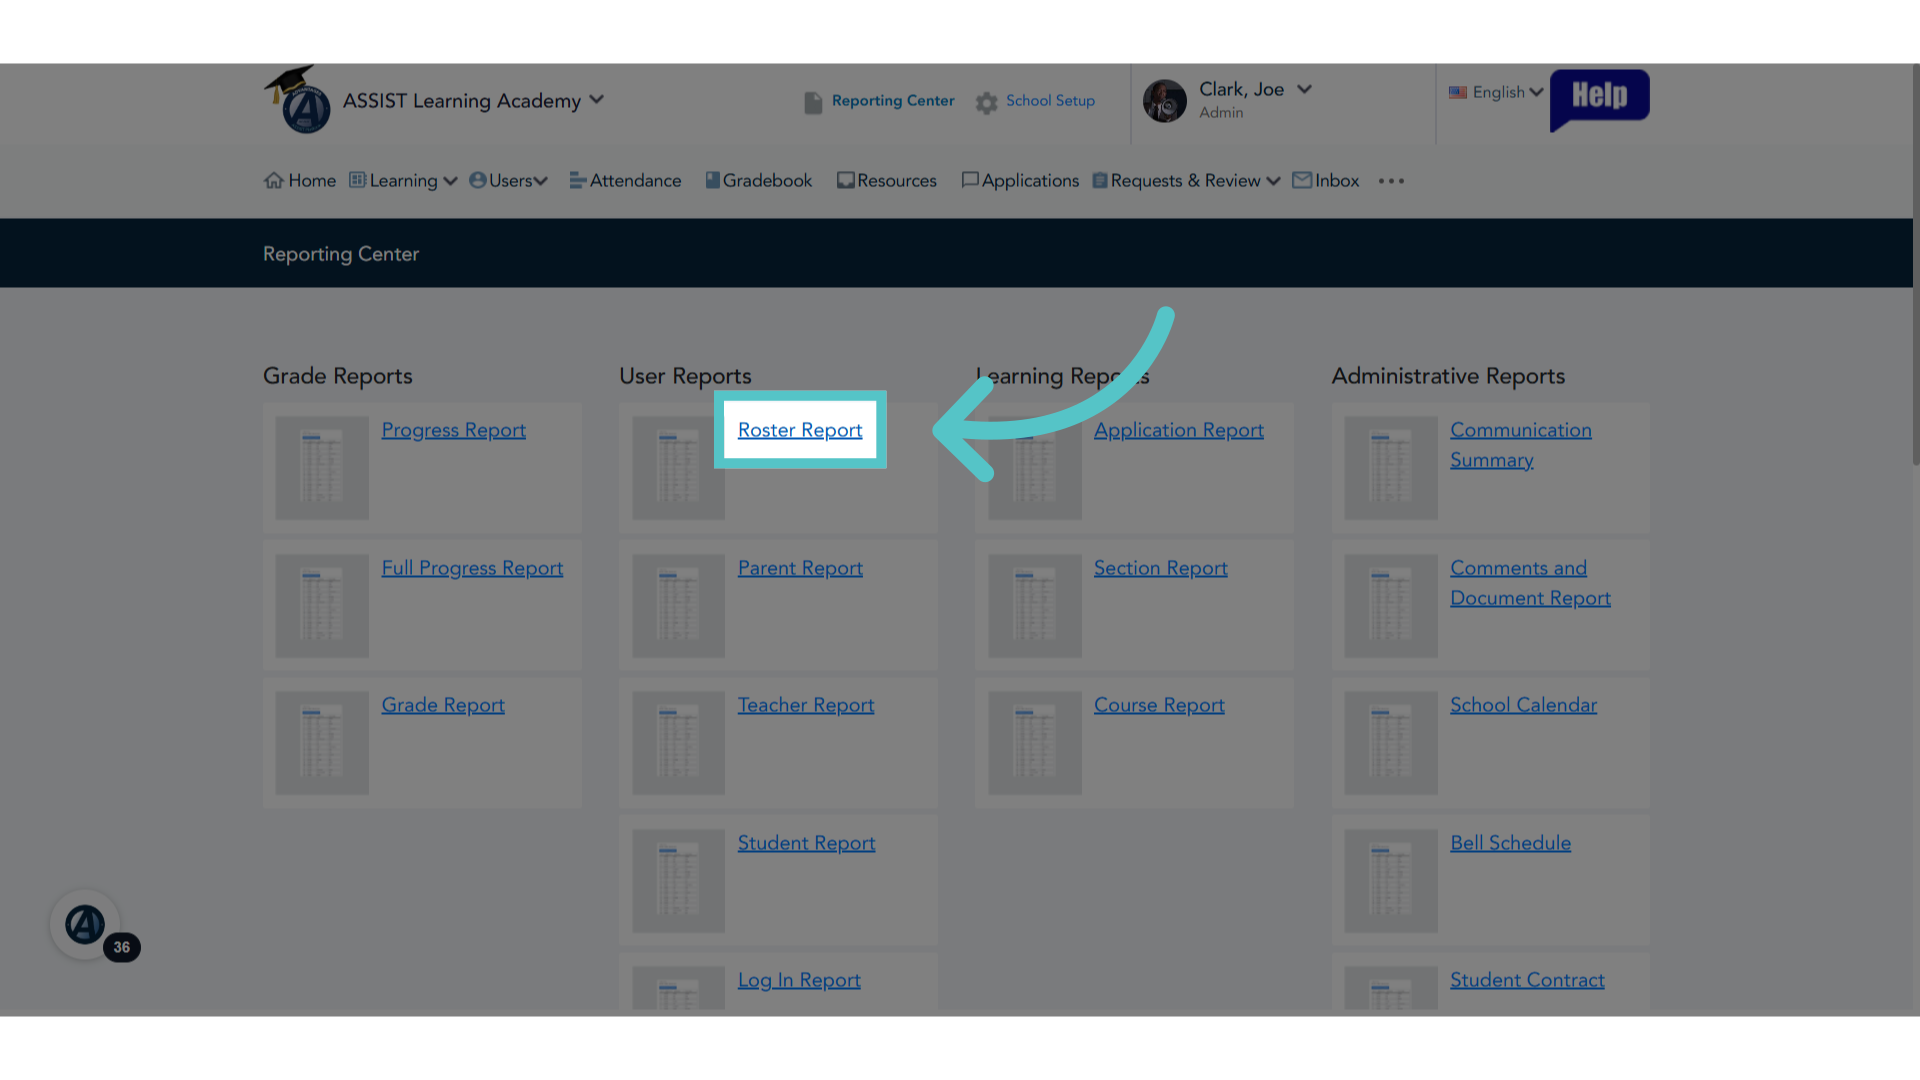
19. Click "Roster Report"
Select "Roster Report."
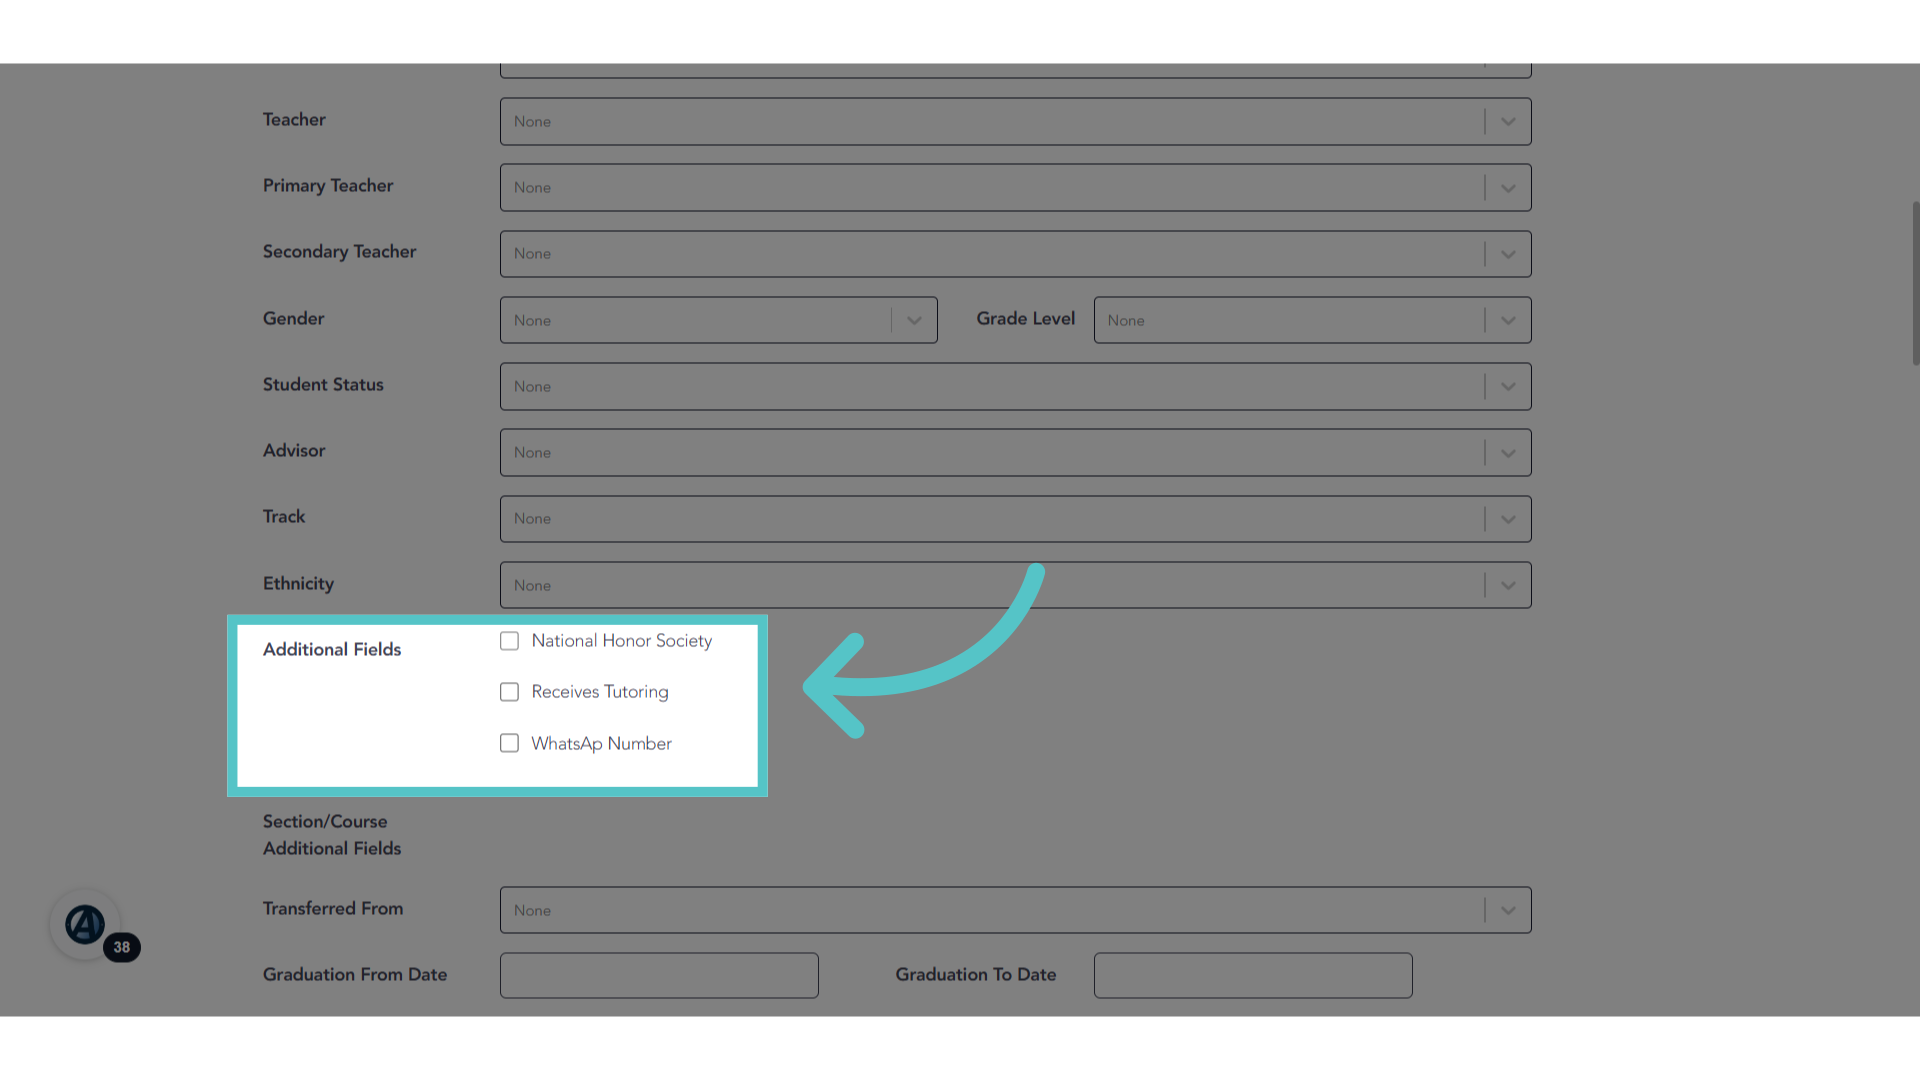
20. Select Additional Field
Additional fields will appear as an optional filter for a Roster Report. Run a report to show all students in the National Honor Society by checking the box.
21. Click "Submit"
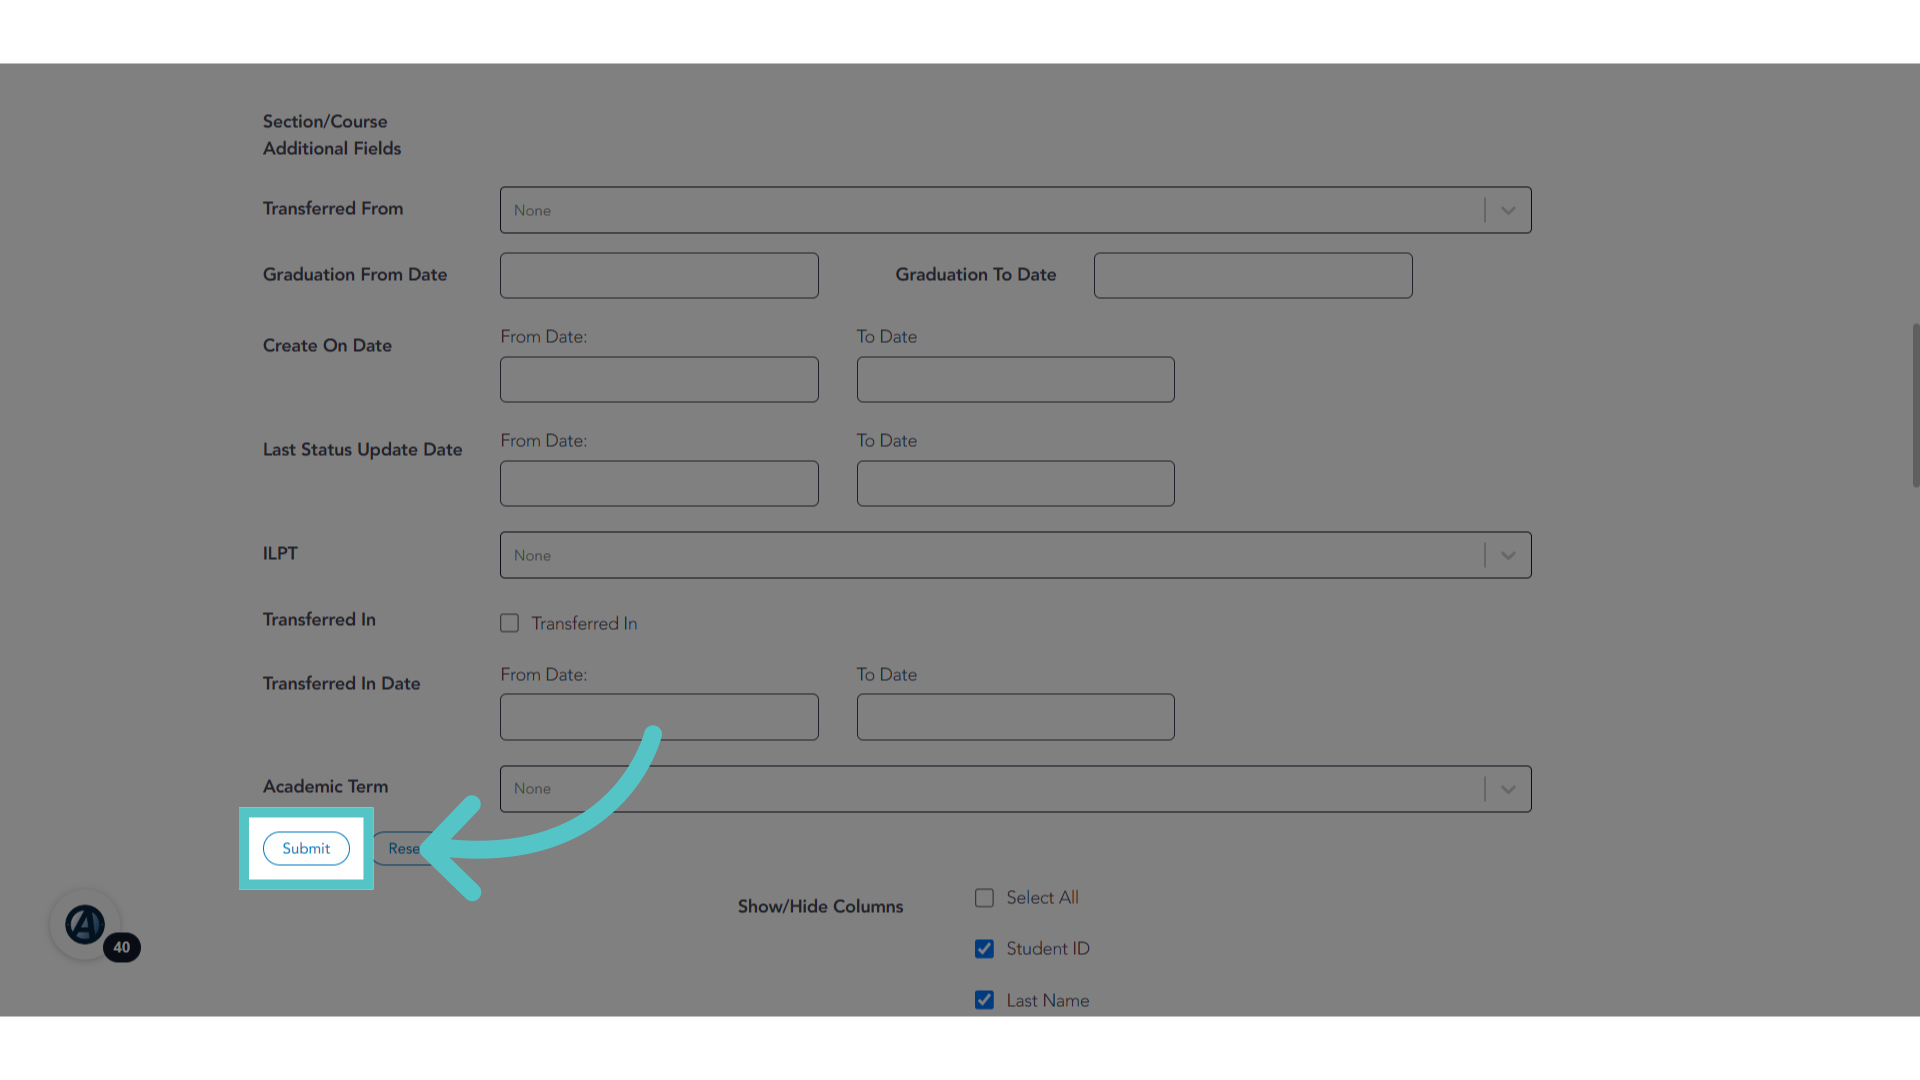
Select "Submit."
22. Report
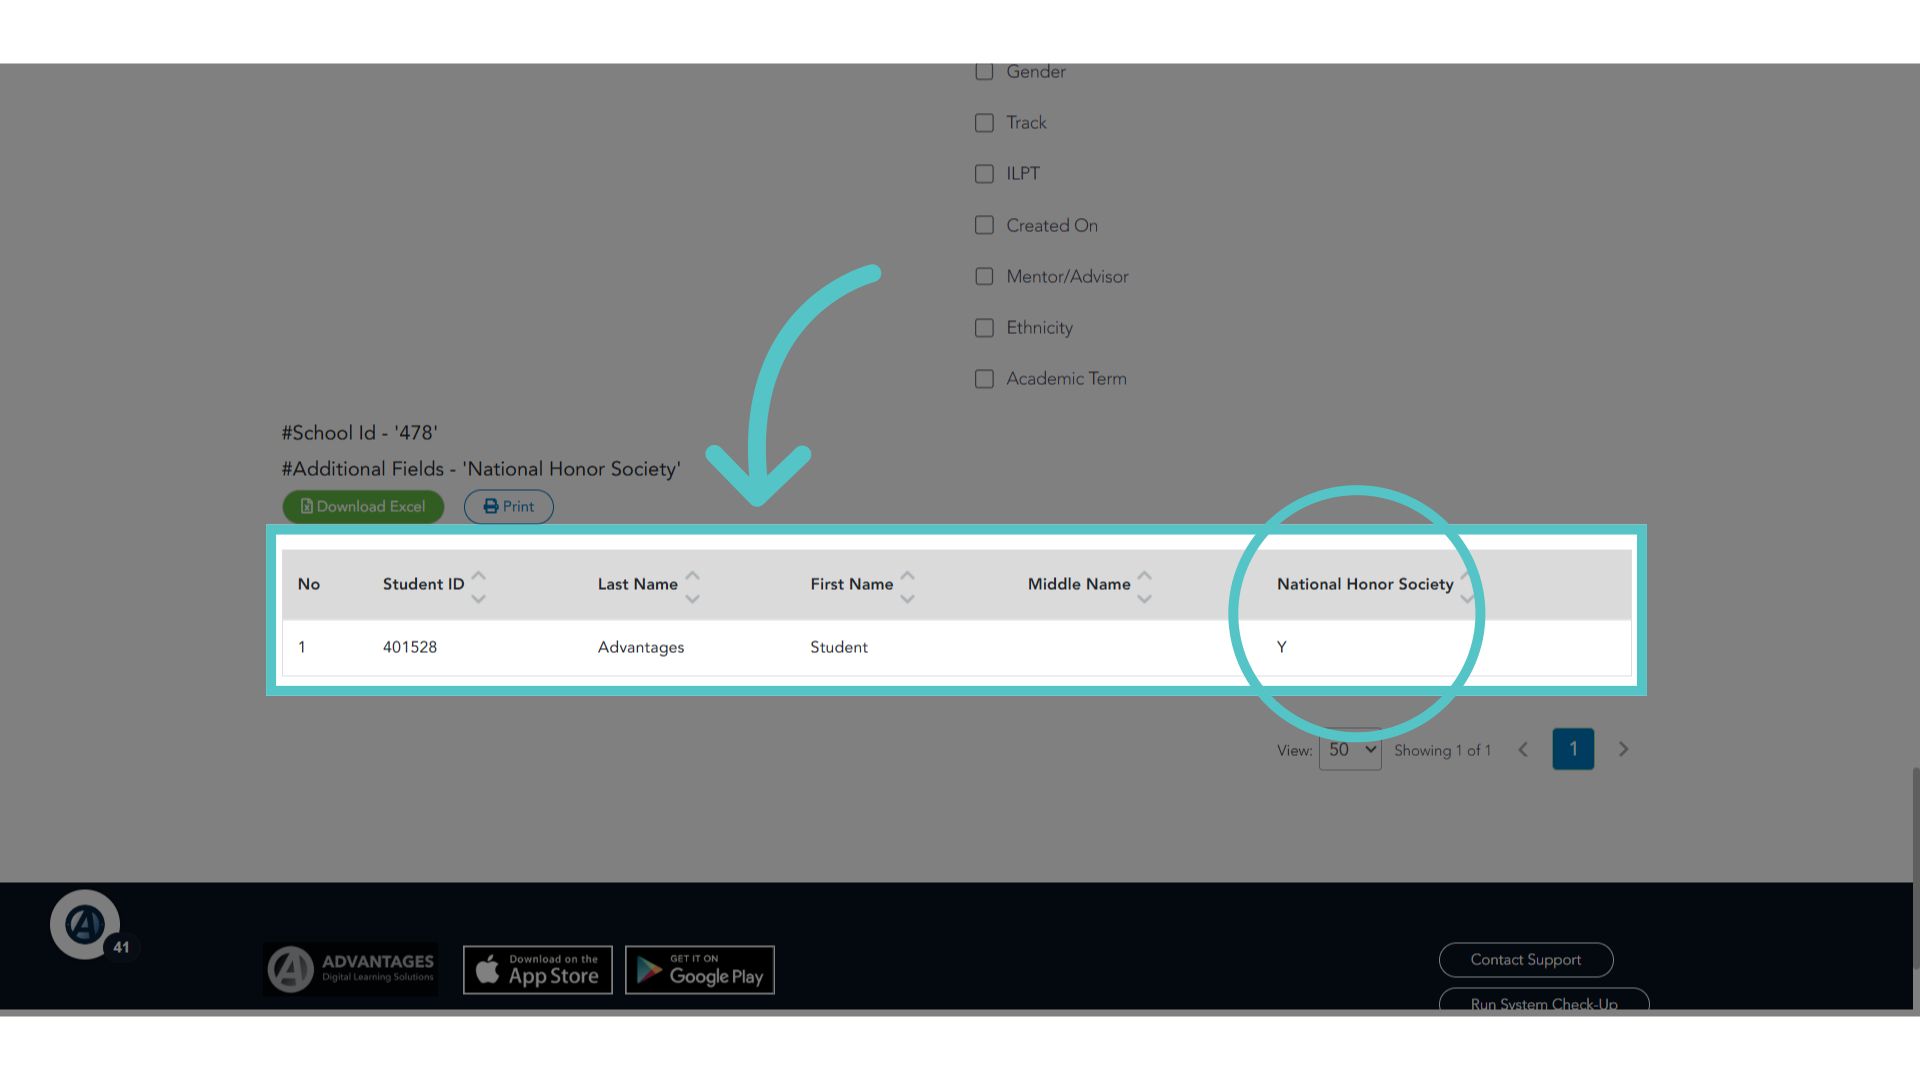
The full list of students with this additional field will be available.
If you have any questions about the information in this tutorial, please click "Contact Support" to submit a help request. Contact Support