Expand to Full Screen for Best Viewing
This tutorial explains how to transfer a student to a new school within the ASSIST system.
1. Important!
To prepare for transfer, Make sure that any course section a student is currently enrolled in has an open section of the exact same course available at the new school. Add a new section of needed courses at the new school if one does not exist yet.
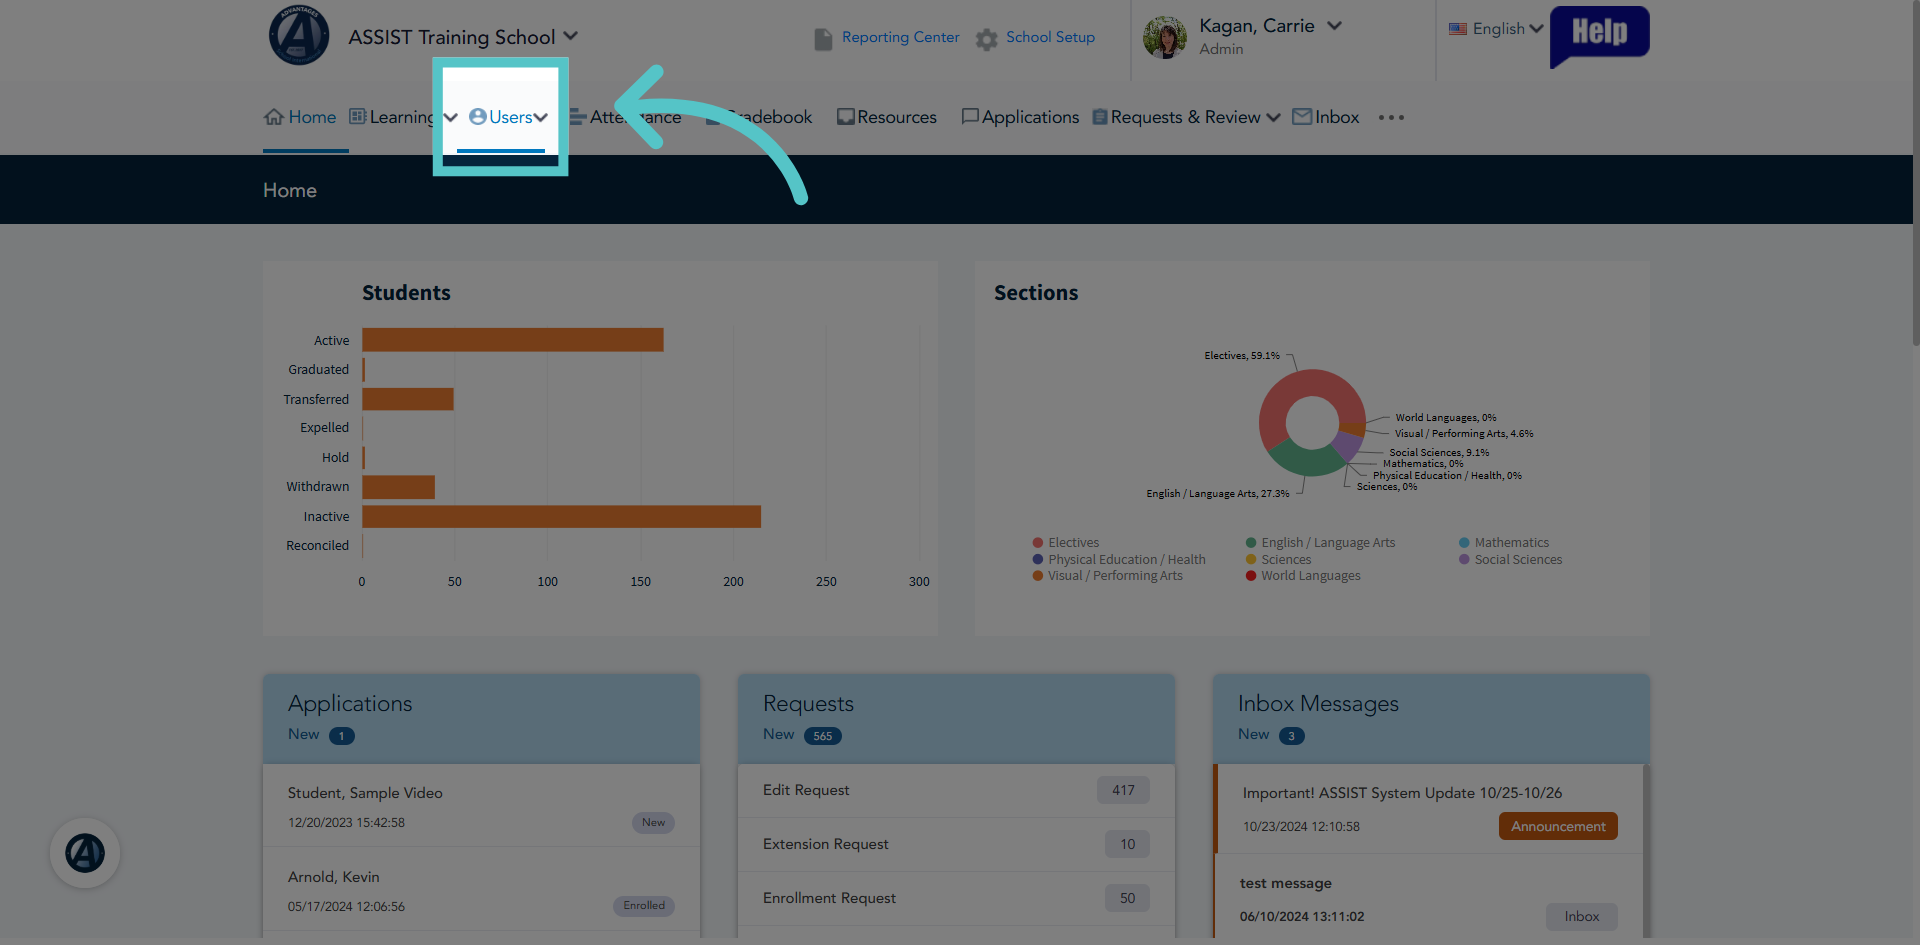
2. Access Users Menu
As an administrator, access the User menu.
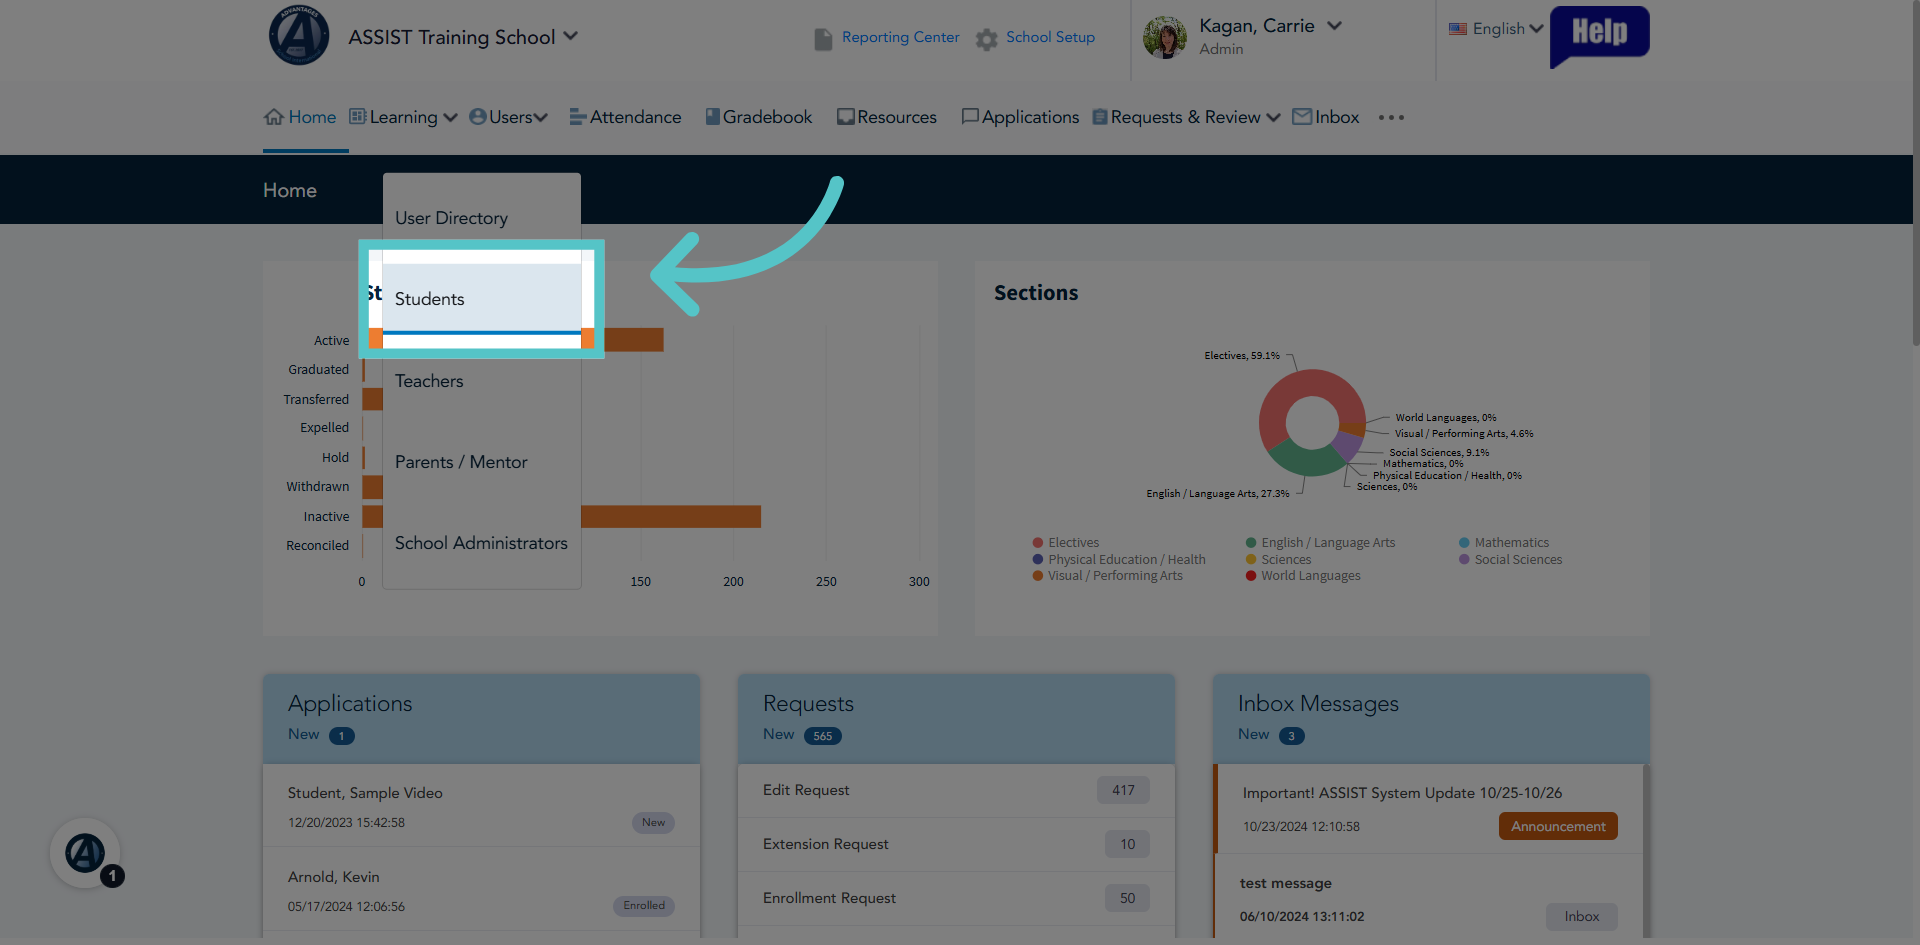
3. Open Students Page
Click the Students option to view the list of enrolled students.
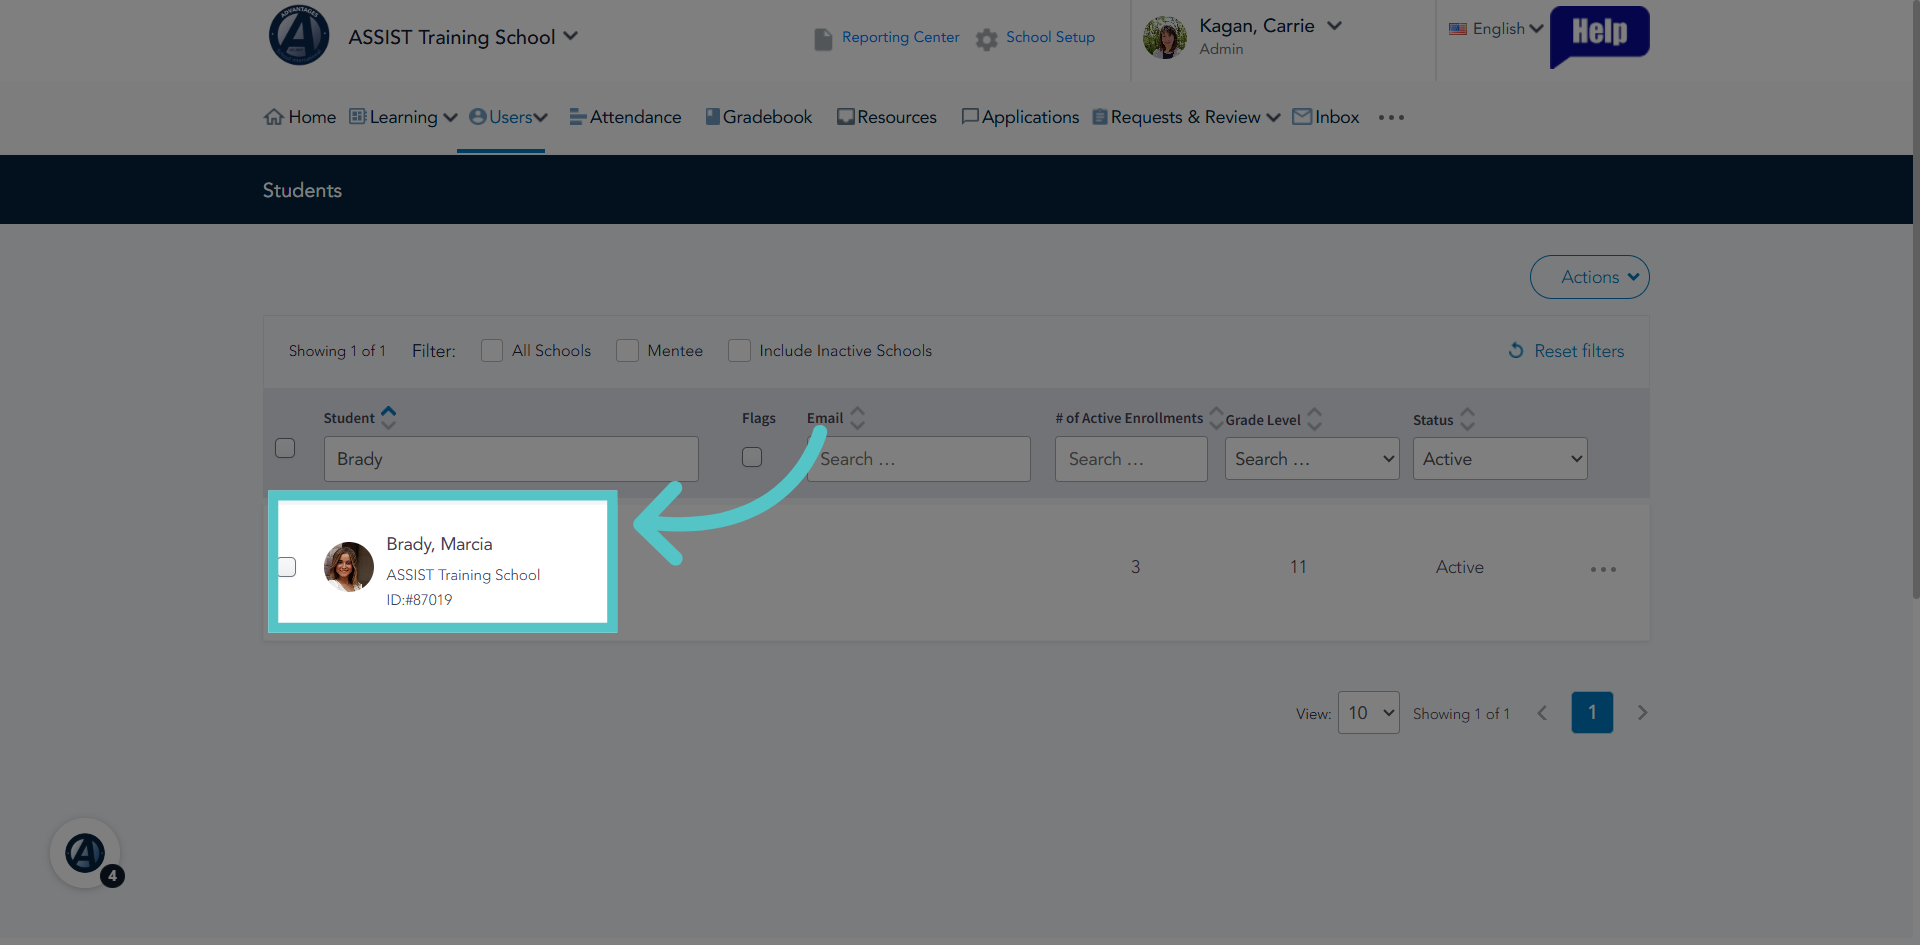
4. Select Student Record
Click the student's name from the student list to open their file.
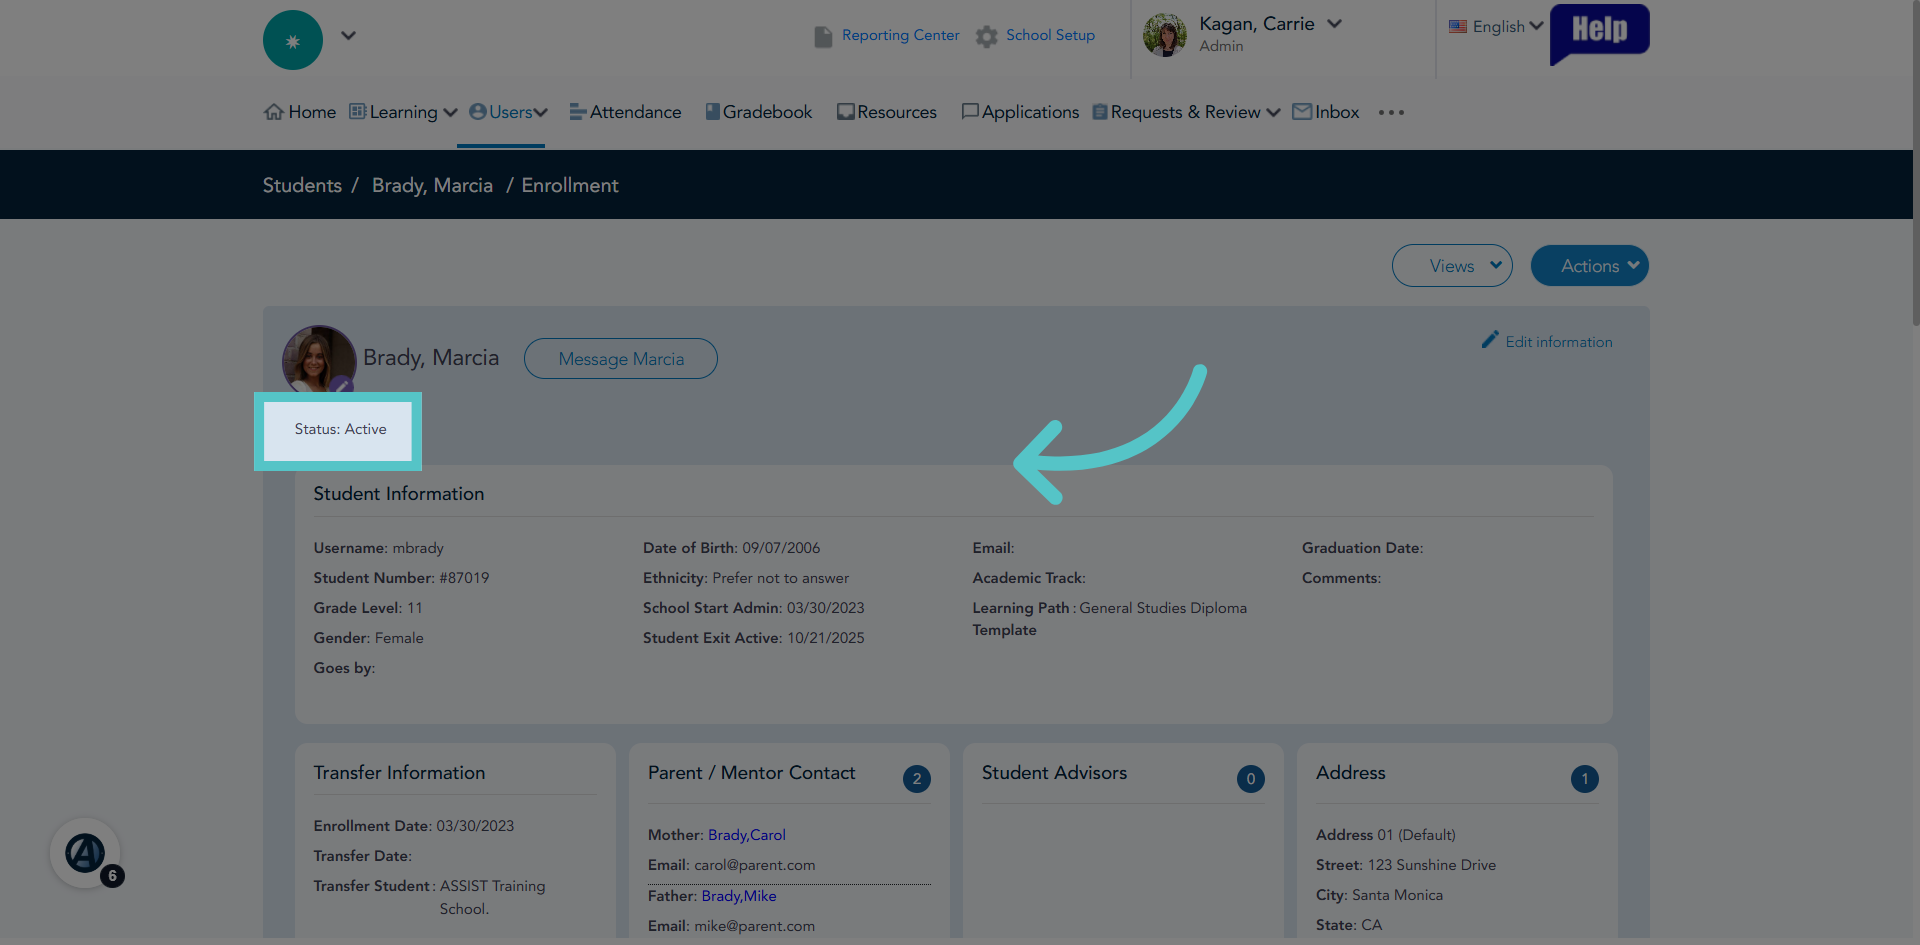
5. Active Status
Make sure the student status is "Active." Only active students can be transferred. Change the student status to active if needed.
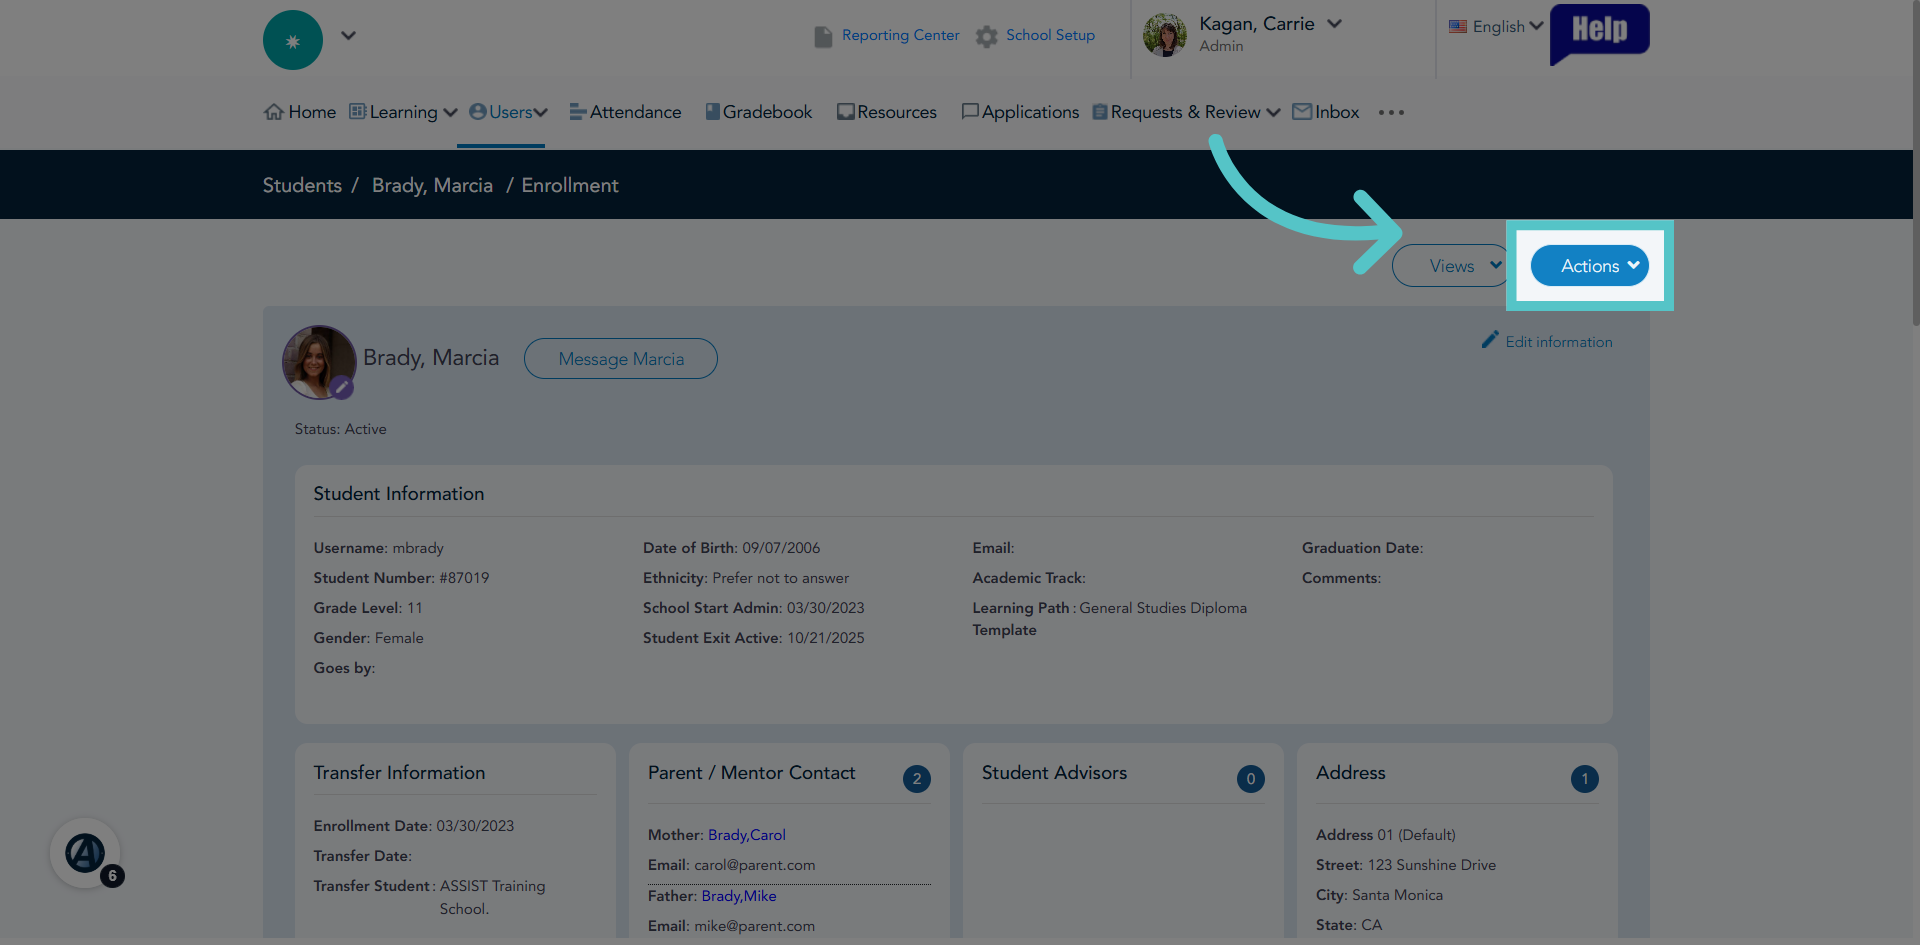
6. Open Actions Menu
Click the Actions button to access available operations for the student.
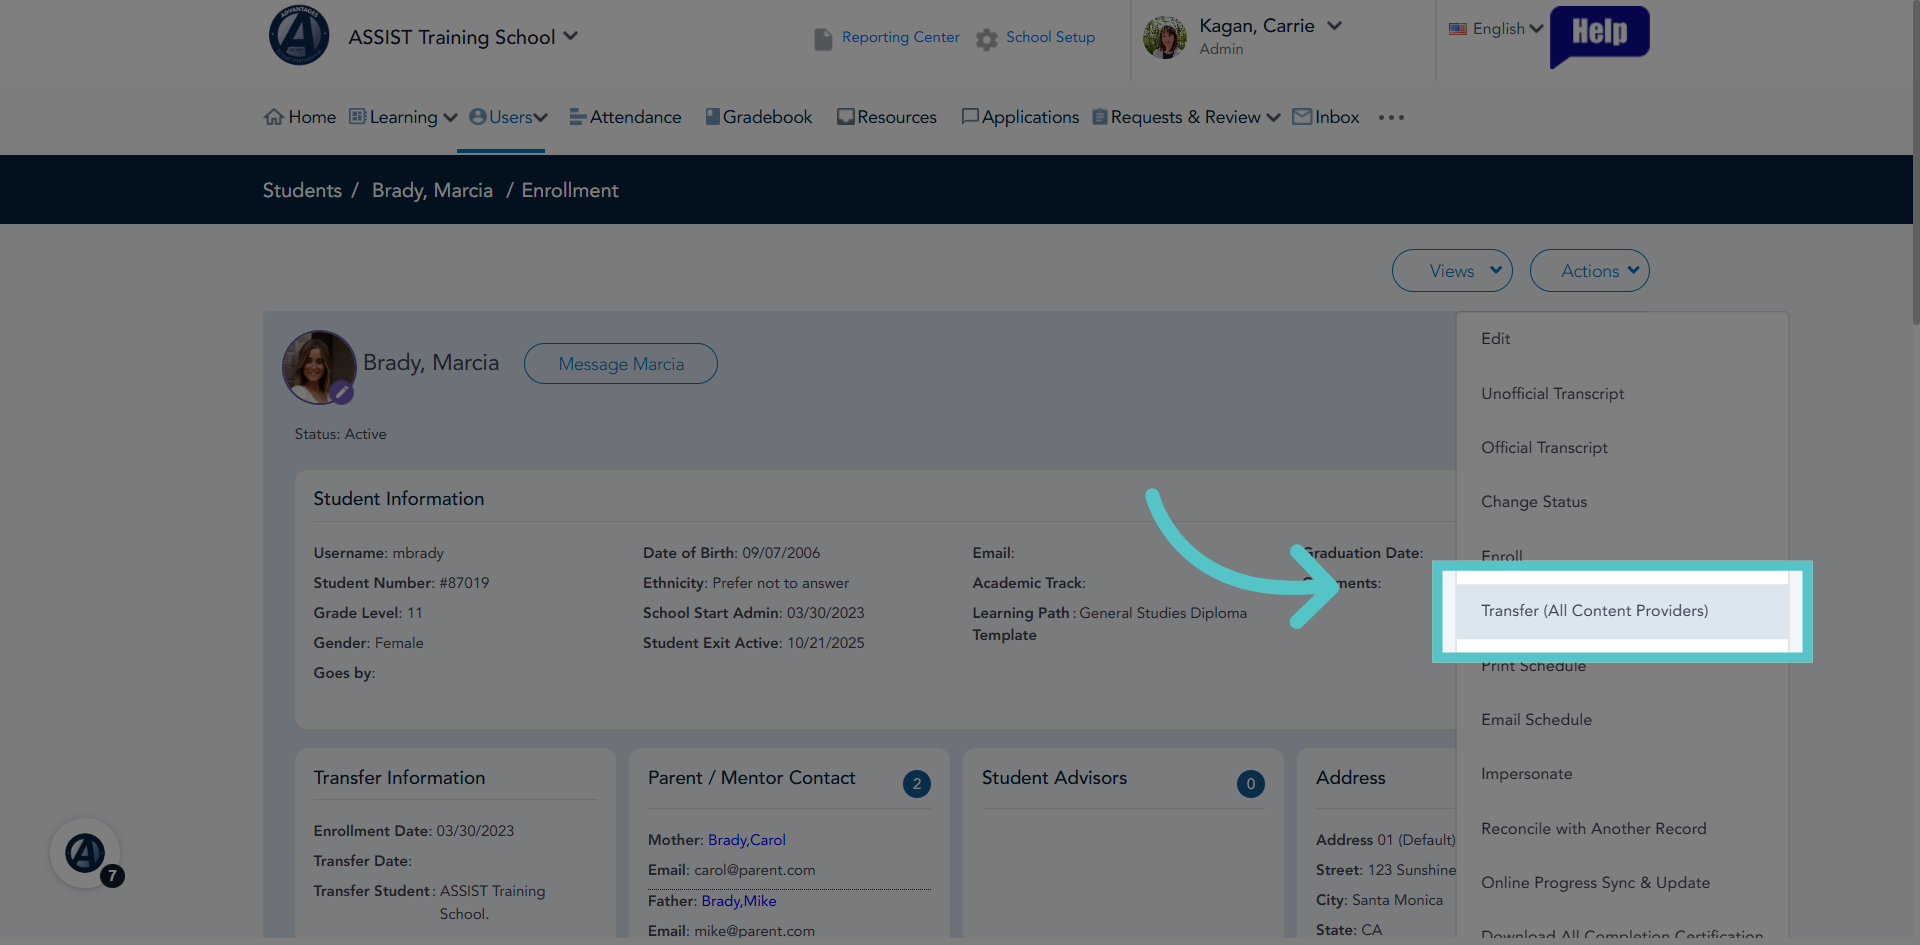
7. Choose Transfer Option
Click Transfer (All Content Providers) to initiate the student transfer process.
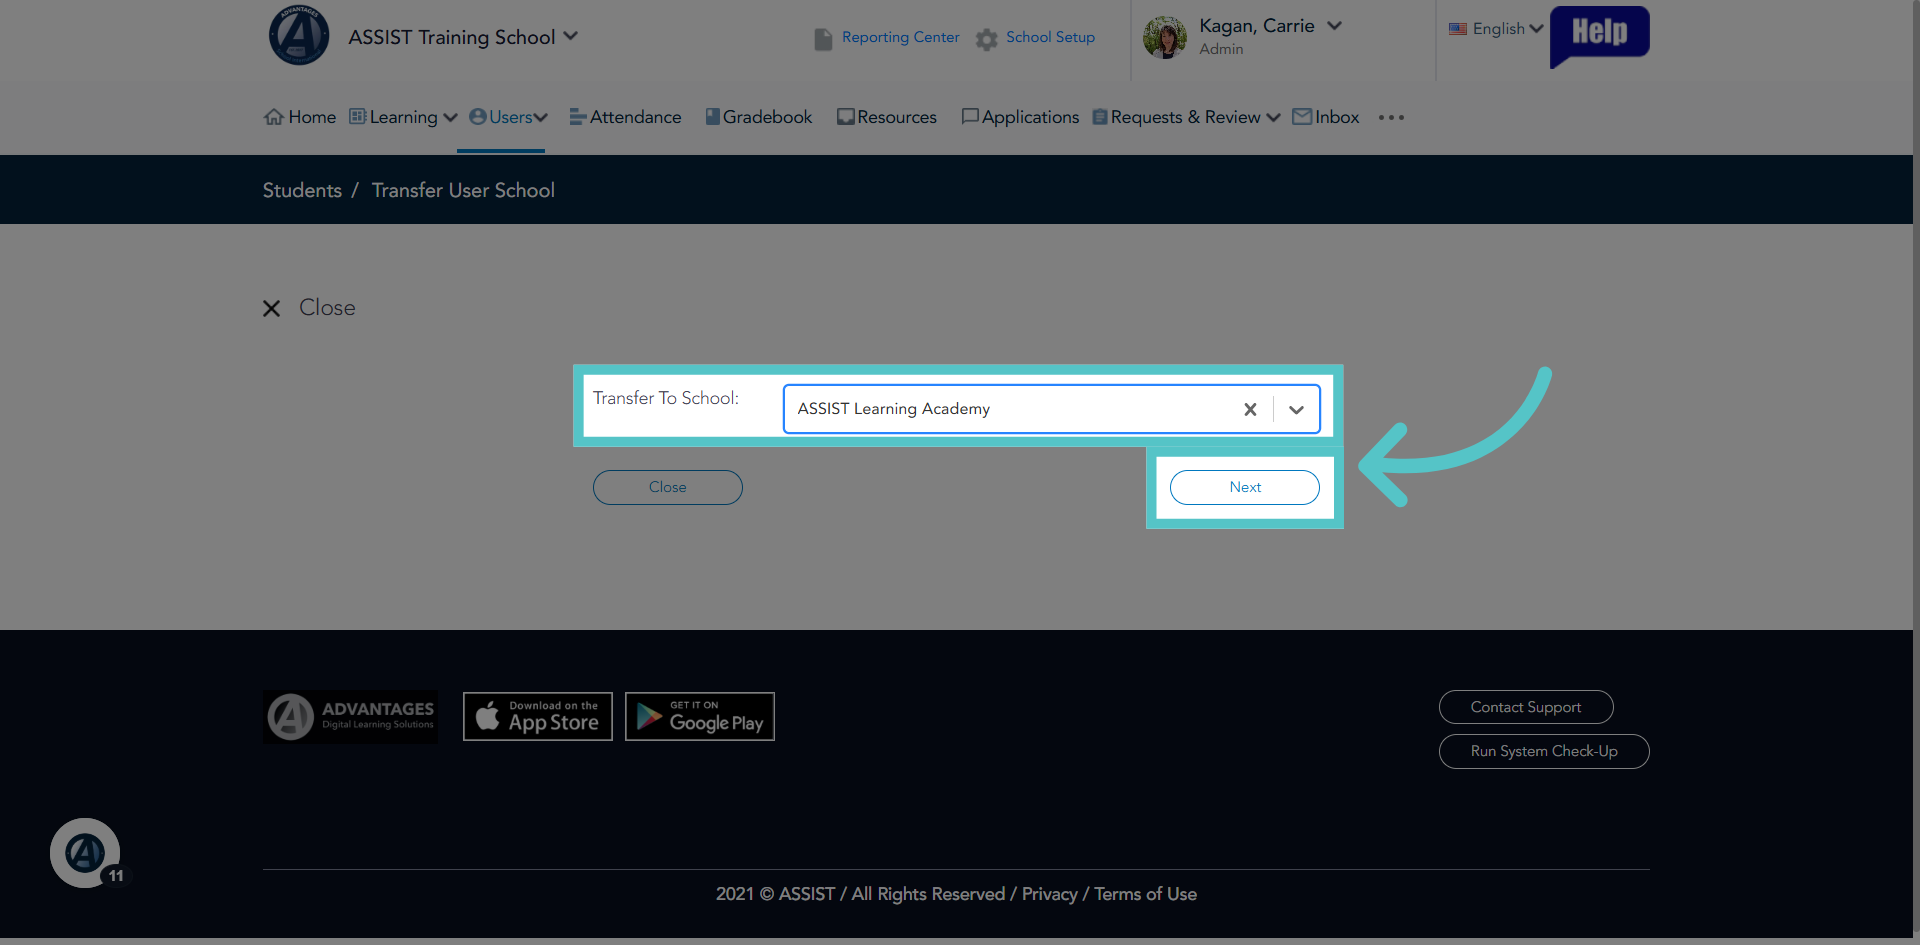
8. Select School
Select the school the student will transfer to, and then click the Next button to continue with the transfer setup.
9. Classroom Details
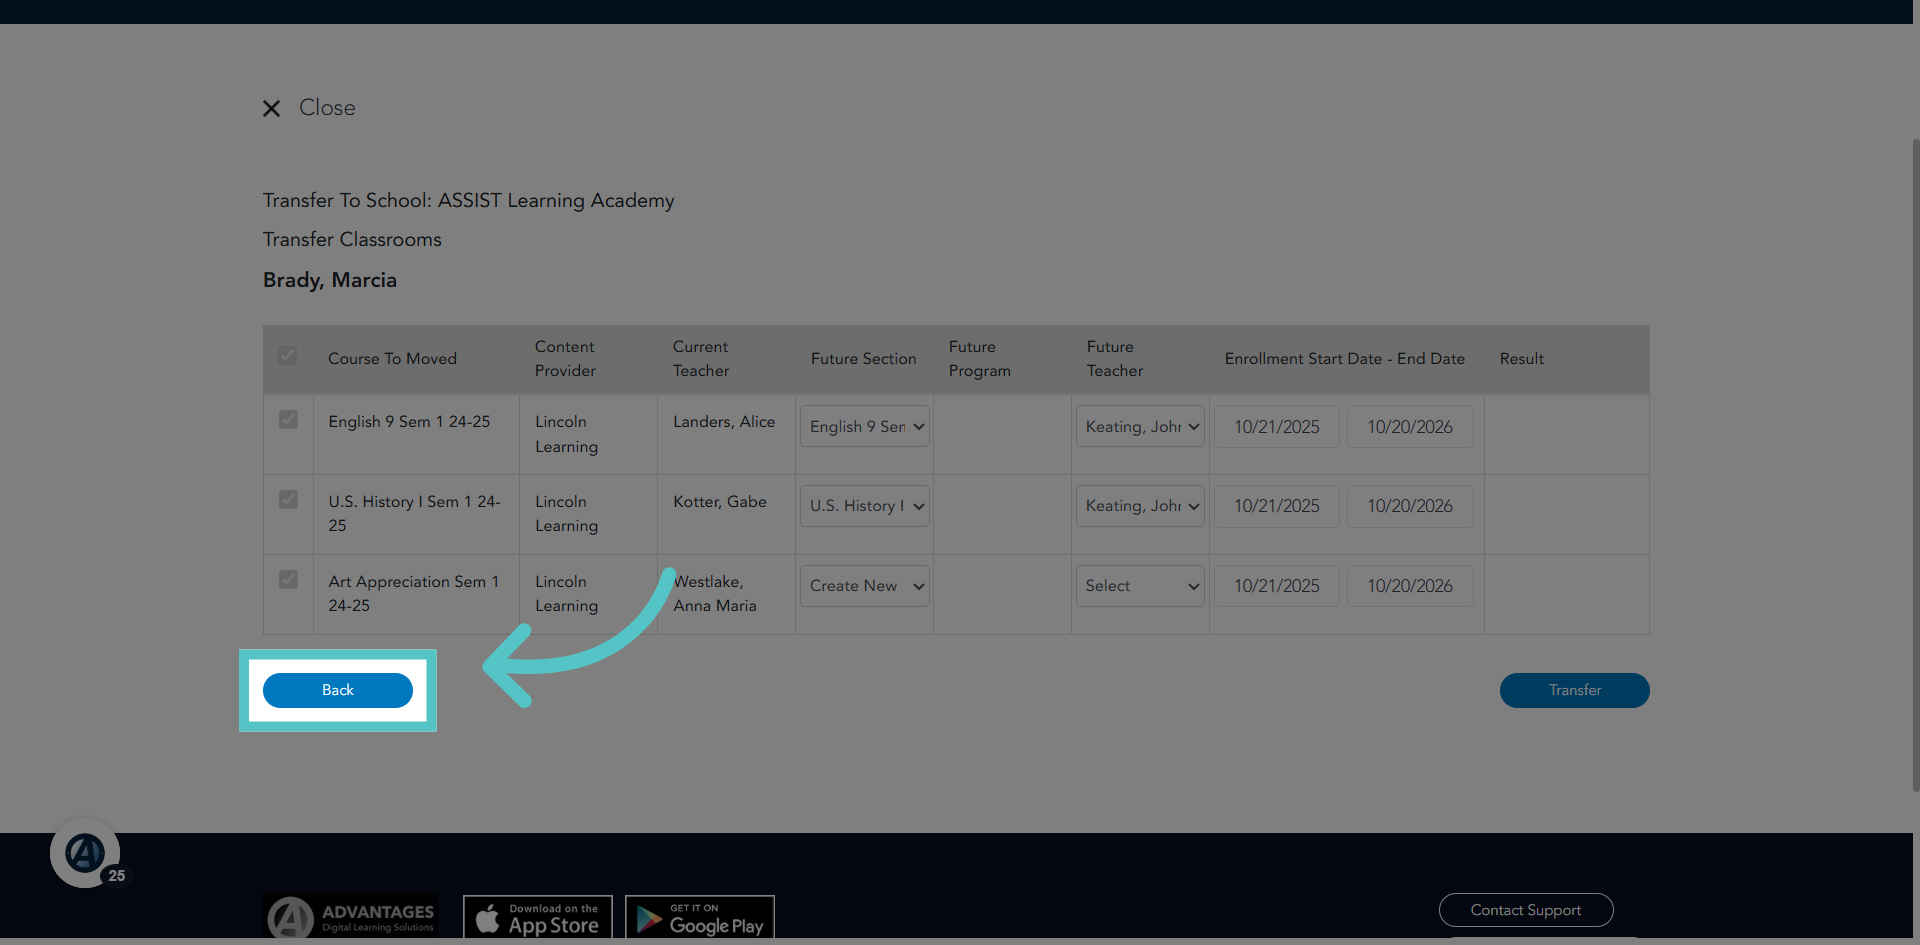
Next will be a list of current student enrollments to be transferred to the new school.
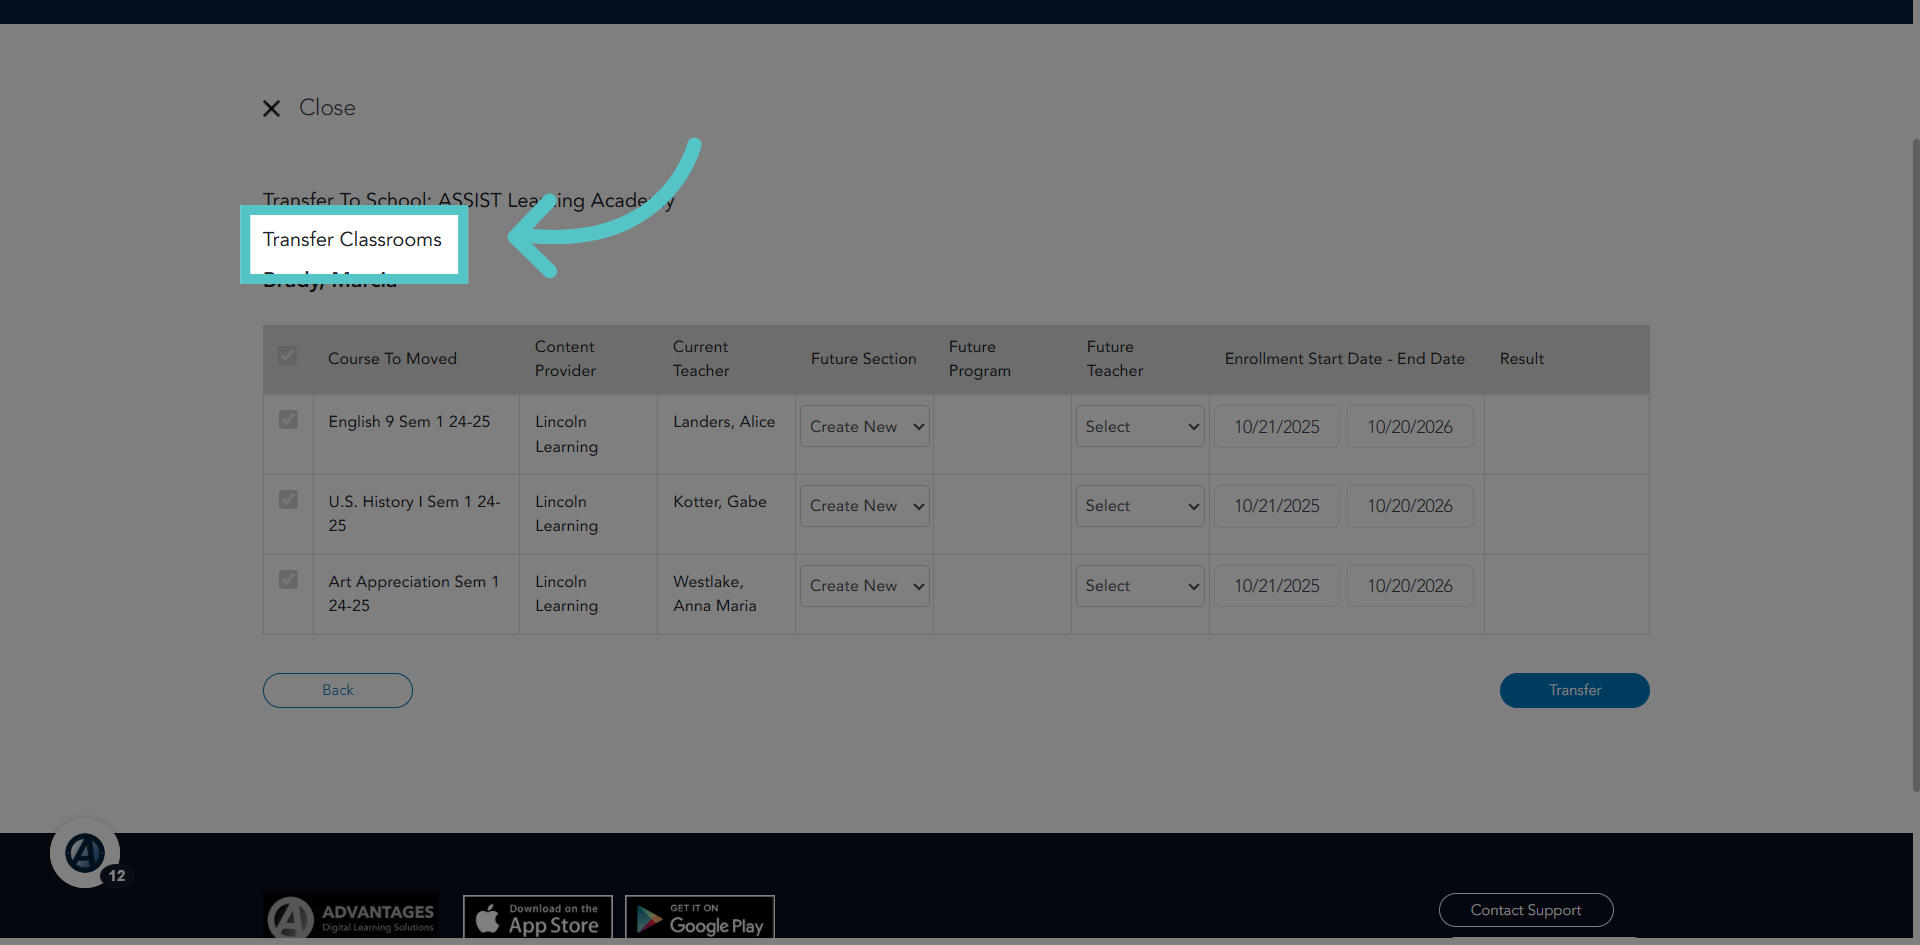
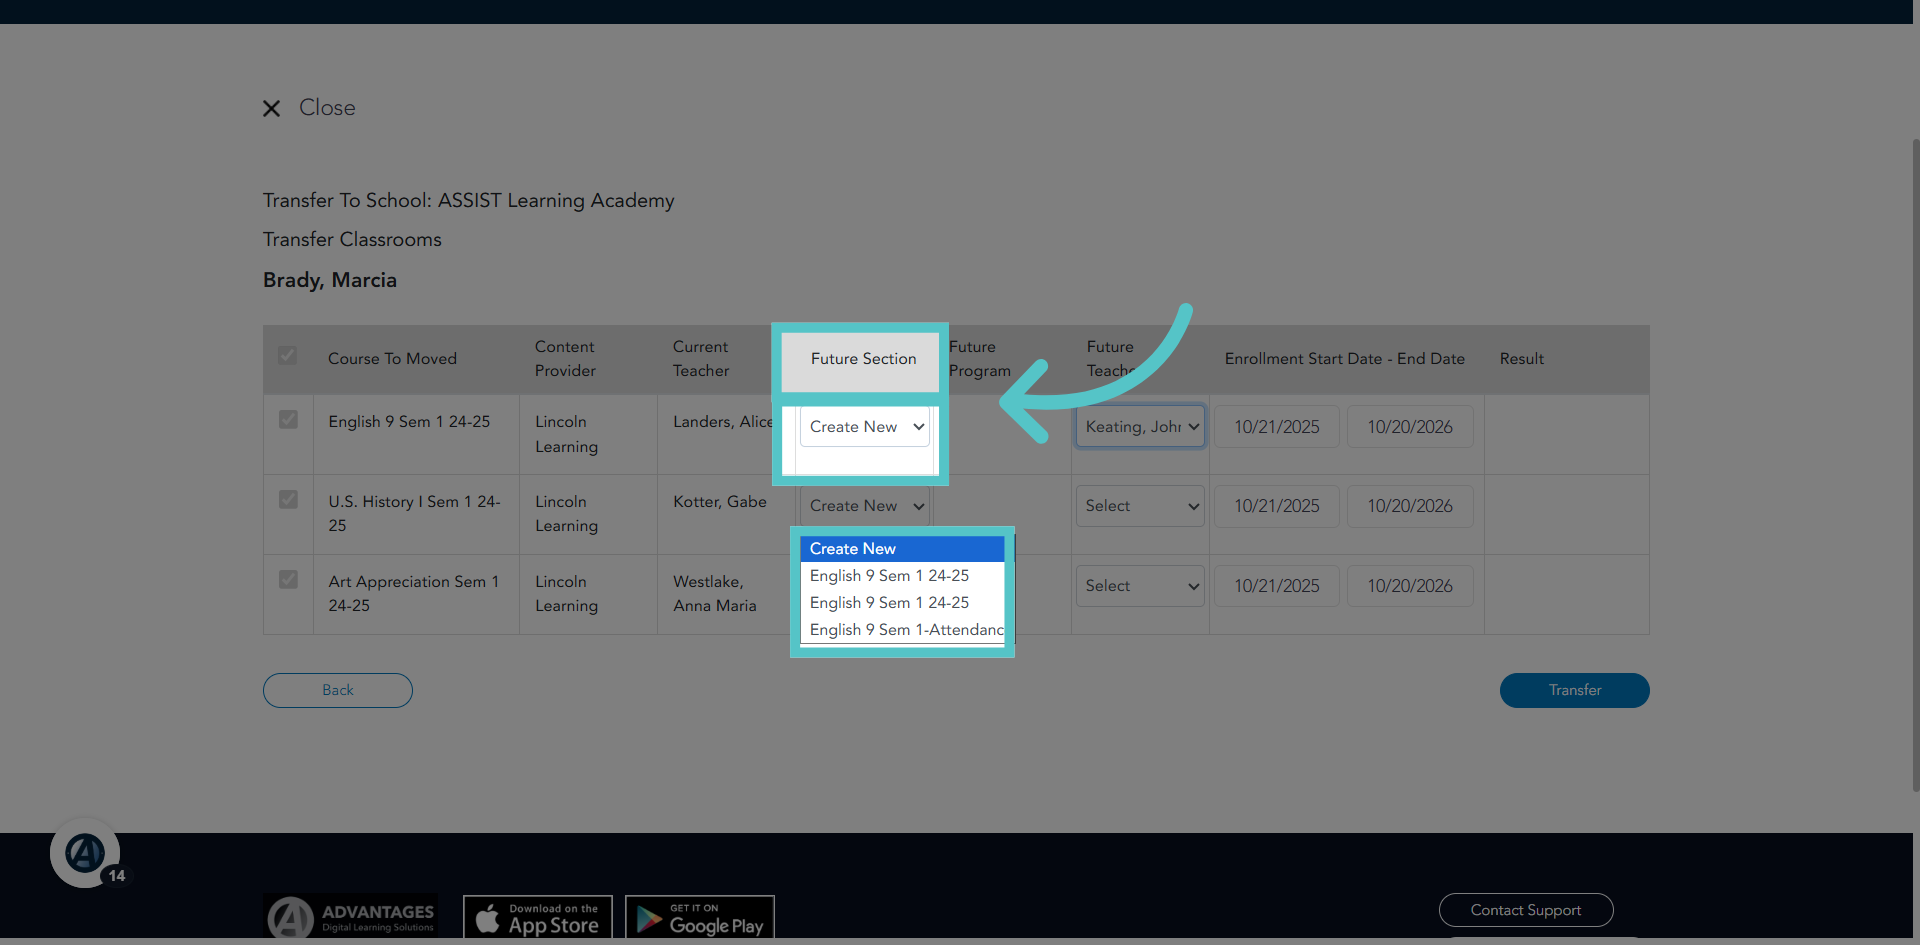
10. Create New Course Enrollment
In the Future Section column, click Create New for a dropdown menu of sections available for the course enrollment at the new school. Select from the list of current open sections for this course at the new school.
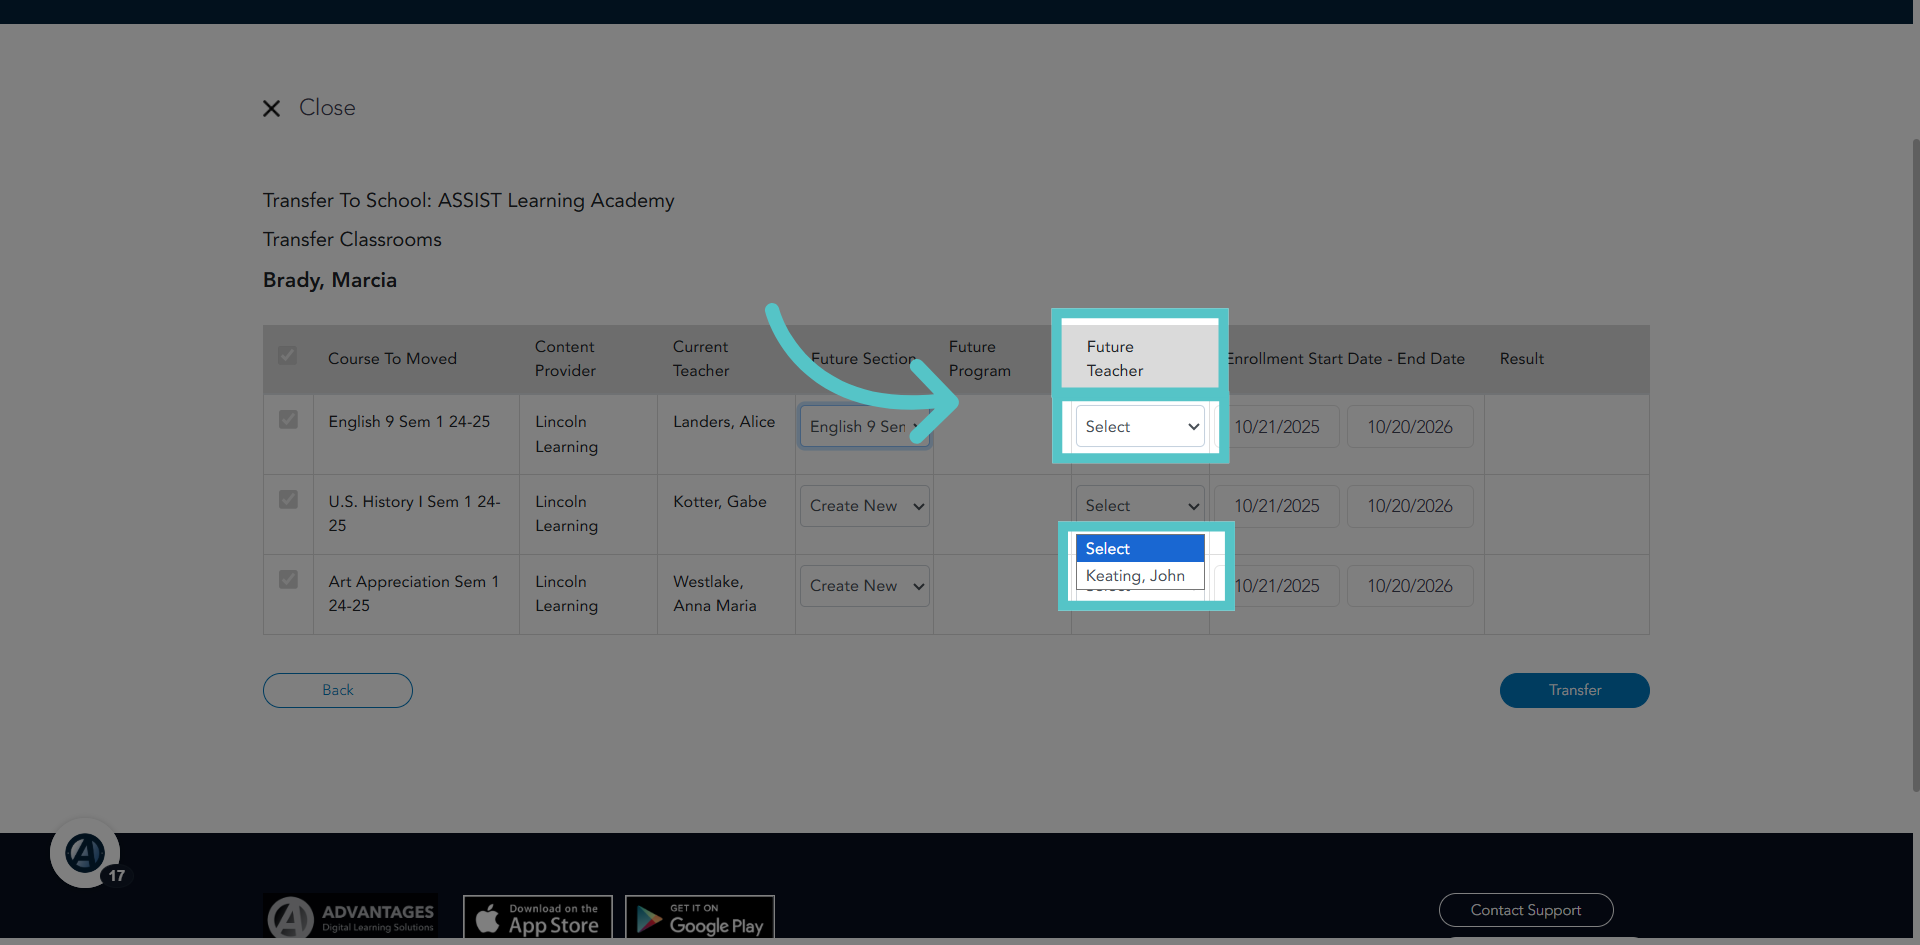
11. Select Future Teacher
Click to select the teacher who will instruct the student in the new course. This list will be the current teacher assigned to the section in the new school.
12. No Section Available
If there are no open sections of this course at the future school, then there will not be any sections to choose from. 'Do not create new.'
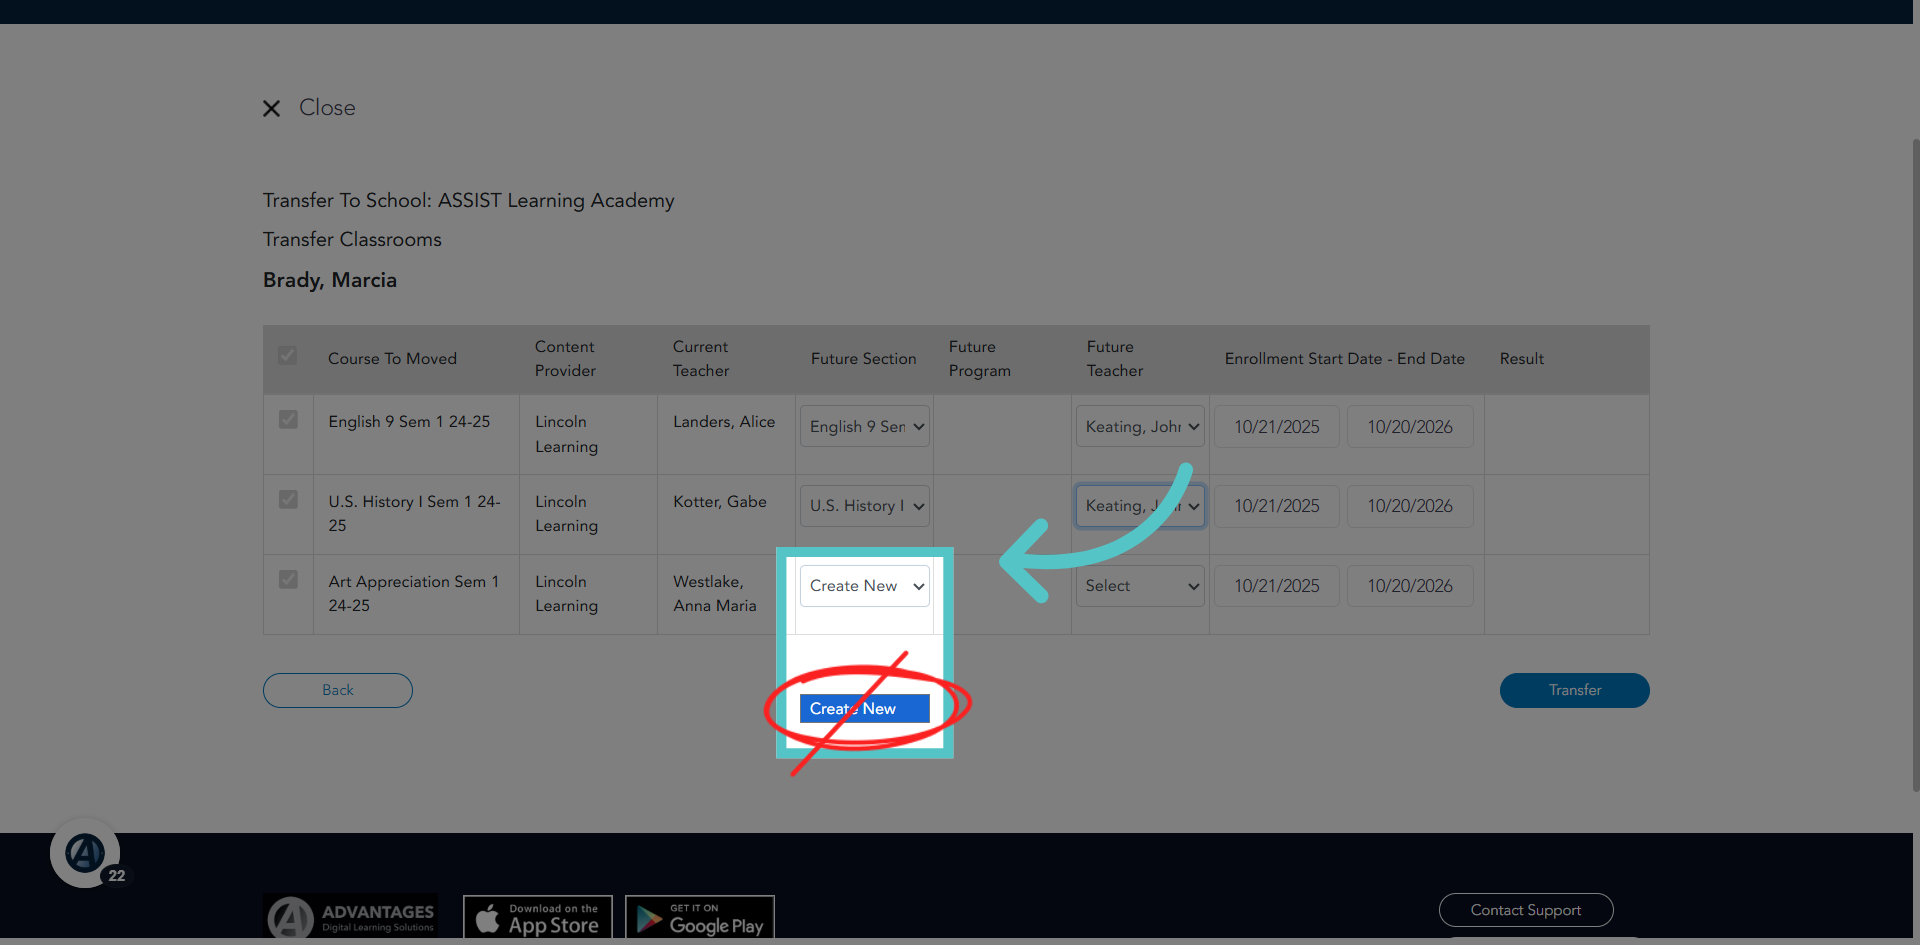
13. Create Needed Section
Click the Back button to return to the prior page if adjustments are needed. Log into the future school and create the needed section with the appropriate teacher. Once the section has been created, begin the student transfer process again.
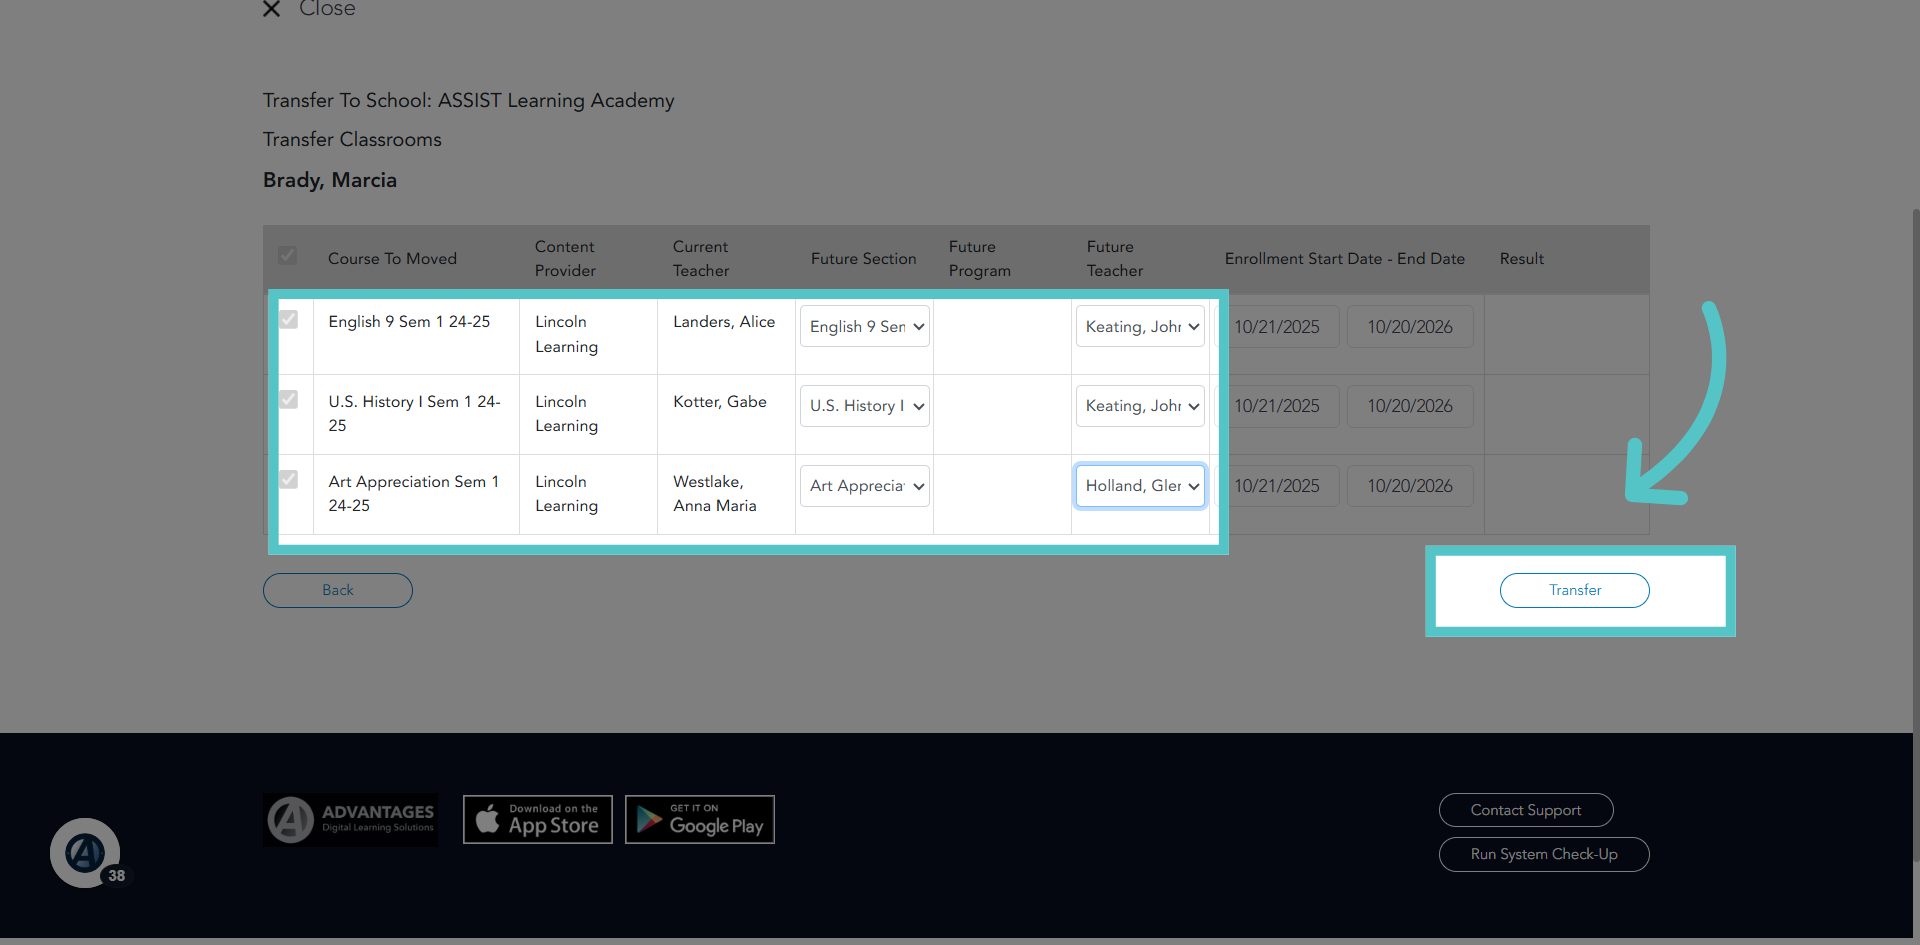
14. Initiate Transfer
Once every enrollment has been assigned a future section with a future teacher, click the Transfer button to officially transfer the student to a new platform.
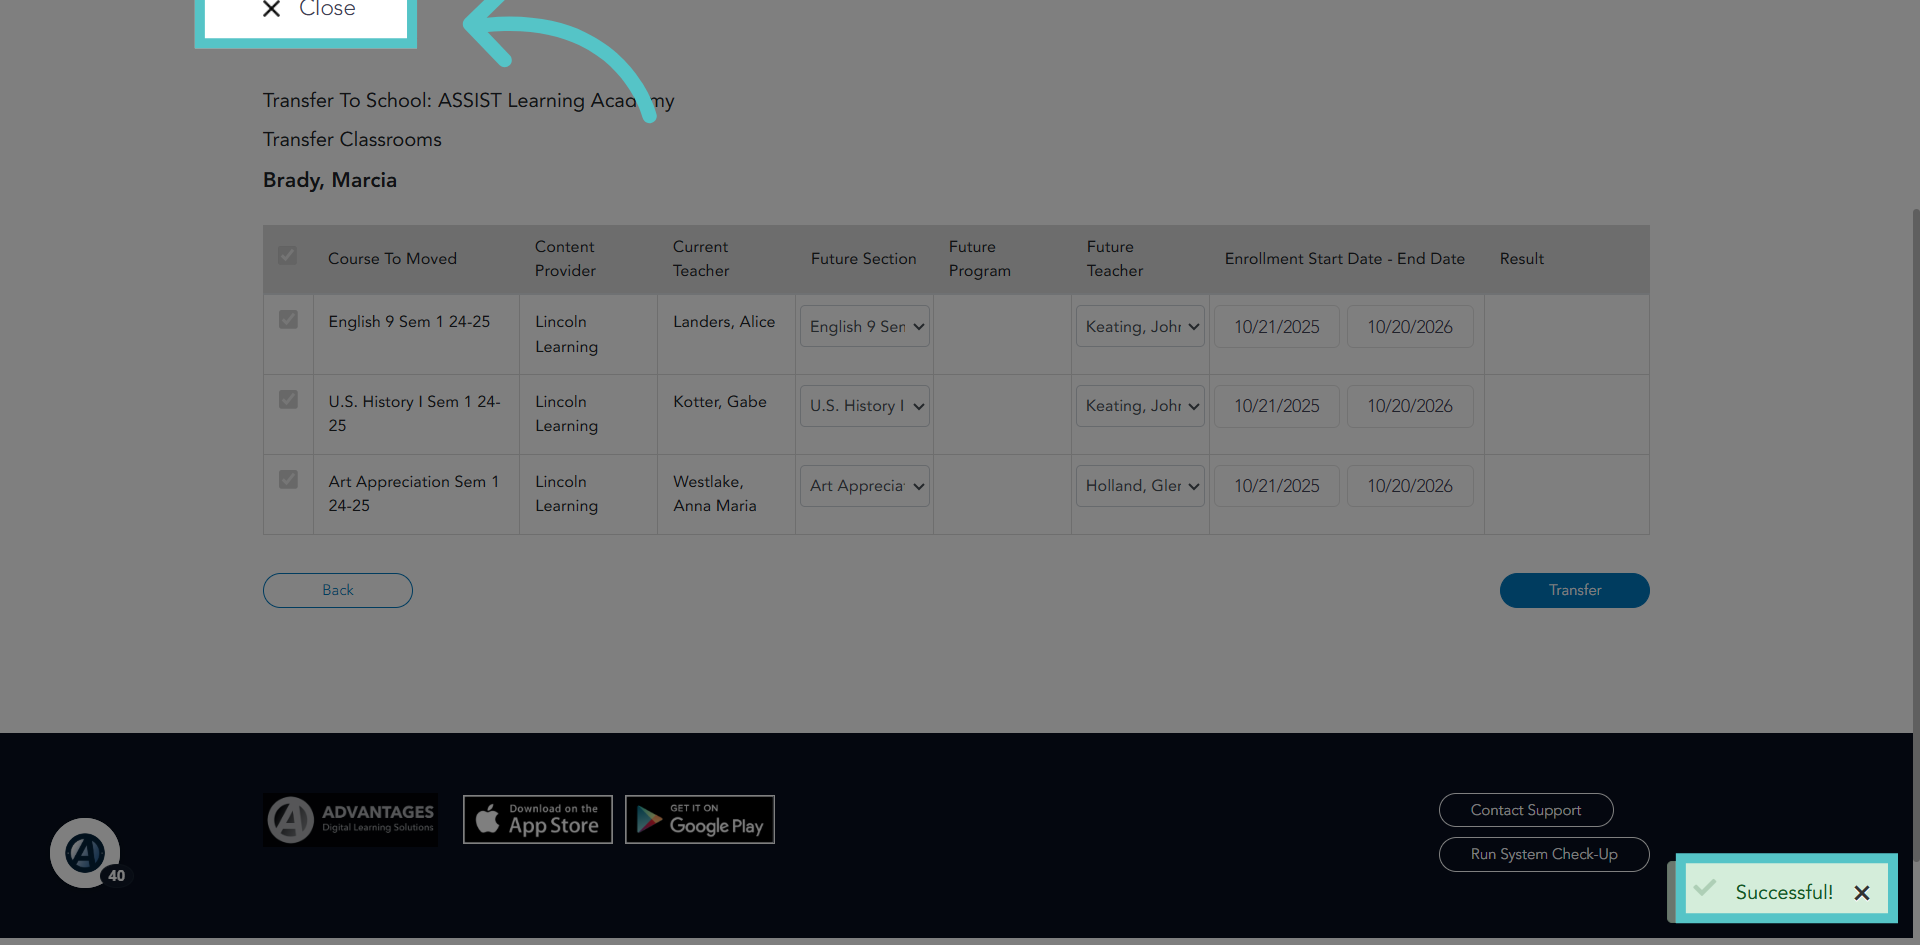
15. Successful!
When the transfer has been successful, close the page and return to the student file.
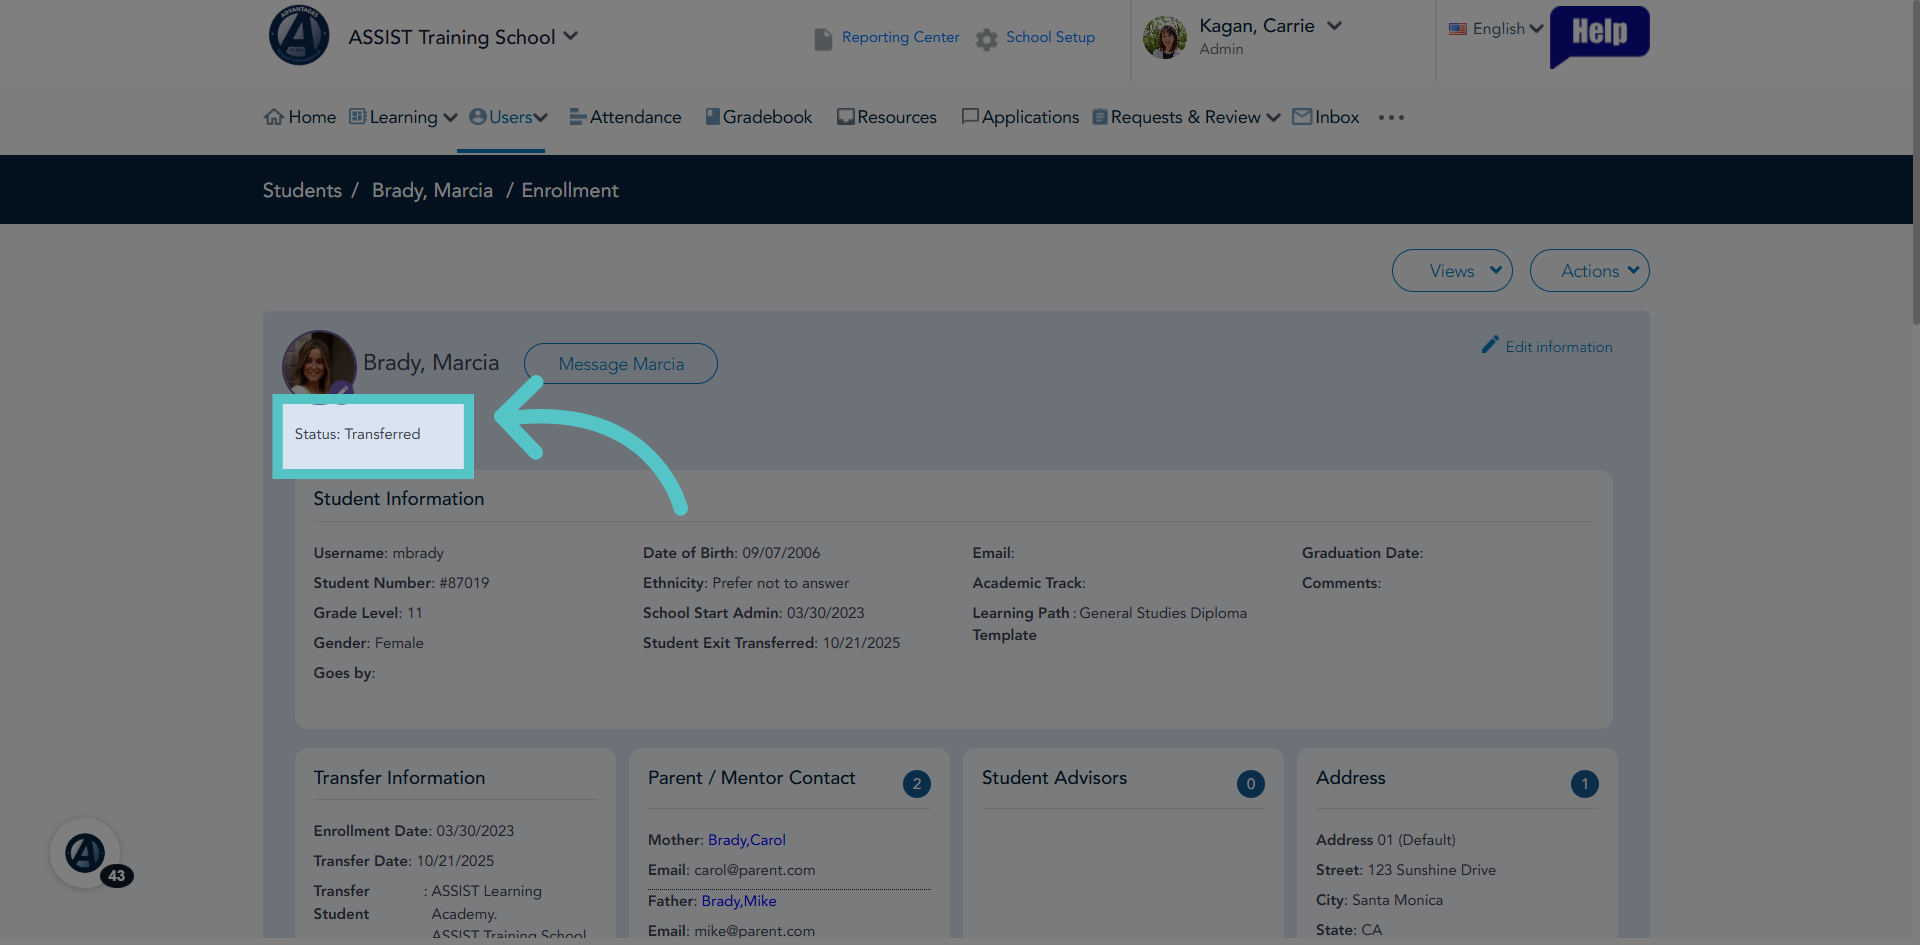
16. Transferred Status
The student status will automatically change to 'transferred' on this school platform.
17. New School
Navigate to the student's new school platform.
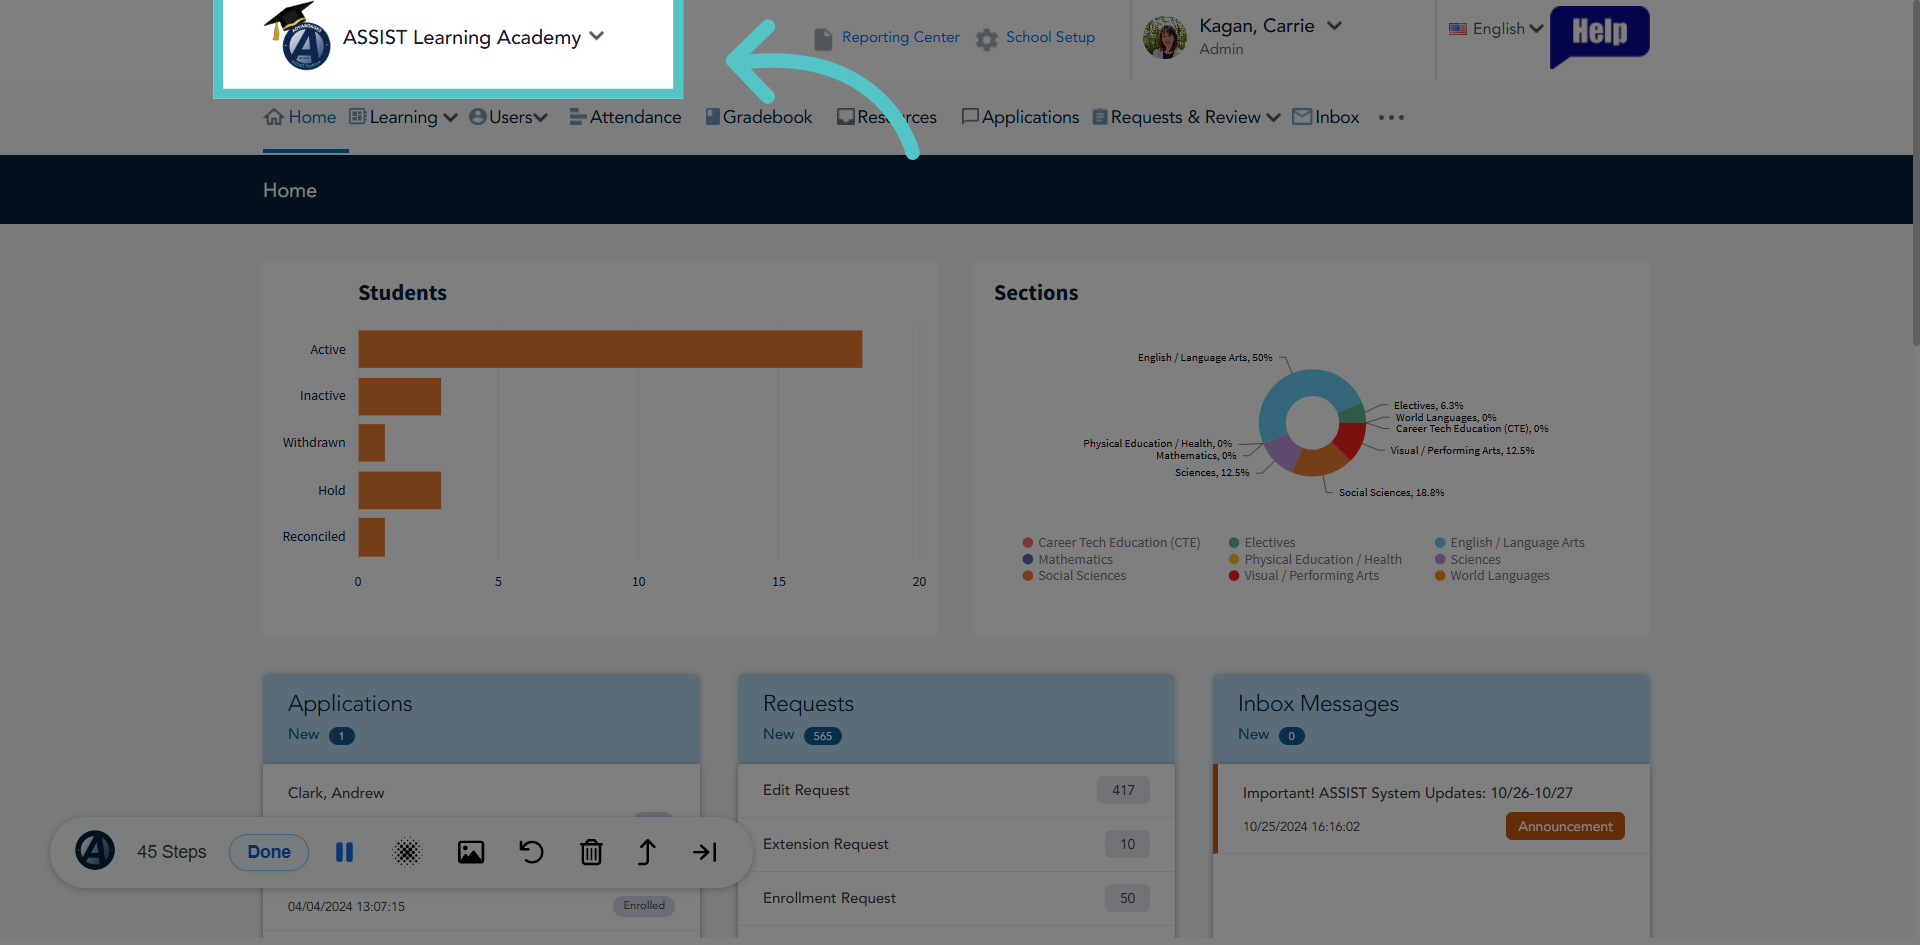
18. Hold Status
The student will be in the student list on 'Hold" status. This is not an active student, yet. They will not have access to the platform or courses until their status is changed to 'Active.'
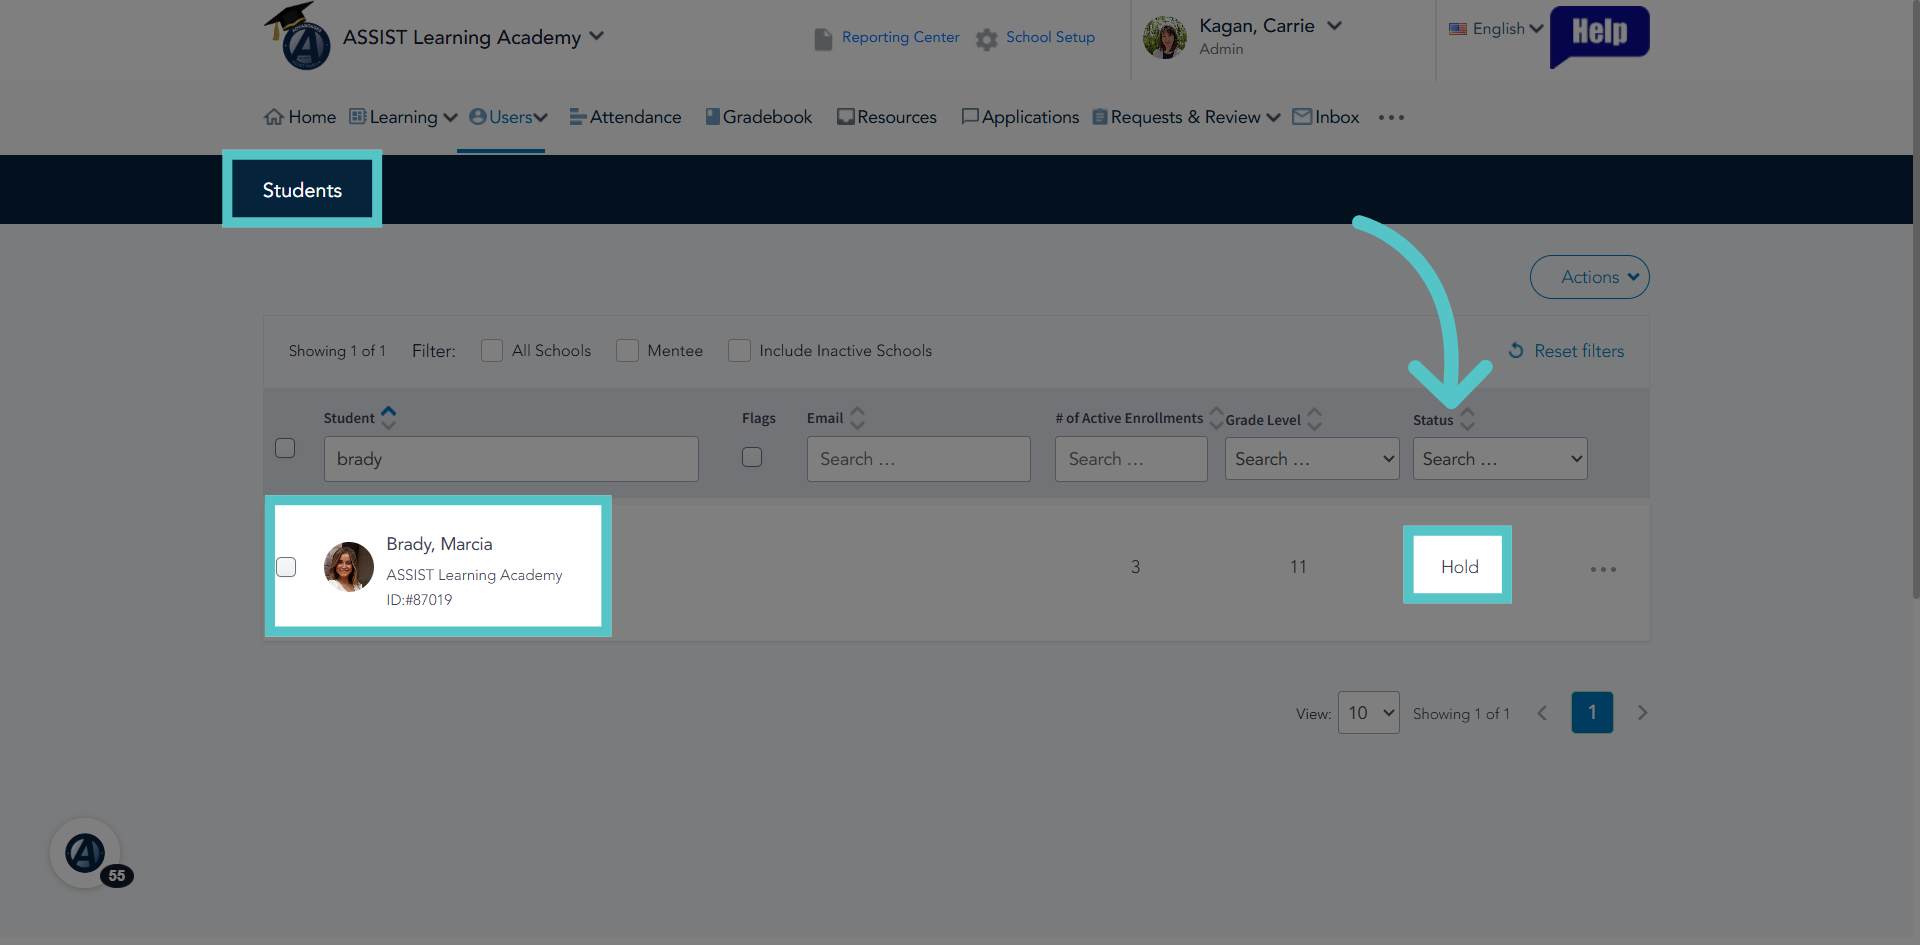
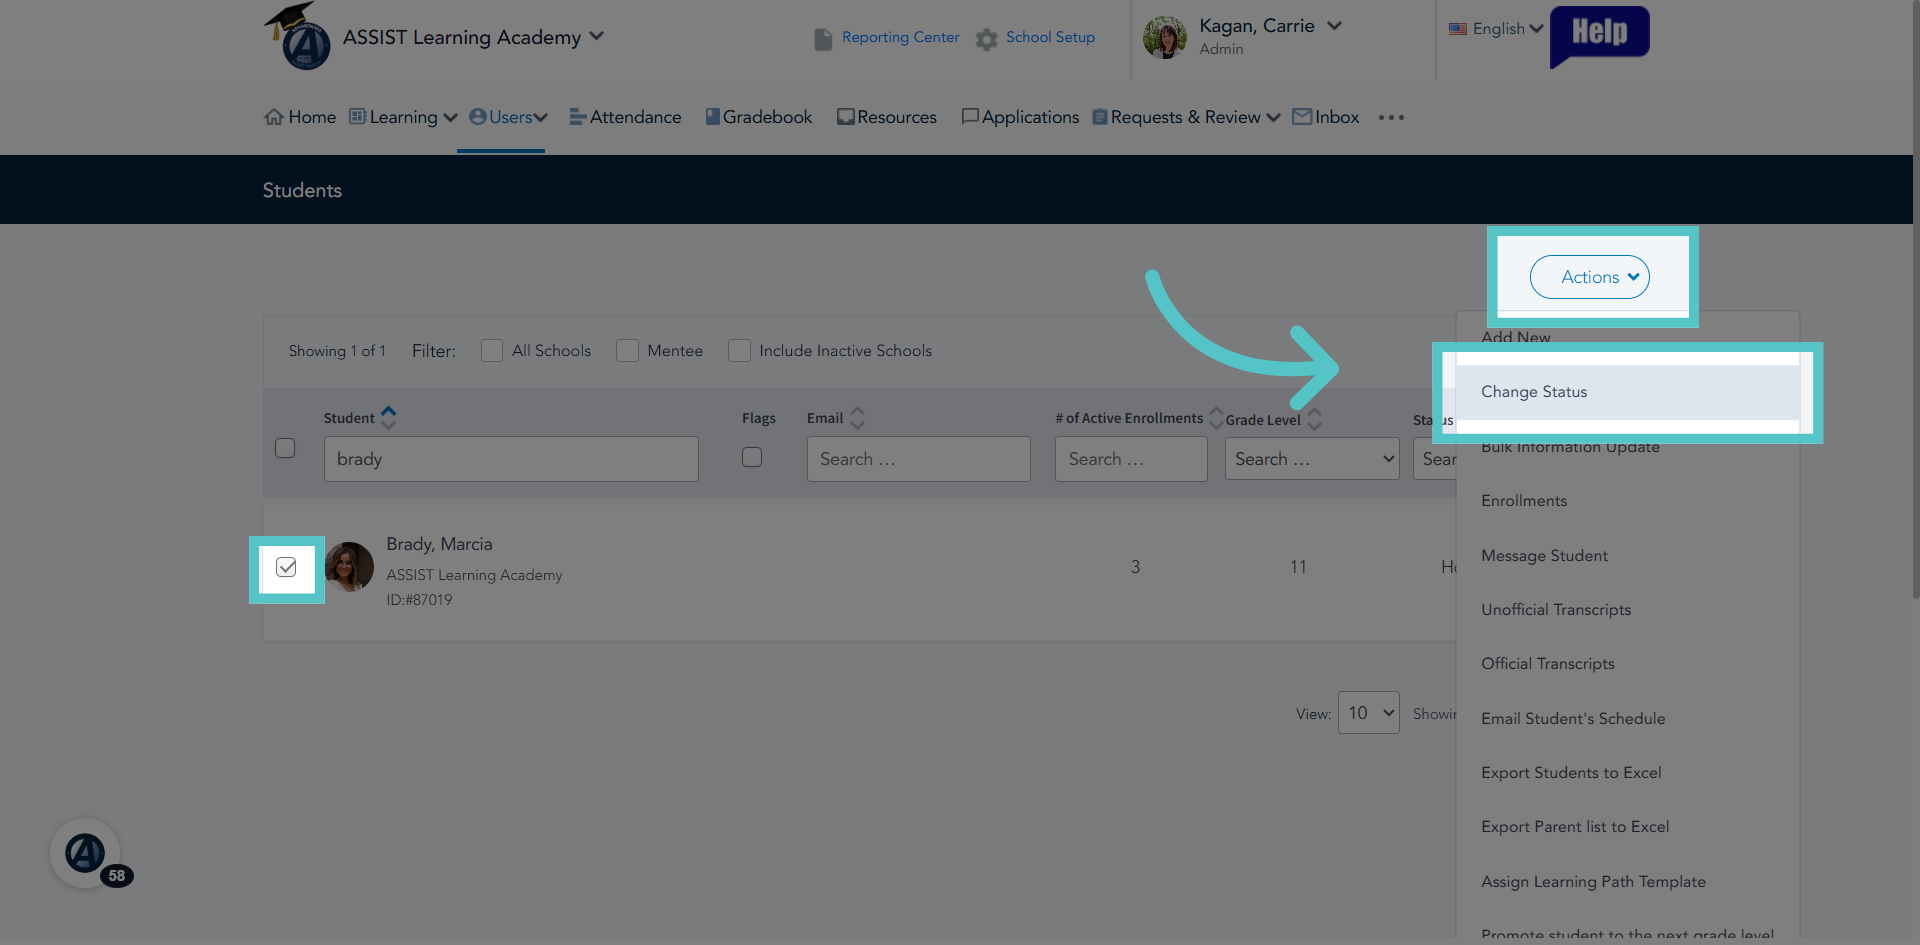
19. Select New Status
Check the box next to the student name and use the Actions menu to find the option to change status. Change the student status to Active.
20. Complete Active File
The student will now be active. The complete student file will be visible in the new school platform.
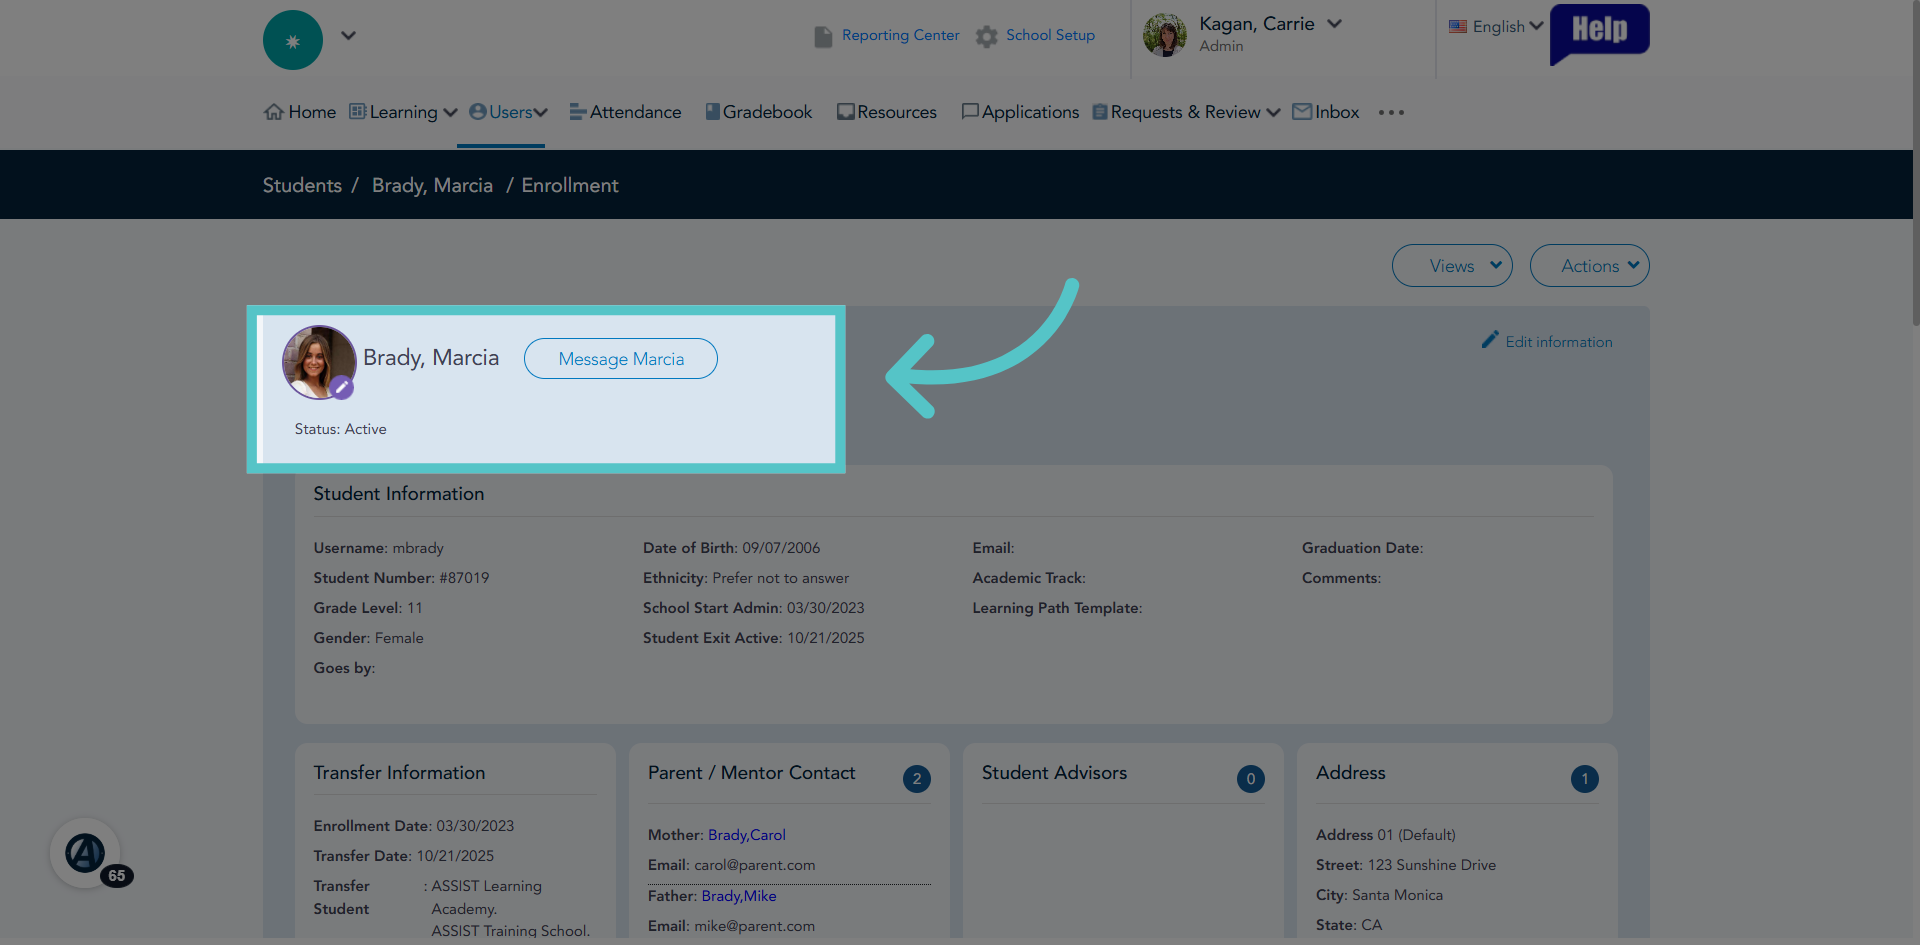
21. Transfer Complete!
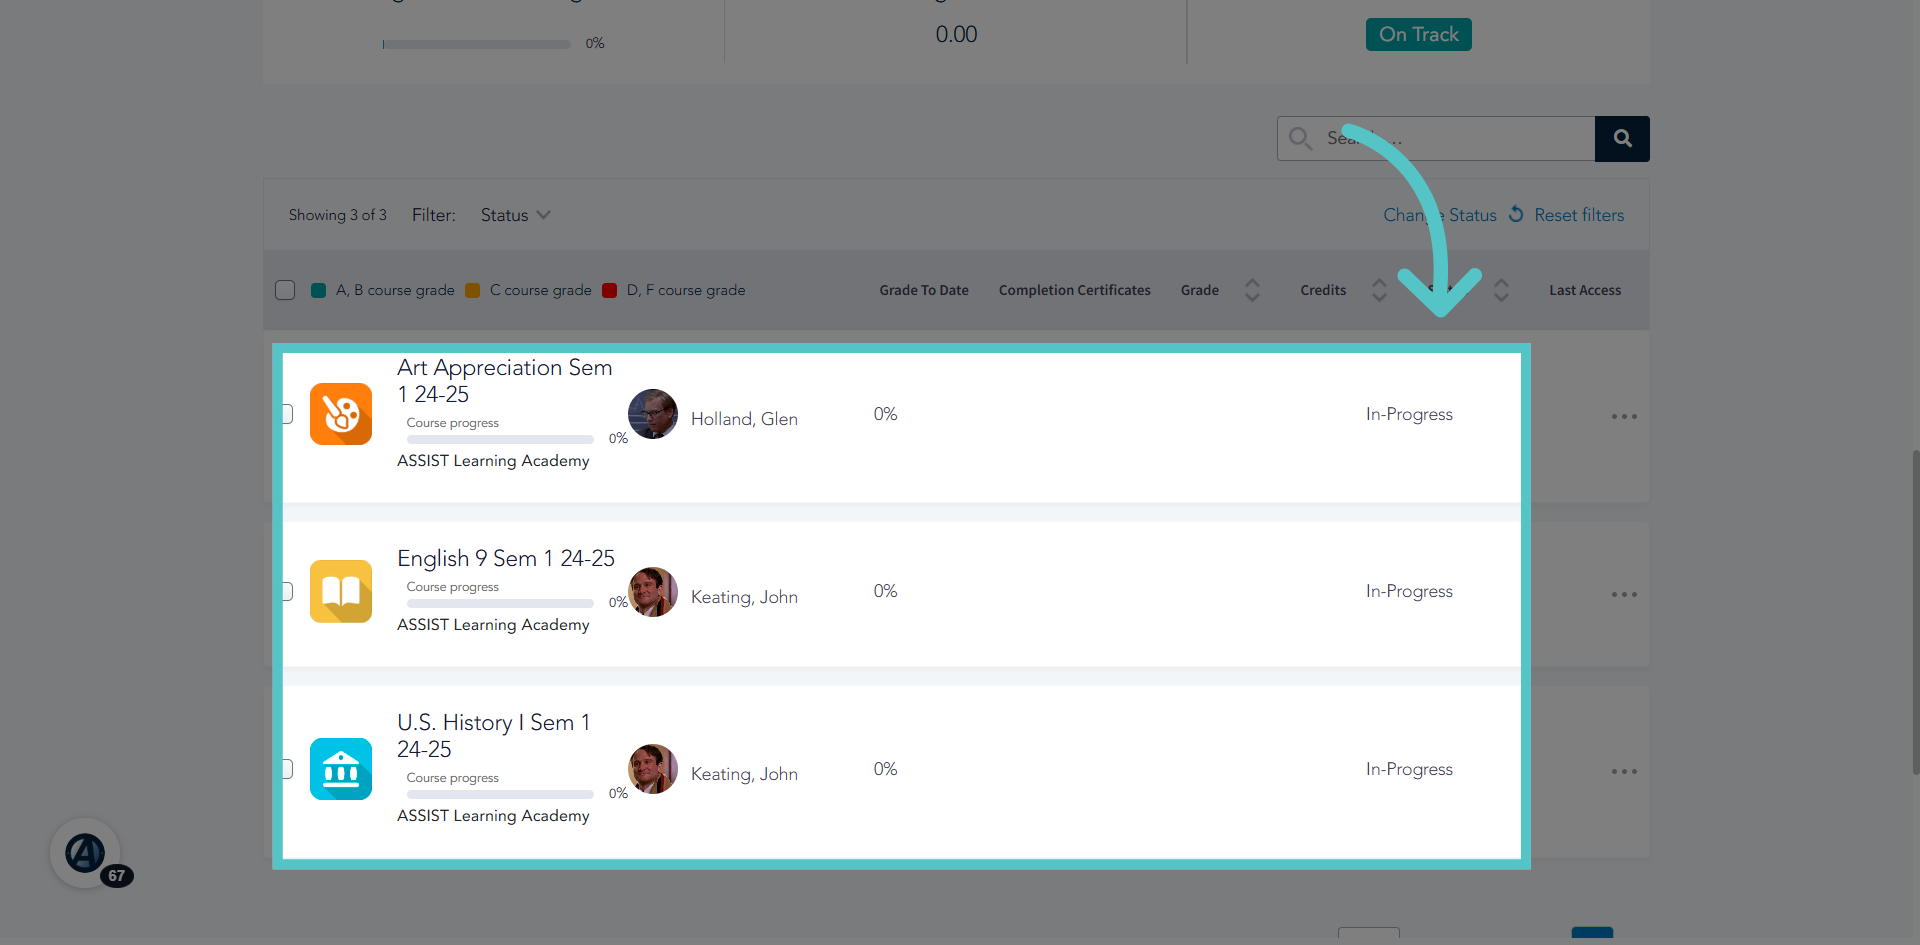
All student enrollments will show as in-progress at the bottom of the student page. The transfer is now complete!
If you have any questions about the information in this tutorial, please contact your dedicated school success manager for additional support.